A-FRAME Room Creator component
By Chris Godber (DrNoir GH)
If you like using this component please consider donating to me to support future work on open source tools by clicking this link: https://www.buymeacoffee.com/noirnerd
Room maker componenet for AFrame
Room building pattern based on https://hacks.mozilla.org/2017/09/i-built-something-with-a-frame-in-2-days-and-you-can-too/ by Dan Brown @slightlyoffbeat / https://www.danvswild.com/
Install
Install the npm package with the following command
npm install aframe-roomcreator
Component Demos:
Standard:
For VR (Under dev / BETA):
Map Editor (under Tools - USE FOR CREATING NEW MAPS)
https://drnoir.github.io/A-Frame_RoomCreator/Tools/MapEditor/
Purpose:
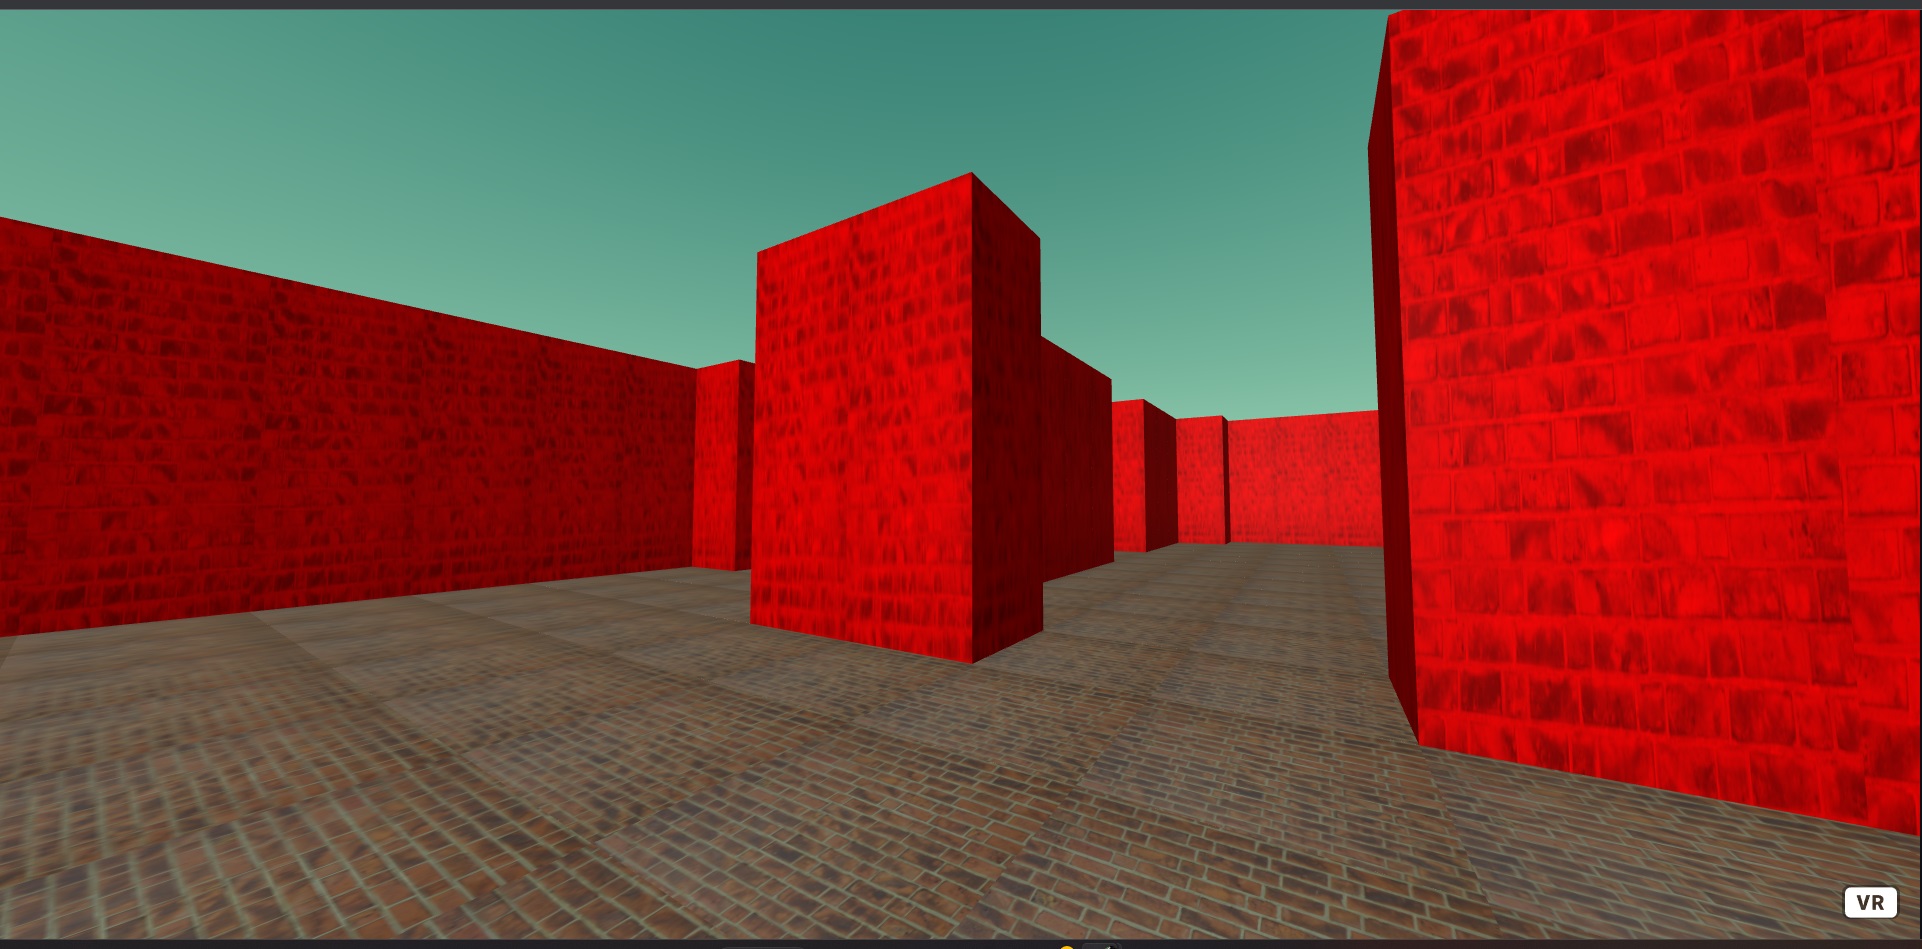
A A-Frame component for rendering rooms and block based enviroments
Componnent Features
- Create multiple custom rooms with the 'room' component
- Assign custum textures to rooms
- custum colours
- custom heights, size etc
- multiple maps etc
- switch between outdoor / indoor *ceiling / no ceiling
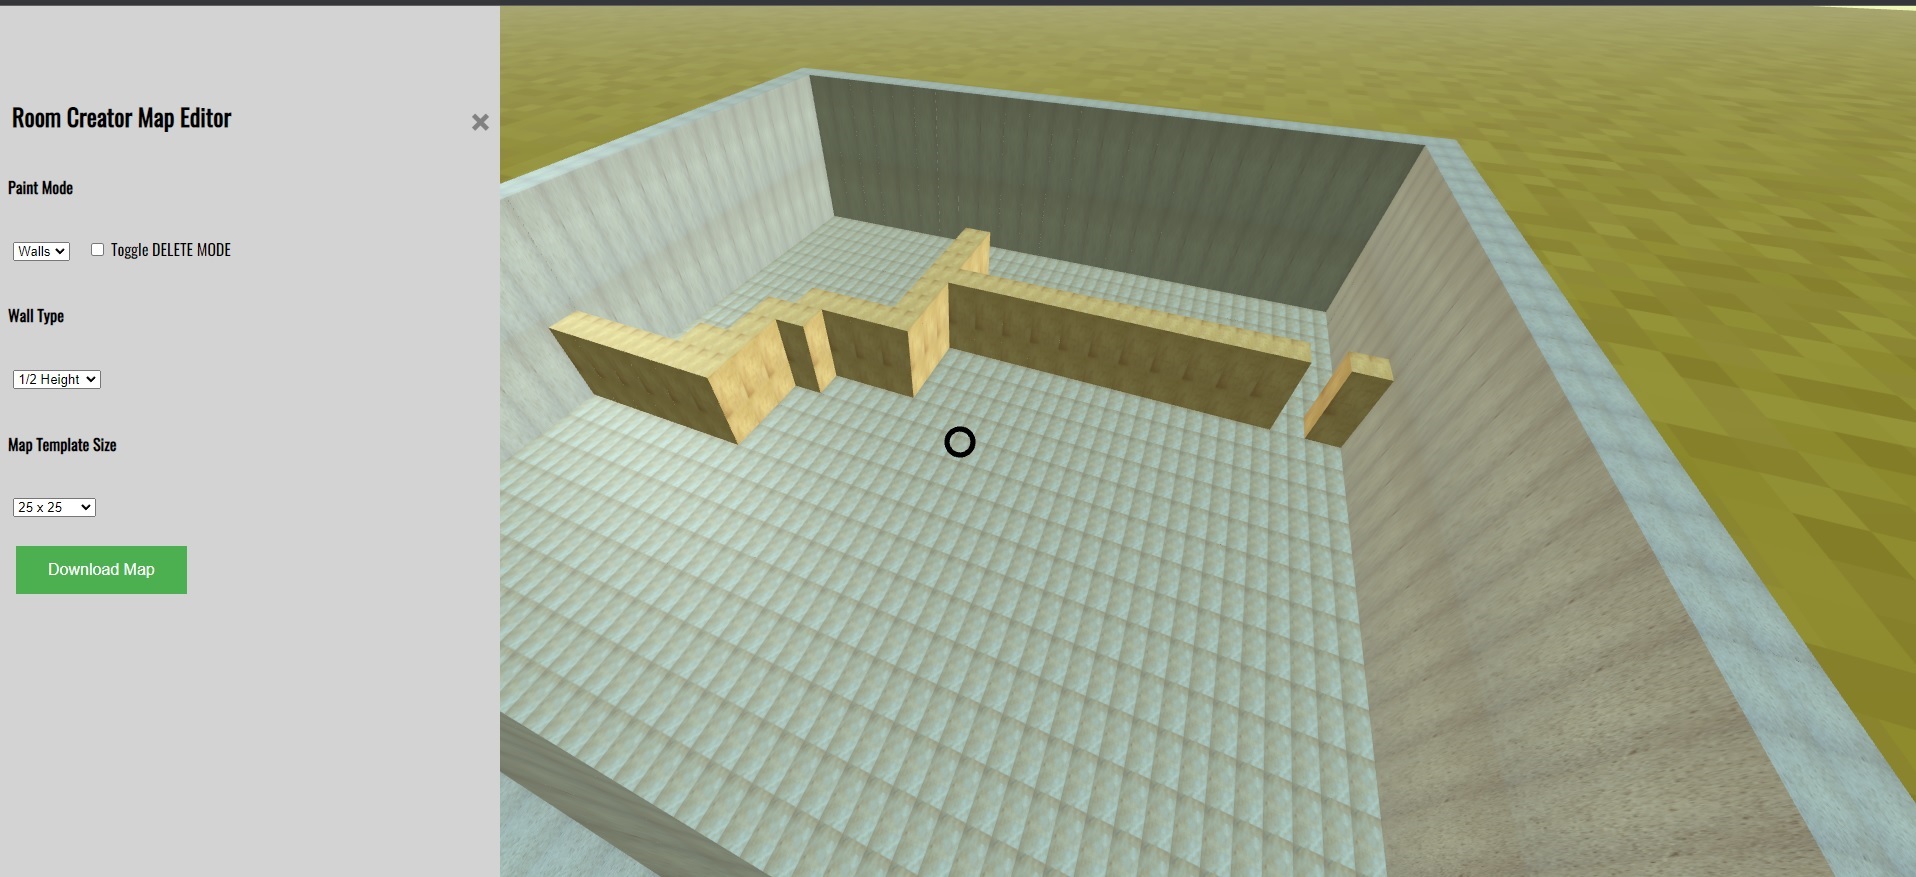
How to create a room with the map editor
Visit : https://drnoir.github.io/A-Frame_RoomCreator/Tools/MapEditor/
This is a simple free app for creating maps to export as json for use by the component. You can add walls, 1/2 walls and 1/3 walls and toggle delete mode to delete walls you've added. Click the Export the map button to export the map to JSON ready to be imported in via the schema.
The map editor also includes several templates to start you off with generic sizes - 25 x 25, 50 x 50, 100 x 100 A future version will hopefully include the ability to create custom templates.
PLEASE NOTE:
Currently, all width and heights of maps need to be square so 25 x 25 and not 25 x 27 for example
Import maps into component
Create a json file in following format or simply copy and paste map.json in dist
Copy exported array from map editor and replace "data" with your exported array
    {
    "data": [1,1,1,1,1,1,1,1,1,1,1,1,1,1,1,1,1,1,1,1,1,1,1,1,1,1,0,0,0,0,0,0,1,0,0,0,0,0,0,0,0,0,0,0,1,0,0,0,0,1,1,0,0,0,0,0,0,1,1,1,1,0,0,0,1,1,0,0,0,1,0,0,0,0,1,1,0,0,0,0,0,0,1,0,0,0,1,1,1,0,0,0,0,0,1,0,0,0,0,1,1,0,0,0,0,0,0,1,0,0,0,0,0,0,0,0,0,0,0,1,0,0,0,0,1,1,0,0,0,0,0,0,1,0,0,0,0,0,0,0,0,0,0,0,1,0,0,0,0,1,1,0,0,0,0,0,0,1,0,0,0,0,0,0,0,0,0,0,0,0,0,0,0,0,1,1,0,0,0,0,0,0,0,0,0,0,0,0,0,0,0,0,0,0,1,0,0,0,0,1,1,0,0,0,0,0,0,1,0,0,0,0,0,0,0,0,0,0,0,1,0,0,0,0,1,1,0,0,0,0,0,0,1,0,0,0,0,0,0,0,0,0,0,0,1,0,0,0,0,1,1,0,0,0,0,0,0,1,0,0,0,0,0,0,0,0,0,0,0,1,0,0,0,0,1,1,0,0,0,0,0,0,1,0,0,0,0,0,0,0,0,0,0,0,1,0,0,0,0,1,1,1,1,1,1,1,1,1,1,1,1,0,0,1,1,0,0,0,0,1,0,0,0,0,1,1,0,0,0,0,0,0,0,0,0,0,0,0,0,1,0,0,0,0,1,0,0,0,0,1,1,0,0,0,0,0,0,0,0,0,0,0,0,0,1,0,0,0,1,1,1,1,1,1,1,1,0,0,0,0,0,0,0,0,0,0,0,0,0,1,0,0,0,1,0,0,0,0,0,1,1,0,0,0,0,0,0,0,0,0,0,0,0,0,1,0,0,0,1,0,0,0,0,0,1,1,0,0,0,0,0,0,0,0,0,0,0,0,0,1,1,1,1,1,0,0,0,0,0,1,1,0,0,0,0,0,0,0,0,0,0,0,0,0,0,0,0,0,0,0,0,0,0,0,1,1,0,0,0,0,0,0,0,0,0,0,0,0,0,0,0,0,0,1,0,0,0,0,0,1,1,0,0,0,0,0,0,0,0,0,0,0,0,0,1,0,0,0,1,0,0,0,0,0,1,1,0,0,0,0,0,0,0,0,0,0,0,0,0,1,0,0,0,1,0,0,0,0,0,1,1,0,0,0,0,0,0,0,0,0,0,0,0,0,1,0,0,0,1,0,0,0,0,0,1,1,0,0,0,0,0,0,0,0,0,0,0,0,1,1,0,0,0,1,0,0,0,0,0,1,1,1,1,1,1,1,1,1,1,1,1,1,1,1,1,1,1,1,1,1,1,1,1,1,1],
    "height": 25,
    "width": 25
    }
There is also a YouTube tutorial on map exporting and importing here - Tutorial on importing maps (Ver 1.0.0) on YouTube here - https://youtu.be/_lUWkL84bjA . There will likely be a further tutorial soon specific to the NPM package.
Component Schema
The modifiable schema - you can pass values and modify the following values - To add a custom map - add mapToLoad with the name of the JSON file containing the map data you exported before. You can add as many rooms as you want. This will load the map data and other metadata from the JSON, expecting the format as above.
    wallColor: {type: 'string', default: 'white'},
    floorColor: {type: 'string', default: 'white'},
    wallTexture: {type: 'string', default: 'none'},
    wallTexture2: {type: 'string', default: 'none'},
    wallTexture3: {type: 'string', default: 'none'},
    scale:{type: 'string', default: '1 1 1'},
    wallSize: {type:'string', default:'1'},
    wallHeight: {type:'string', default:'3'},
    mapToLoad: {type:'string', default: 'map'},
    mapSource: {type:'array', default:[]}
    indoor: {type:'boolean', default:false}
How to use in AFrame
An example of two entities using the room component to generate two separate maps, as show in the examples in the examples above. To pass custom textures, you must also load the textures into A-frame assets as you would normally and pass the component the ID of the asset you want to use.
This will install roomcreator componenet so you can use it in your project. mapToLoad is a reference to the json you generate for each map / room. Without this reference nothing will load. If no custum values are passed to the componenet it will load the defaults as detailed in the schema above.
    <!--rooms component examples with some customisation -->
     <a-entity id ="room" room="mapToLoad:mapTest; wallColor:red; wallTexture:brick;"></a-entity>
     <a-entity id ="room2"  position ='0 0 -30' room="mapToLoad:mapTest2; wallColor:green; wallTexture:brick;"></a-entity>
PLEASE NOTE:
Maps must be in the same directory as your AFrame scene.
Version Changes
- 1.3.1 - Improved readability of Documentation
- 1.3.0 - Readme documentaion updates
- 1.2.0 - NPM version of component lib with MapEditor for dev / local building of maps
- 1.1.0 - Updated UI and bugfixes
- 1.0 initial Release