sajjad-blur-overlay
Getting started
$ npm install sajjad-blur-overlay --save
Mostly automatic installation
$ react-native link sajjad-blur-overlay
Manual installation
iOS
- In XCode right click on project's name and choose Add Files to..
- Go to node_modules/sajjad-blur-overlay and select ios folder Now you're ready to require('sajjad-blur-overlay') inside your app!
Android
- Open up
android/app/src/main/java/[...]/MainApplication.java
- Add
import com.bluroverly.SajjadBlurOverlayPackage;to the imports at the top of the file - Add
new SajjadBlurOverlayPackage()to the list returned by thegetPackages()method
- Append the following lines to
android/settings.gradle:include ':sajjad-blur-overlay' project(':sajjad-blur-overlay').projectDir = new File(rootProject.projectDir, '../node_modules/sajjad-blur-overlay/android') - Insert the following lines inside the dependencies block in
android/app/build.gradle:compile project(':sajjad-blur-overlay')
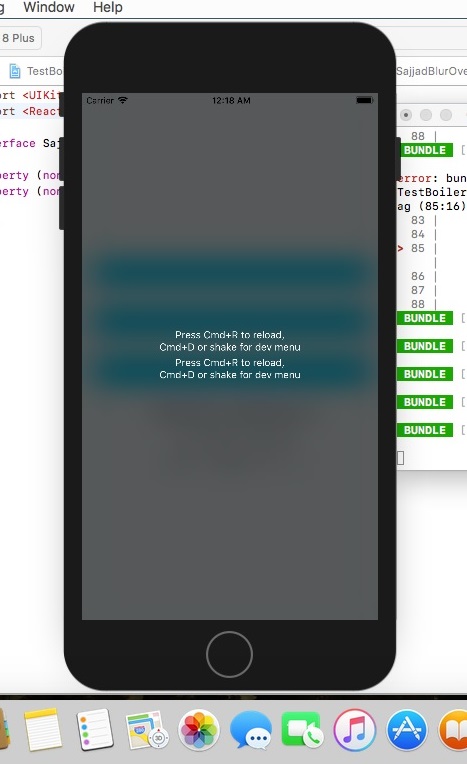
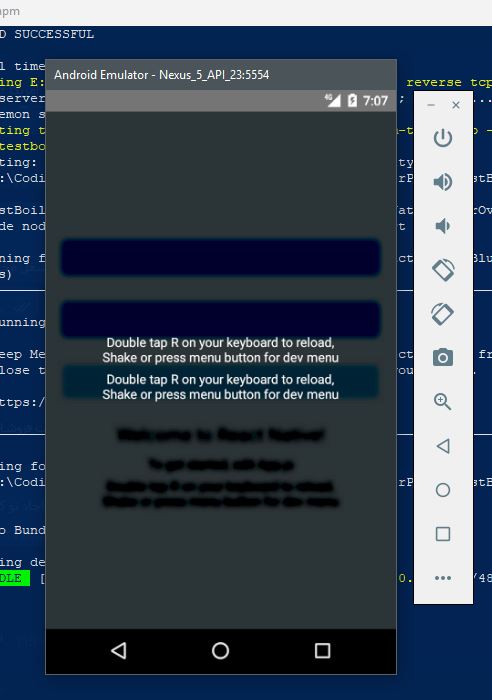
Usage
;;; const instructions = Platform; type Props = {};<Props> { superprops; thisstate = showBlurOverlay: false } { return <View style=stylesimage> <Text style=stylesinstructions2>instructions</Text> <Text style=stylesinstructions2>instructions</Text> </View> ; } { return <View style=stylescontainer> <TouchableOpacity onPress= { this } style=width: '90%' height: 36 backgroundColor: "#03A9F4" borderRadius: 4 margin: 16/> <Text style=styleswelcome>Welcome to React Native!</Text> <Text style=stylesinstructions>To get started edit Appjs</Text> <Text style=stylesinstructions>instructions</Text> thisstateshowBlurOverlay && <BlurOverlay radius=14 brightness=-200 onPress= { this; } customStyles=alignItems: 'center' justifyContent: 'center' blurStyle="dark" children=this /> </View> ; } const styles = StyleSheet; ## Props
android only:
 radius : Int (Between  0 to 24)
 brightness : float (Between -255 to 255 , 0 = nochange)

ios only :
  blurStyle: string ("light" , "extraLight" , "dark")

both platforms :
  onPress : func
  customStyles: style