
React Native Motion Splash


A Splash view that animates and reveals its content, inspired by the Twitter splash.
If you like this project, encourage me by giving a ⭐️. Happy hacking
Table of Contents
Installation
With npm:
$ npm install react-native-motion-splash --save
With yarn:
$ yarn add react-native-motion-splash
iOS
First step
First, run the following command to install Pods for iOS:
cd ios && pod install
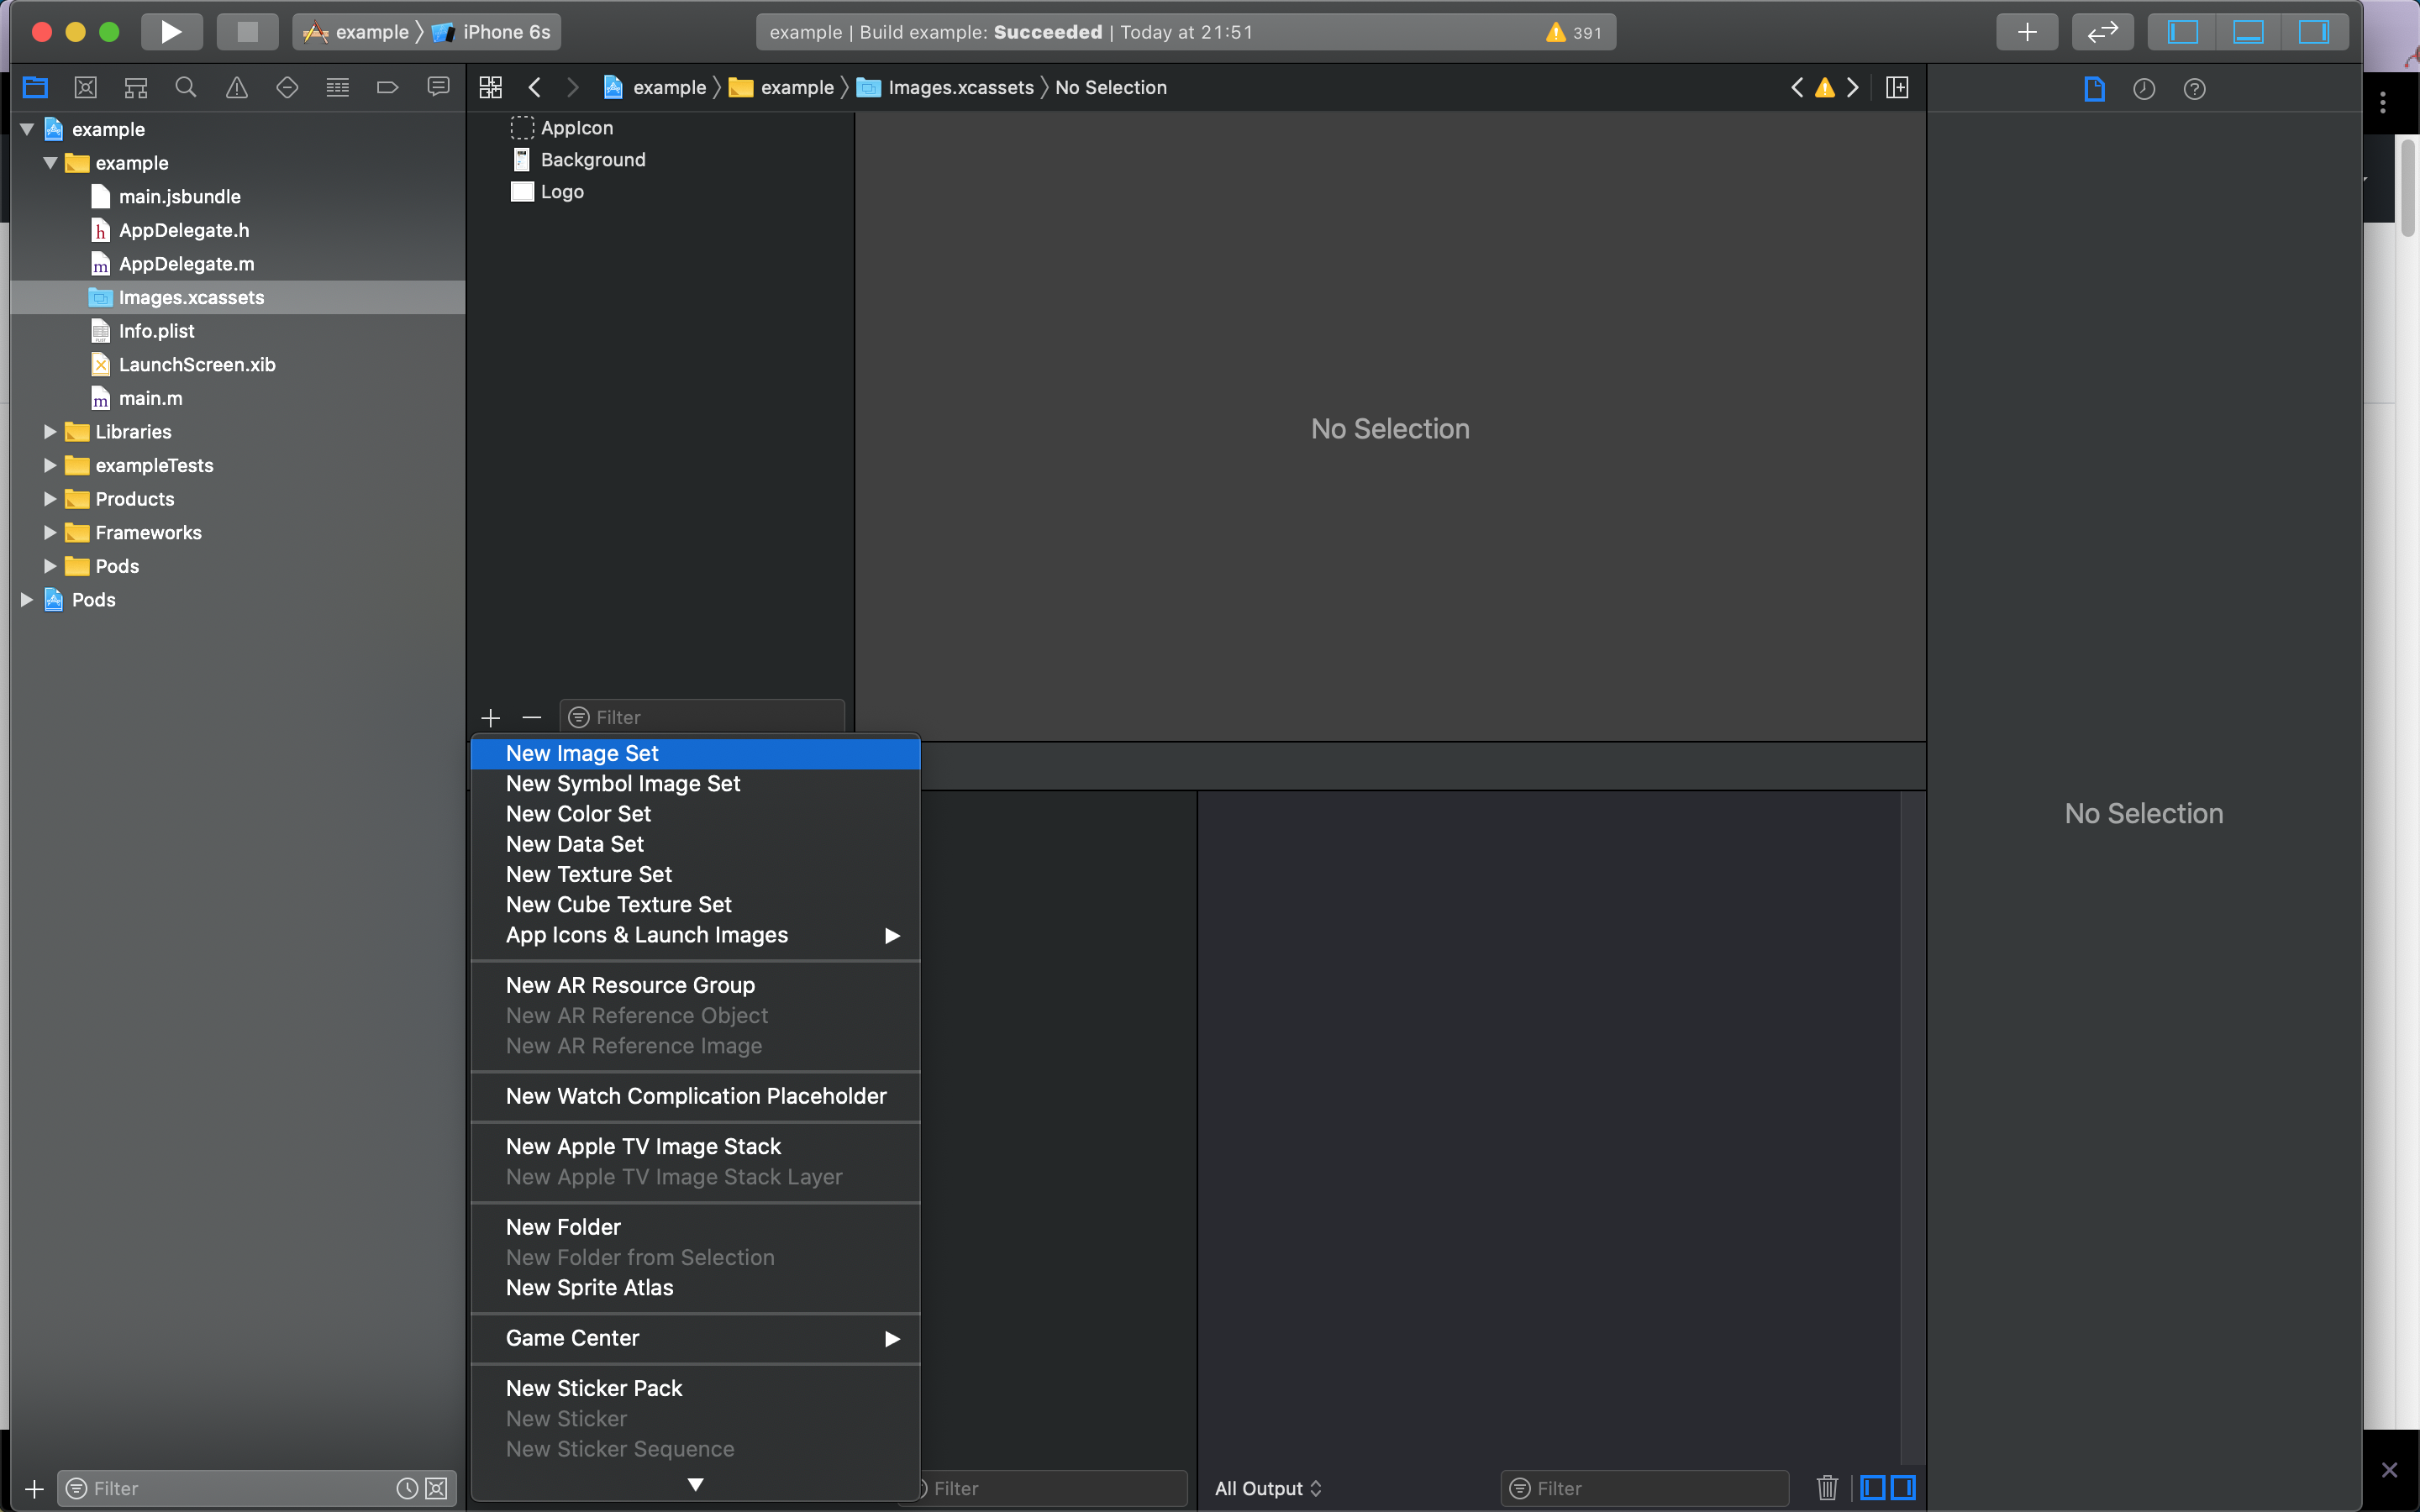
Next open your project in Xcode, and add a image set, and set the name for it whatever you want (Eg: in the image below its name is Logo). This image will be the main image which will be animated later:
Second step
Next open LaunchScreen.xib to setup a splash screen, this screen will be shown at the very first time when you app runs. First press CMD + Shift + L to show list of components, then choose an Image View and drag and drop it under the root View.
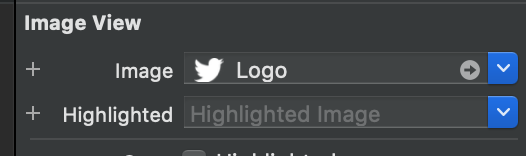
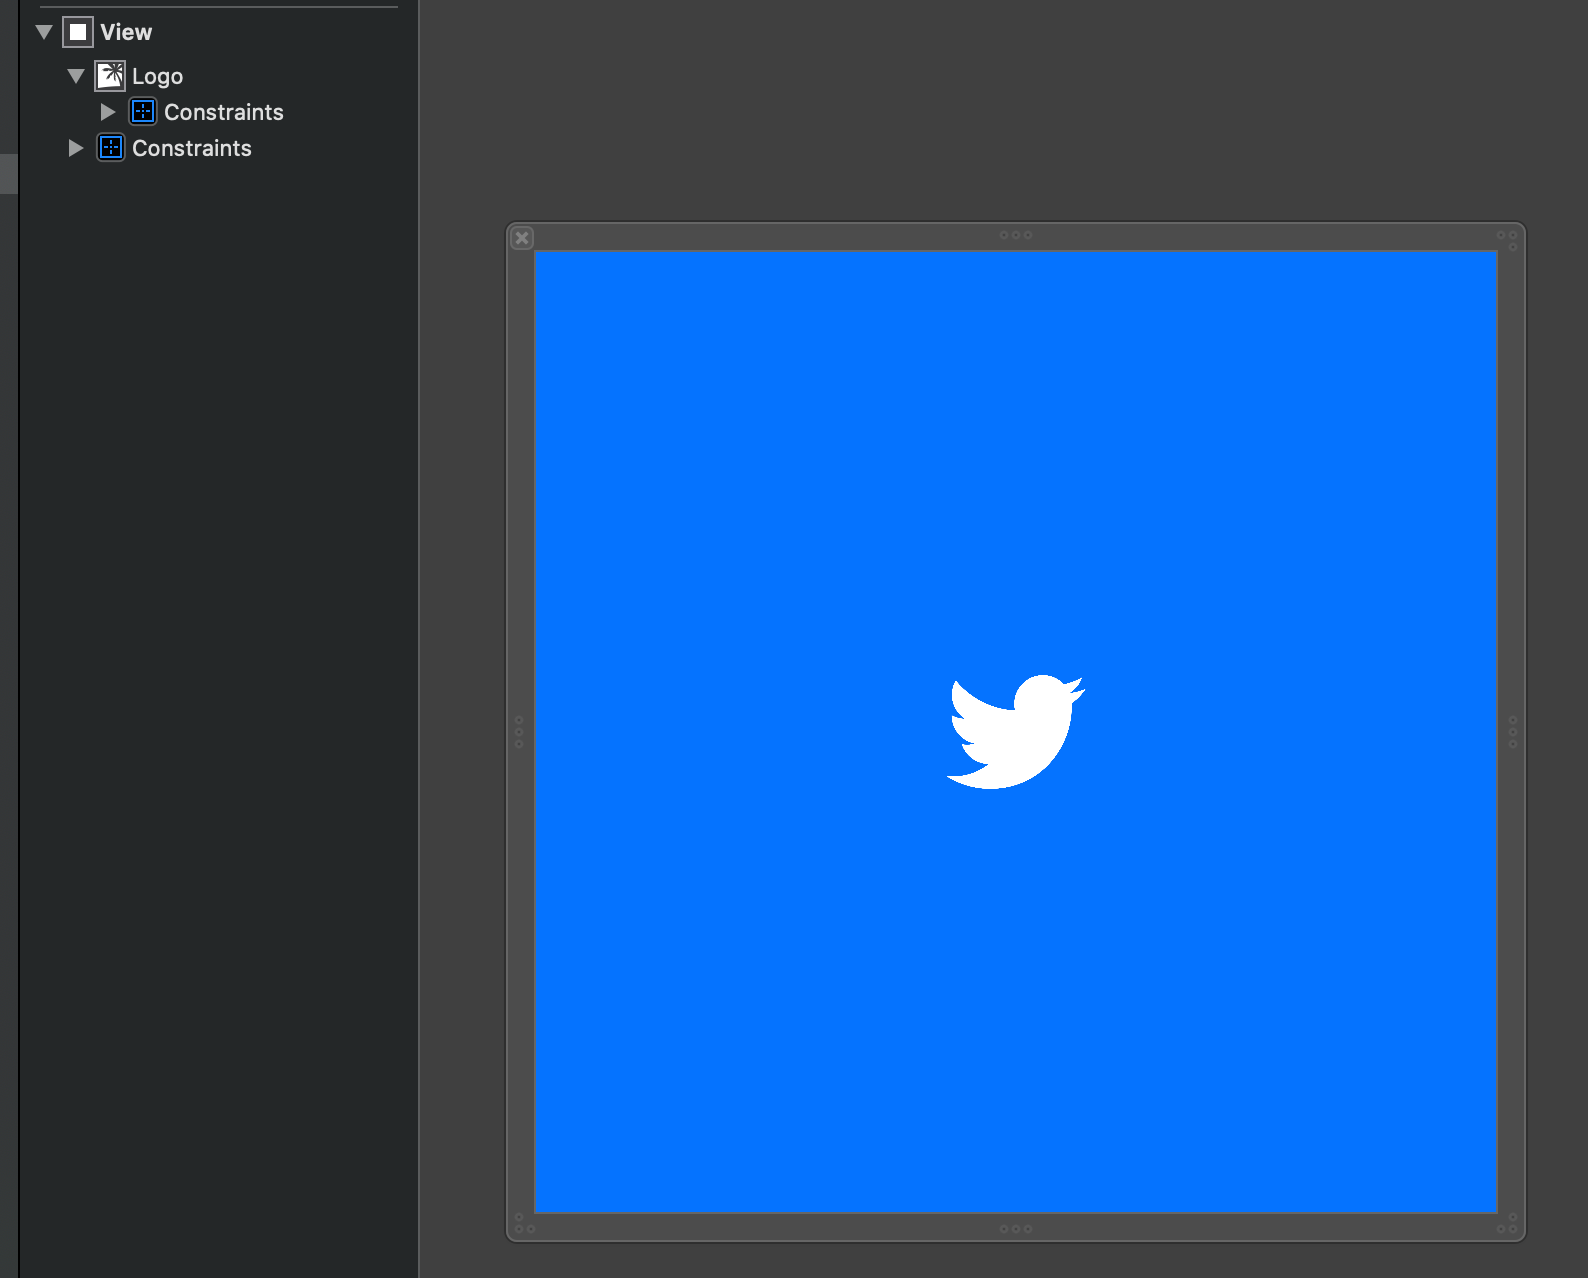
Then select the image view in the hierarchy and set the image for it:
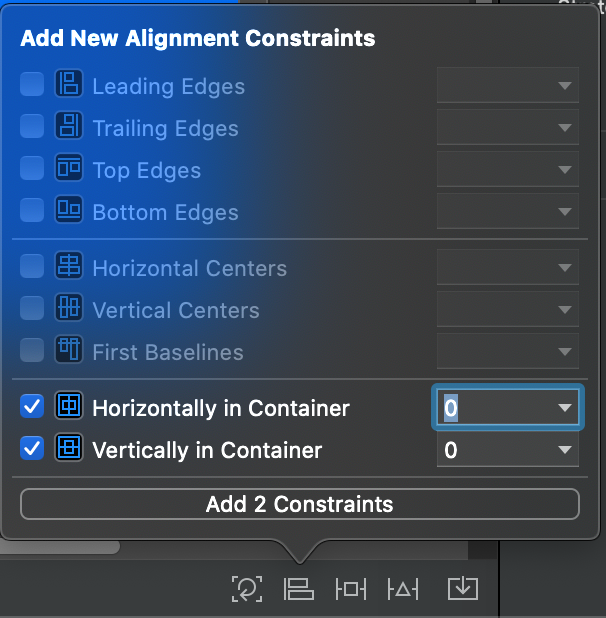
Next add constraints to the image like so:

Next select the root view and set background color for it by selection Background:
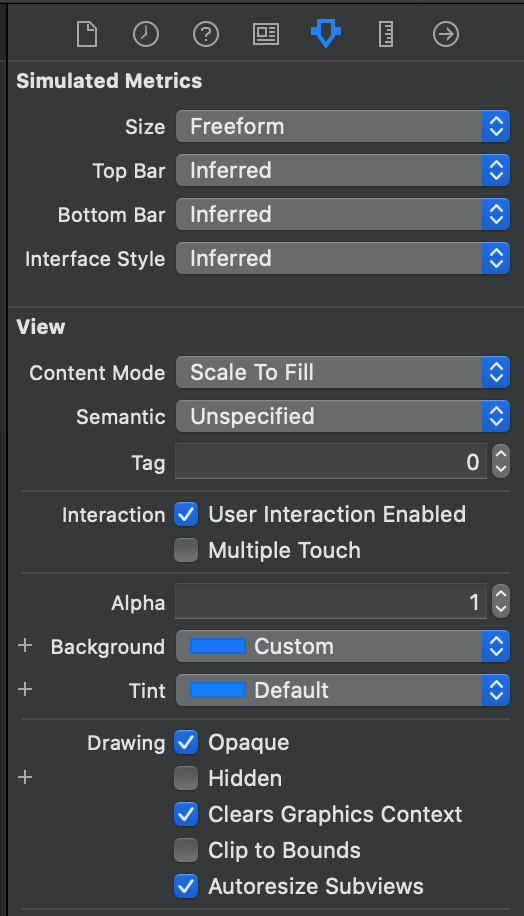
After all you should have this:
Third step
Next, open AppDelegate.m, and to function didFinishLaunchingWithOptions the following right before return YES:
// Add below lines to didFinishLaunchingWithOptions UIImage *img = ; // the name of your image CGSize iconInitialSize = CGSizeMake(70, 70); // (width, height) of your icon NSString *backgroundColor = @"#0573ff";;Note:
iconInitialSize: must match the size you setup in second step to perform best animation visualizationbackgroundColor: should also match the color of the root view you setup in second step inLaunchScreen.xib(you can useDigital Color Meterbuilt-in on Mac to check Hexa color code)
Android
Open android/build.gradle and set minSdkVersion to 21.
Add you icon to android/app/src/main/res/mipmap, you should add the icon to all supported dimensions.
Create colors.xml in android/app/src/main/res/values. And add the following content:
#33B5E5 <!-- you can choose whatever color you want --> Next, create android/app/src/main/res/values/background_splash.xml with the following content:
Next, open android/app/src/main/res/values/styles.xml, and change to following:
<!-- Base application theme. --> <!-- Customize your theme here. --> #000000 <!-- Add this section --> @drawable/background_splash true Now add SplashActivity.java in android/app/src/main/java with the following content:
Next open MainActivity.java and add the following:
...@Overrideprotected void { super.; Size iconInitialSize = new Size(70, 70); String backgroundColor = .; MotionSplash.;}Finally, open android/app/src/main/java/AndroidManifest.xml, and update applcation to:
.......Usage
Basic
{ MotionSplash // use Twitter reveal animation as default} //orAnimation types
There are several of animations you choose from, just pass the animation name into MotionSplash.animate('animationType')
Its the default animation that Twitter use for their app. If animationType is not set it will default to this one.
HeartBeat
HeartBeat like animation, unlike the other animations, this special animation allows you to continue to animate until a function its called. This could be more entertaining to the user than having a quick launch and waiting on a spinning wheel if the app needs to fetch more data.
To use the Heartbeat animation you should use MotionSplash.animate('HeartBeat') as normal and then proceed with your network or background job. When you are done, just call:
MotionSplashAnd the splashview should dismiss:

To set the number of minimum beats per round trip, use:
MotionSplash;Rotate Out
Similar to the Twitter one but rotating while zooming out.
MotionSplash
Pop and Zoom Out
Pop the view a couple of times and zoom out.
MotionSplash
Squeeze and Zoom Out
Squeeze the view and zoom out.
MotionSplash
Swing and Zoom Out
Swings the view and zoom out.
MotionSplash
Wobble and Zoom Out
Wobbles the view and zoom out.
MotionSplash
Advanced
Using background image
If you want to add a background image after the animated icon instead of using background color. Do the following:
Go to ios/YourProject/AppDelegate.m and change to:
UIImage *img = ;UIImage *backgroundImage = ; // NOTE this line, here is the name of your background image CGSize iconInitialSize = CGSizeMake(70, 70);;Go to android/app/src/main/res/drawable/background_splash.xml and change to the following:
<!-- Your background image here --> Then go to android/app/src/main/java/MainActivity.java and change like follow:
@Overrideprotected void { super.; Size iconInitialSize = new Size(70, 70); MotionSplash.;} // Note the "R.id.logo_background" above, that must match the id in the drawable xml Now reload your app to see the change
Icon tint color
To change the tint color of the animated icon or background image, use the following:
MotionSplash;// true will be applied to the animated icon// false applied for the background image (if set)Compare with other libraries
react-native-boot-splashrequires you to useStoryboardfor iOS, and their tool is also do some configurations for you in order to make it work (Eg: changingInfo.plist). So in the future if you don't want to use that library and want to go back to the original structure, it's maybe hard- on iOS both
react-native-boot-splashandreact-native-splash-screenidea is animate the whole splash screen, this make it's impossible in cases you have more than 1 objects on the splash screen and you just want animate the center one (for example)
By creating splash screen manually using native code under the hood, react-native-motion-splash have full control of how the splash screen should be shown, how it should be animated. That's why RNMotionSplash can perform more animations.
Demo
A fully working demo is located at example folder
Thanks
Big thanks to Pixel16 of his great work that inspires me to create this library.