
react-inspector


Power of Browser DevTools inspectors right inside your React app. Check out the interactive playground or storybook.

Install
NPM:
npm install react-inspectorRecommended versions:
- version
3.0.2: If you are using React 16.8.4 or later. - version
2.3.1: If you are using an earlier version of React.
Getting started
<Inspector />
A shorthand for the inspectors.
-
<Inspector/>is equivalent to<ObjectInspector>or<DOMInspector>if inspecting a DOM Node. -
<Inspector table/>is equivalent to<TableInspector>.
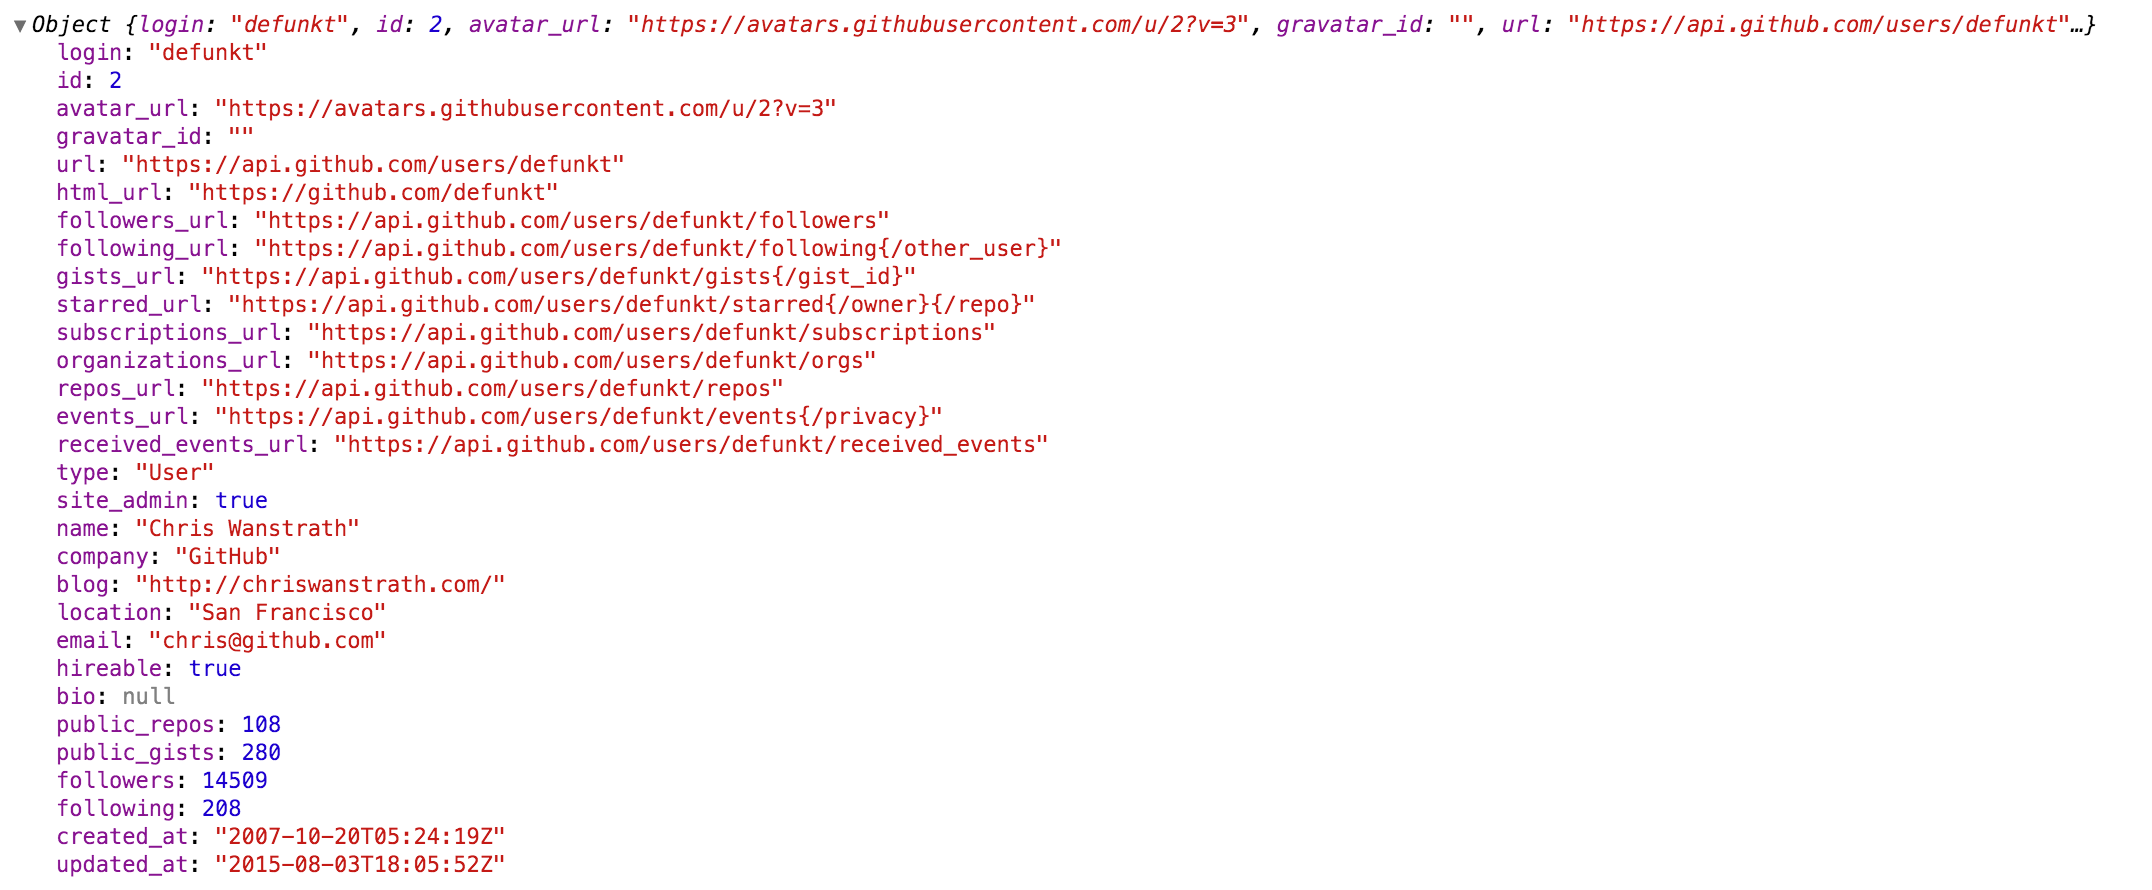
<ObjectInspector />
Like console.log. Consider this as a glorified version of <pre>JSON.stringify(data, null, 2)</pre>.
How it works
Tree state is saved at root. If you click to expand some elements in the hierarchy, the state will be preserved after the element is unmounted.
API
The component accepts the following props:
data: PropTypes.any: the Javascript object you would like to inspect
name: PropTypes.string: specify the optional name of the root node, default to undefined
expandLevel: PropTypes.number: an integer specifying to which level the tree should be initially expanded
expandPaths: PropTypes.oneOfType([PropTypes.string, PropTypes.array]): an array containing all the paths that should be expanded when the component is initialized, or a string of just one path
- The path string is similar to JSONPath.
- It is a dot separated string like
$.foo.bar.$.foo.barexpands the path$.foo.barwhere$refers to the root node. Note that it only expands that single node (but not all its parents and the root node). Instead, you should useexpandPaths={['$', '$.foo', '$.foo.bar']}to expand all the way to the$.foo.barnode. - You can refer to array index paths using
['$', '$.1'] - You can use wildcard to expand all paths on a specific level
- For example, to expand all first level and second level nodes, use
['$', '$.*'](equivalent toexpandLevel={2})
- For example, to expand all first level and second level nodes, use
- It is a dot separated string like
- the results are merged with expandLevel
showNonenumerable: PropTypes.bool: show non-enumerable properties
sortObjectKeys: PropTypes.oneOfType([PropTypes.bool, PropTypes.func]): Sort object keys with optional compare function
When sortObjectKeys={true} is provided, keys of objects are sorted in alphabetical order except for arrays.
nodeRenderer: PropTypes.func: Use a custom nodeRenderer to render the object properties (optional)
-
Instead of using the default
nodeRenderer, you can provide a custom function for rendering object properties. The default nodeRender looks like this:import { ObjectRootLabel, ObjectLabel } from 'react-inspector' const defaultNodeRenderer = ({ depth, name, data, isNonenumerable, expanded }) => depth === 0 ? <ObjectRootLabel name={name} data={data} /> : <ObjectLabel name={name} data={data} isNonenumerable={isNonenumerable} />;
<TableInspector />
Like console.table.
API
The component accepts the following props:
data: PropTypes.oneOfType([PropTypes.array, PropTypes.object]): the Javascript object you would like to inspect, either an array or an object
columns: PropTypes.array: An array of the names of the columns you'd like to display in the table
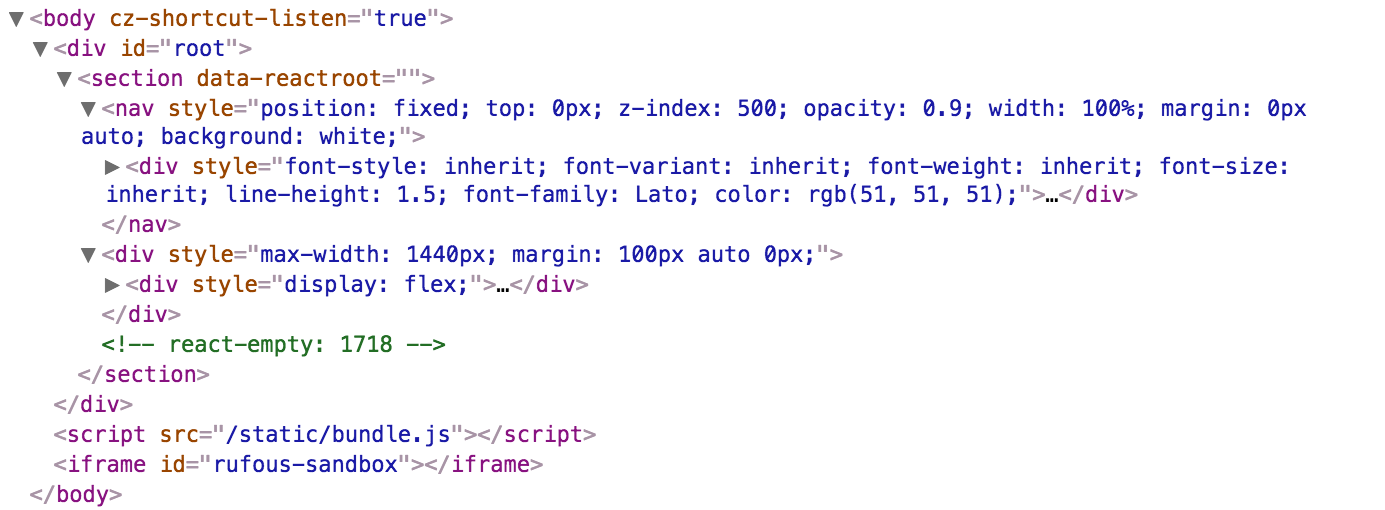
<DOMInspector />
API
The component accepts the following props:
data: PropTypes.object: the DOM Node you would like to inspect
Usage
import { ObjectInspector, TableInspector } from 'react-inspector';

// or use the shorthand
import { Inspector } from 'react-inspector';

const MyComponent = ({ data }) =>
  <div>
    <ObjectInspector data={data} />
    <TableInspector data={data} />

    <Inspector data={data} />
    <Inspector table data={data} />
  </div>

let data = { /* ... */ };

ReactDOM.render(
  <MyComponent data={data} />,
  document.getElementById('root')
);
Try embedding the inspectors inside a component's render() method to provide a live view for its props/state (Works even better with hot reloading).
More Examples
Check out the storybook for more examples.
npm install && npm run storybookTheme
By specifying the theme prop you can customize the inspectors. theme prop can be
- a string referring to a preset theme (
"chromeLight"or"chromeDark", default to"chromeLight") - or a custom object that provides the necessary variables. Checkout
src/styles/themesfor possible theme variables.
Example 1: Using a preset theme:
<Inspector theme="chromeDark" data={{a: 'a', b: 'b'}}/>Example 2: changing the tree node indentation by inheriting the chrome light theme:
import { chromeLight } from 'react-inspector'

<Inspector theme={{...chromeLight, ...({ TREENODE_PADDING_LEFT: 20 })}} data={{a: 'a', b: 'b'}}/>
Roadmap
Type of inspectors:
- [x] Tree style
- [x] common objects
- [x] DOM nodes
- [x] Table style
- [ ] Column resizer
- [ ] Group style
Contribution
Contribution is welcome. Past contributors
Additional
- If you intend to capture
console.logs, you may want to look atconsole-feed. -
react-object-inspectorpackage will be deprecated.<ObjectInspector/>is now part of the new packagereact-inspector. - Why inline style? This document summarizes it well.