[日本語]
A Node-RED node for providing access to BLE(Bluetooth Low Energy) devices called Linking devices.
See Project Linking for more information about the Linking Device.
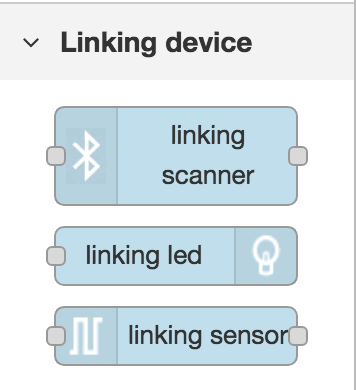
There are following three nodes:
- linking-scanner : To get beacon(sensor) data from Linking device
- linking-sensor : To connect to Linking device and get sensor data
- linking-led : To connect to Linking device and turn on LED.
- Tukeru TH (temperature, humidity, LED)
- Sizuku THA (temperature, humidity, pressure, LED)
- Tomoru / Tomoru full-color (LED)
- Sizuku LED
- Pochiru / Pochiru(eco) (button, LED)
- Sizuku 6x (gyroscope, accelerometer, orientation, LED)
- Sizuku Lux (illuminance, LED)
- Oruto (motion sensor)
Note: Actual test has only be done with Tukeru TH, Sizuku THA, Sizuku Lux and Pochiru(eco).
- Furueru (Vibration)
- Oshieru (door sensor)
- Kizuku (Vibration sensor)
- BLEAD-TSH-LK
- Linux OS (Tested on Raspberry Pi 3)
- nodejs >= 8.0 (Tested by v8.11.3)
- node-red (Tested by v0.18.7)
- noble : Using modified version maintained by jrobeson/noble which doesn't work on MacOS.
- node-linking
sudo apt-get -y install bluetooth libbluetooth-dev libudev-dev
In your node-red directory:
npm install node-red-contrib-linking-device
node-red-stop && node-red-start
1.After installation you can see theree new nodes in Linking device category of pallete.
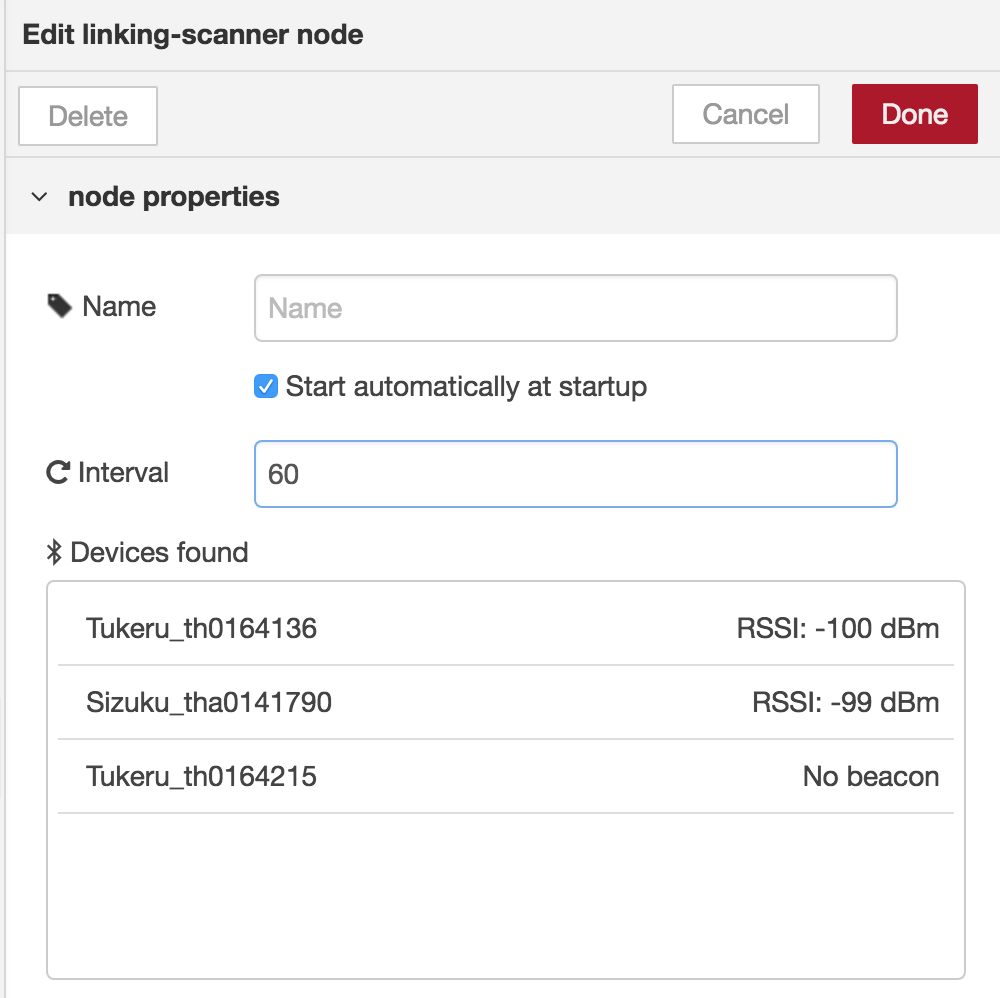
2.Drag-and-Drop the linking-scanner node into workspace, then double-click it.
- Check
Start automatically at startup - Set
Intervalto 60 (seconds).
3.Drag-and-Drop debug node then connect it with linking-scanner.

4.Press Deploy
You can see output messages like below every 60 seconds in debug tab.
msg: {
  advertisement: object,
  payload: {
    device: "Sizuku_tha0141790",
    service: "temperature",
    data: 25.625
  },
  topic: "Sizuku_tha0141790_temperature"
}
advertisement is a LinkingAdvertisement object of node-linking. You can get detailed information like rssi from the object.
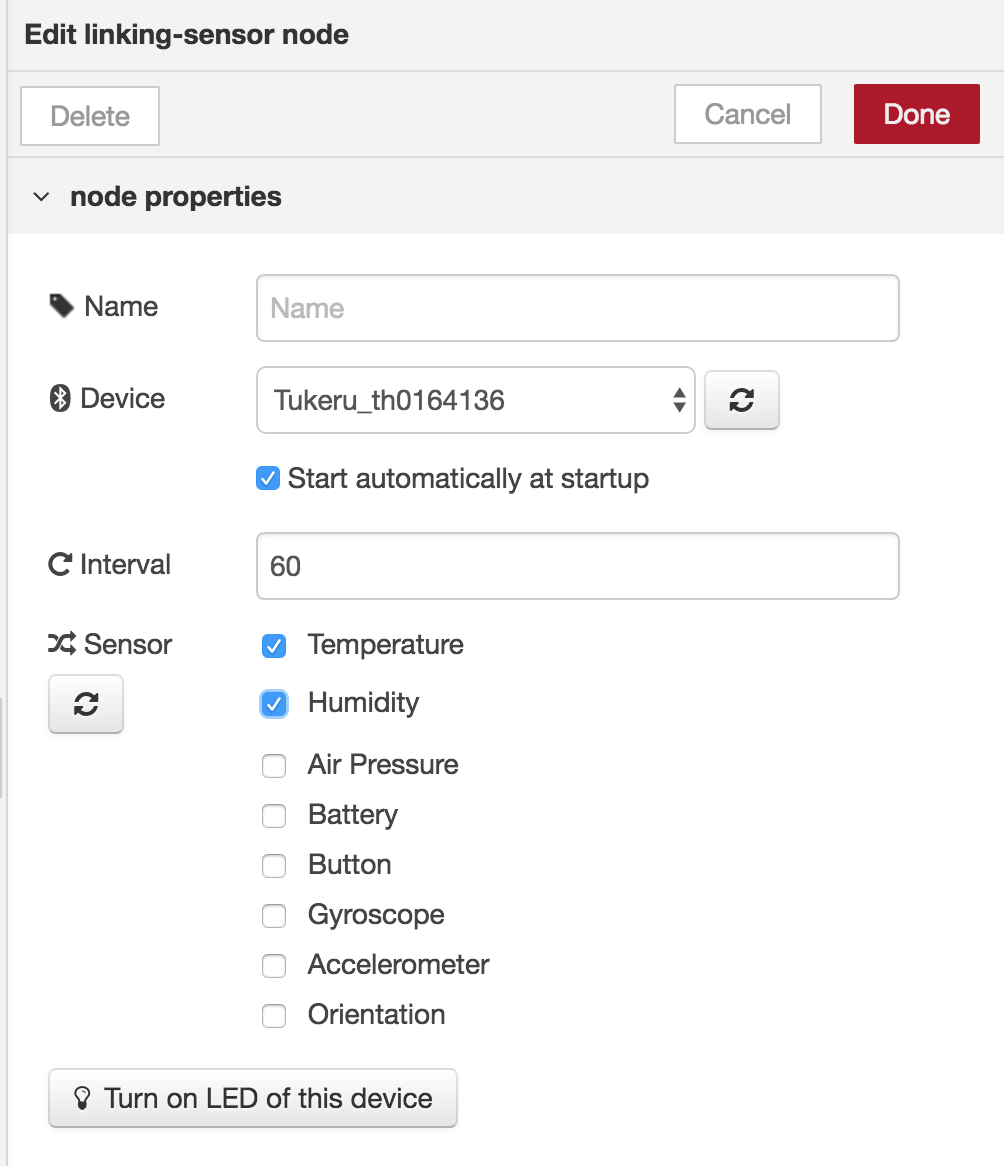
1.Drag-and-Drop the linking-sensor node into workspace, then double-click it.
- Select device
- Check
Start automatically at startup - Select type of sensor (you might have to wait 10~20 seconds to get available sensors).
- Set
Intervalto 60 (seconds).
2.Drag-and-Drop debug node then connect it with linking-scanner.

3.Press Deploy
You can see output messages like below every 60 seconds in debug tab.
msg: {
  payload: {
    device: "Sizuku_tha0141790",
    service: "temperature",
    data: 25.625
  },
  topic: "Sizuku_tha0141790_temperature"
}
It's almost the same with linking-scanner except advertisement.
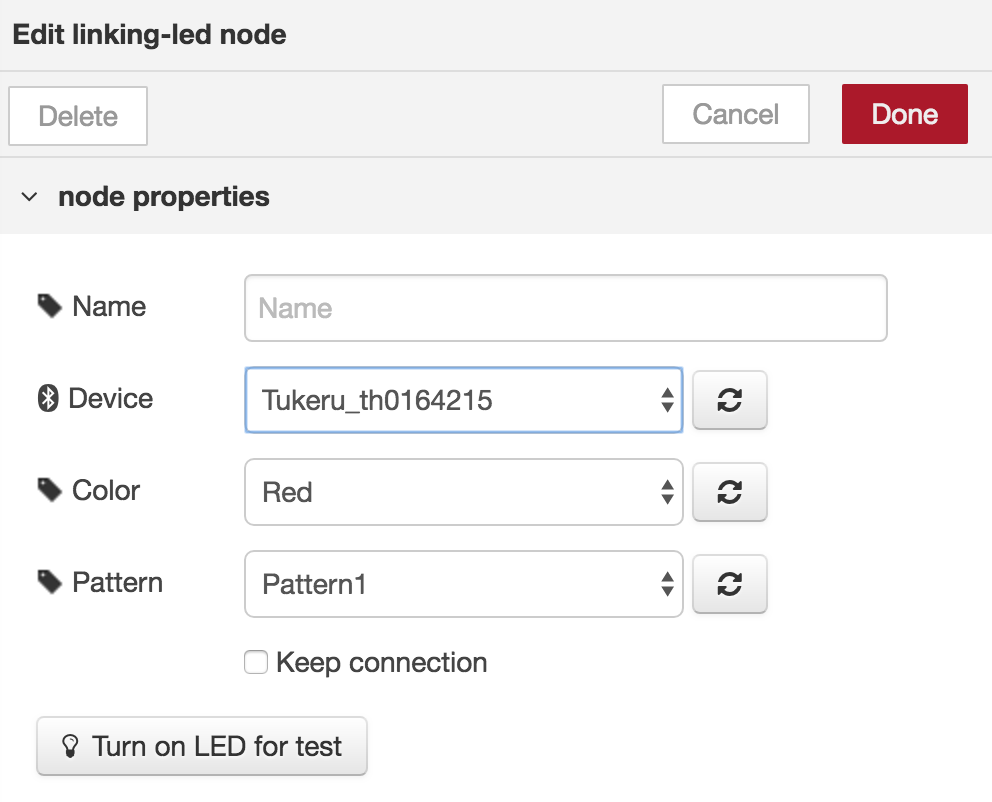
1.Drag-n-Drop the linking-led node into workspace, then double-click it.
- Select device
- Select color and pattern (you might have to wait 10~20 seconds to get available colors and patterns).
- Select type of sensor
2.Drag-n-Drop inject node then connect it with linking-scanner.
- Set payload of inject node to boolean
true
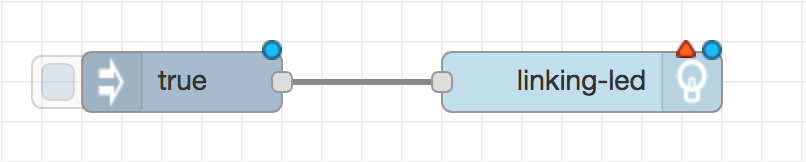
3.Press deploy
4.Click inject node and see the LED turns on
You might have to wait 10~20 seconds to turn on LED.
Keeping connection extends battery life of Linking Device.
Range of Linking Device is not so long. If connection is unstable I recommend to use linking-scanner only.
If you use linking-sensor, use also linking-scanner. If linking-sensor fails to connect to the device, linking-scanner ges sensor data.
It takes 10-20 seconds to turn on LED when device is disconnected. Setting "Keep connection" in edit dialog will keep the device connectiong. But in the device is connected, linking-scanner can't get sensor from beacon signal. You should use linking-sensor in this case.
- node-linking : node-red-contrib-linking-device is heavily relied on this library. Thanks!
Copyright (c) 2018 Takesh Inoue <inoue.takeshi@gmail.com>

Licensed under the Apache License, Version 2.0 (the "License");
you may not use this file except in compliance with the License.
You may obtain a copy of the License at

   http://www.apache.org/licenses/LICENSE-2.0

Unless required by applicable law or agreed to in writing, software
distributed under the License is distributed on an "AS IS" BASIS,
WITHOUT WARRANTIES OR CONDITIONS OF ANY KIND, either express or implied.
See the License for the specific language governing permissions and
limitations under the License.