node-red-contrib-azure-table-storage-aleph
node-red-contrib-azure-table-storage-aleph is a Node-RED node that allows you to work with Azure Table Storage. You can do all CRUD into Table Storage.
It contains one Node-RED cloud node: Azure Table Storage

Azure Table Storage
Node-Red node to connect to Azure Table Storage
This node allows you to do CRUD into Azure Table Storage. It has the following payload format:
To save entity
{
  "tableName": "name",
  "action": "I",
  "partitionKey": "part1",
  "rowKey": "row1",
  "data":
        {
          "Column": "Value"
        }
}
- If you send data as JSON, the node will save each key as a column.
To read entity
{
  "tableName": "name",
  "action": "R",
  "partitionKey": "part1",
  "rowKey": "row1"
}
To delete entity
{
  "tableName": "name",
  "action": "D",
  "partitionKey": "part1",
  "rowKey": "row1"
}
To update entity
{
  "tableName": "name",
  "action": "U",
  "partitionKey": "part1",
  "rowKey": "row1",
  "data":
        {
          "Column": "Value"
        }
}
To query entity
{
  "tableName": "name",
  "action": "Q",
  "selectdata": "columnName",
  "fromcolumn": "from",
  "where": "equalCondition",
  "top": 5
}
"top" can be 0 or null to retrieve all matches
To delete table
{
  "tableName": "name",
  "action": "DT"
}
Installation
npm install -g node-red-contrib-azure-table-storage-aleph
How to Use
Node-RED Setup
Follow the instructions here to get Node-RED setup locally.
Working with Azure Table Storage node
-
Open Node-RED, usually: http://127.0.0.1:1880
-
Go to Hamburger Menu -> Import -> Clipboard

-
Paste the following code into the "Import nodes" dialog
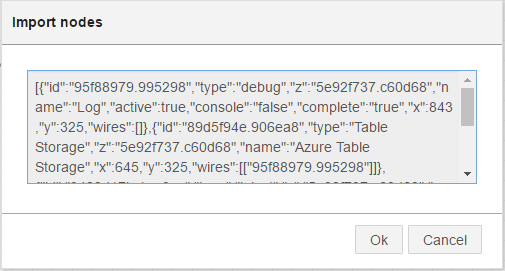
[{"id":"95f88979.995298","type":"debug","z":"5e92f737.c60d68","name":"Log","active":true,"console":"false","complete":"true","x":843,"y":325,"wires":[]},{"id":"89d5f94e.906ea8","type":"Table Storage","z":"5e92f737.c60d68","name":"Azure Table Storage","x":645,"y":325,"wires":[["95f88979.995298"]]},{"id":"3429d17b.1ea3ce","type":"inject","z":"5e92f737.c60d68","name":"Payload","topic":"","payload":"{ \"tableName\": \"name\", \"action\": \"I\", \"partitionKey\": \"part2\", \"rowKey\": \"row1\", \"data\": { \"Column\": \"Value\" } }","payloadType":"json","repeat":"","crontab":"","once":false,"x":424,"y":325,"wires":[["89d5f94e.906ea8"]]}] -
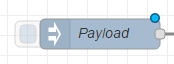
Double-click the Payload node
-
Enter your desired payload, following the instructions, into the Payload field and click Done. Check "Inject once at start?" to insert data when you click Deploy.

-
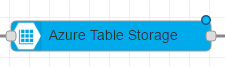
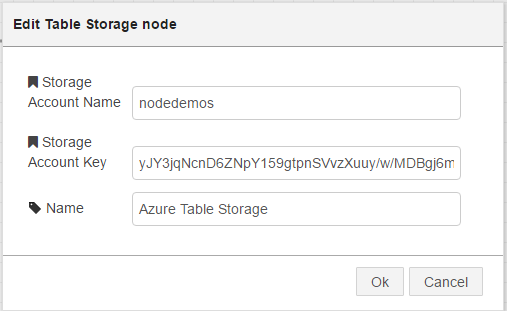
Double-click the Azure Table Storage node, enter your Storage Account Name and Storage Account Key and click Done.
-
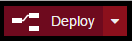
Click Deploy
-
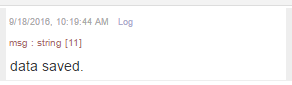
Click the square button on the left side of the Register Payload node.
-
Click on the debug tab to your right and you'll see the device's primary and secondary keys.
References
You can read more about Azure Storage here.