


Overview
Installation
npm install dem2mesh
alternatively:
yarn add dem2mesh
Initialization
let dem2meshimport'dem2mesh'Usage
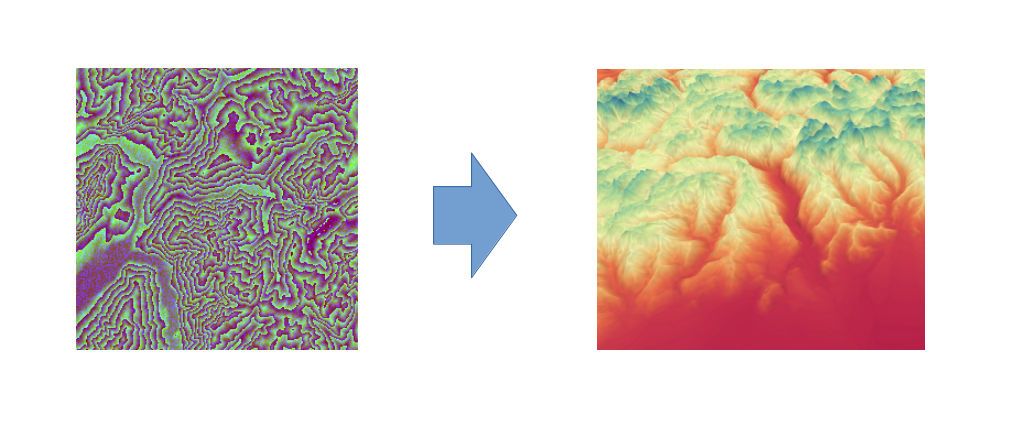
Currently works with 256x256px PNG images as input. The PNG images come from the terrain tile dataset hosted on Amazon.
cf. Get started with Mapzen Terrain Tiles.
The current s3 url format is:
https://s3.amazonaws.com/elevation-tiles-prod/terrarium/${z}/${x}/${y}.png
Fetch one png tile to work with:
let png Once initialized the dem2mesh exposes two functions:
dem2mesh.png2elevationdem2mesh.png2mesh
dem2mesh.png2elevation(png)
Returns a Float32Array of size 256*256 containing elevation data which can be used to set the positions of a PlaneBufferGeometry geometry.
const heightmap = dem2meshconst geometry = size size segments + 2 segments + 2const nPosition = Mathconst nHeightmap = Mathconst ratio = nHeightmap / nPositionlet x yfor let i = nPosition; i < geometryattributespositioncount - nPosition; i++ if i % nPosition === 0 || i % nPosition === nPosition - 1 continue x = Math y = i % nPosition geometryattributespositiondem2mesh.png2mesh(png, size, segments)
Returns 3 arrays, position, index and uv wich can be used to create a three.js BufferGeometry.
const position index uv = dem2meshconst geometry = geometrygeometrygeometrygeometryAbout
This package was built upon the wasm-pack-template.
📚 Read the template tutorial! 📚
The wasm-pack-template is designed for compiling Rust libraries into WebAssembly and
publishing the resulting package to NPM.
Be sure to check out other wasm-pack tutorials online for other
templates and usages of wasm-pack.
🚴 Contribution
🐑 Clone this Template
git clone https://github.com/blaze33/dem2mesh.git
cd dem2mesh
🛠️ Build with wasm-pack build
wasm-pack build
🔬 Test in Headless Browsers with wasm-pack test
wasm-pack test --headless --firefox
🔋 Batteries Included
wasm-bindgenfor communicating between WebAssembly and JavaScript.console_error_panic_hookfor logging panic messages to the developer console.wee_alloc, an allocator optimized for small code size.