Cordova Plugin Camera Preview
Cordova plugin that allows camera interaction from HTML code for showing camera preview below or above the HTML.
March 4, 2017 - We are currently drastically improving the plugin for a v1.0.0 release, in the meantime the API may change slightly. Please use master until a new version is released.
PR's are greatly appreciated. If your interested in maintainer status please create a couple PR's and then contact westonganger@gmail.com
Features
- Start a camera preview from HTML code.
- Drag the preview box.
- Set camera color effect.
- Send the preview box to back of the HTML content.
- Set a custom position for the camera preview box.
- Set a custom size for the preview box.
- Set a custom alpha for the preview box.
- Maintain HTML interactivity.
Android only features
These are some features that are currently Android only, however we would love to see PR's for this functionality in iOS.
- Zoom
- Auto focus
- Torch flash mode
Installation
Use any one of the installation methods listed below depending on which framework you use.
cordova plugin add https://github.com/cordova-plugin-camera-preview/cordova-plugin-camera-preview.git

ionic plugin add https://github.com/cordova-plugin-camera-preview/cordova-plugin-camera-preview.git

meteor add cordova:cordova-plugin-camera-preview@https://github.com/cordova-plugin-camera-preview/cordova-plugin-camera-preview.git#[latest_commit_id]

<plugin spec="https://github.com/cordova-plugin-camera-preview/cordova-plugin-camera-preview.git" source="git" />
Methods
startCamera(options, [successCallback, errorCallback])
Starts the camera preview instance.**Options:** All options stated are optional and will default to values here
x- Defaults to 0y- Defaults to 0width- Defaults to window.screen.widthheight- Defaults to window.screen.heightcamera- Options are 'front' and 'rear' - Defaults to 'rear'toBack- Defaults to false - Set to true if you want your html in front of your previewtapPhoto- Defaults to true - Does not work if toBack is set to false in which case you use the takePicture methodpreviewDrag- Defaults to true - Does not work if toBack is set to false
CameraPreview;When setting the toBack to true, remember to add the style below on your app's HTML or body element:
stopCamera([successCallback, errorCallback])
Stops the camera preview instance.
CameraPreview;switchCamera([successCallback, errorCallback])
Switch between the rear camera and front camera, if available.
CameraPreview;show([successCallback, errorCallback])
Show the camera preview box.
CameraPreview;hide([successCallback, errorCallback])
Hide the camera preview box.
CameraPreview;takePicture(options, successCallback, [errorCallback])
Take the picture. It defaults to max supported picture resolution if no width or height specified. If width and height are specified, it will choose a supported photo size that is closest to width and height specified and has closest aspect ratio to the preview. The argument quality defaults to 85 and specifies the quality/compression value: 0=max compression, 100=max quality.
CameraPreview; // OR if you want to use the default options. CameraPreview;setFlashMode(flashMode, [successCallback, errorCallback])
Set the flash mode. Available flash modes are off, on, auto, torch. Torch mode is currently Android only
CameraPreview;setColorEffect(colorEffect, [successCallback, errorCallback])
Set the color effect.
iOS Effects: none, mono, negative, posterize, sepia.
Android Effects: none, mono, negative, posterize, sepia, aqua, blackboard, solarize, whiteboard
CameraPreview;setZoom(zoomMultiplier, [successCallback, errorCallback])
Set the zoom level. zoomMultipler option accepts an integer. Zoom level is initially at 1
CameraPreview;setPreviewSize([dimensions, successCallback, errorCallback])
Change the size of the preview window.
CameraPreview;getSupportedPictureSizes(cb, [errorCallback])
CameraPreview;IOS Quirks
It is not possible to use your computers webcam during testing in the simulator, you must device test.
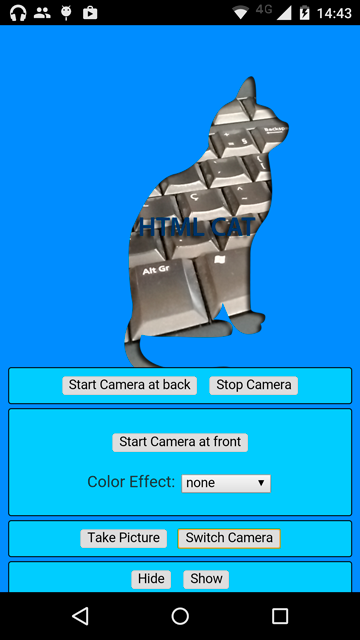
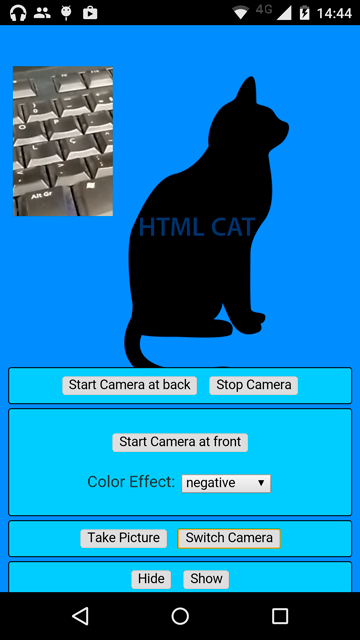
Sample App
cordova-plugin-camera-preview-sample-app for a complete working Cordova example for Android and iOS platforms.
Screenshots
Credits
Maintained by Weston Ganger - @westonganger
Created by Marcel Barbosa Pinto @mbppower