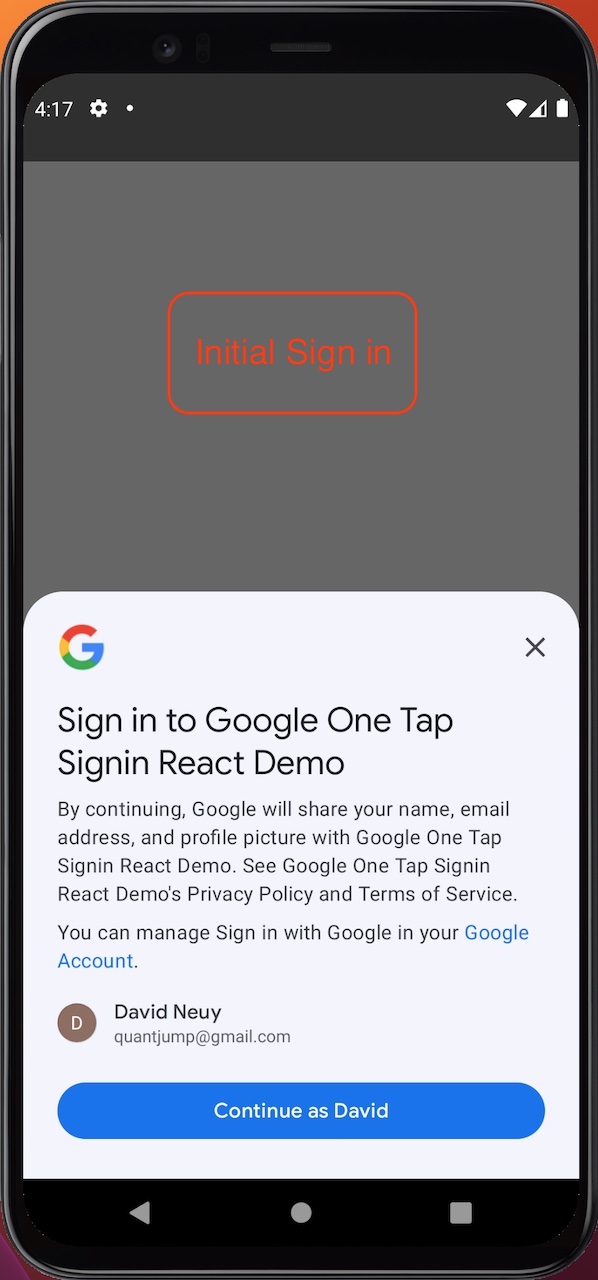
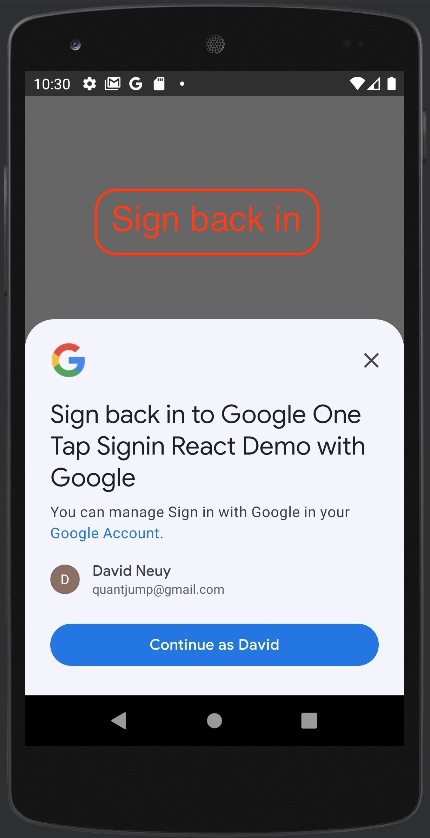
Wraps the native android, iOS and JavaScript Google Identity Services api for ionic capacitor apps.
- Automatically signs in returning users (unless signed out). No user action is required, but a status UI is displayed briefly, except on iOS.*
- New users can sign-up with one tap.
- After sign-out users can sign-in with one tap.
- You can attach a handler to your own custom sign-in button.
* For iOS, the GoogleSignIn library stores and loads the AuthSession with idToken in the keychain until signed-out. To avoid any UI for Android and Web, you could create your own authentication cookie. To create your own auth cookie, send the Google idToken to your server, verify it, create a JWT and return it as cookie. When the user returns, just verify your JWT cookie.
This GoogleSignIn library intends to provide the best google authentication experience for each platform.
After a successful authentication, the idToken is returned as base64 and as object.
The android minSdkVersion is 24. Tested with android 10 and above.
The major version of this plugin indicates the capacitor version that it is compatible with.
npm i --save capacitor-native-google-one-tap-signinSee capacitor-native-google-one-tap-signin on NPM
npx cap updateAuthentication is based on cryptographic keys, so you need to create a client ID for each platform in Google Cloud Console.
-
For the web platform, you need to create a client ID of type "Web application". When creating the client ID for development add two "Authorized JavaScript origins". One with URI "http://localhost:3000" and one with URI "http://localhost". "Authorized redirect URIs" is not needed. Copy the generated client ID and pass it in the
initializecall. Note that if you host the app not on localhost or on a different port, you will either need to add more origins or add another client ID.
If you get the error[GSI_LOGGER]: The given origin is not allowed for the given client ID.even though you have set the origin, you should check the headers that your server sets. Requests from the iFrame created by the google library must include the origin header. The browser will only set the header for requests from an iFrame if your server does not set theReferrer-Policyheader tosame-origin. Configure your server to not set the header. Additionally it may be needed that your server responds with aCross-Origin-Opener-Policyheader value ofsame-origin-allow-popups. -
Android uses the web platform client ID in the plugin code, but additionally, you need to create a client ID of type "Android", as stated in Set up your Google APIs console project. The Android client ID consists of the package name and the SHA-1 fingerprint of your app package. The default debug signing key (AndroidDebugKey) is different on every computer, so the SHA-1 fingerprint will be different too. You just need to create the Android client ID, you do not need to include it in any config. It is linked to your app via the package name and SHA-1 signing certificate fingerprint of your app. Note that usually the signing certificate for developments builds is different than for app store builds so you will need to create a client ID for development builds and one for app store builds. The plugin will write your package name and SHA-1 in the error message if the authentication fails.
-
For the ios platform, you need to create a client ID of type iOS in the Google Cloud Console. Add the client ID to the
{your-app}/ios/App/App/Info.plistfile with the keyGIDClientID(see the demo app for reference). When creating the client ID, you will see the "iOS URL scheme" value in the Google Cloud Console. Add this also to theInfo.plistfile.
After some testing the Chrome browser may decide to block third-party sign-in prompts on localhost. In the browser console you will see the message Third-party sign in was disabled in browser Site Settings. Re-enable it under chrome://settings/content/federatedIdentityApi.
- How to see and disconnect the link between your google account and your app?
--> See Manage connections between your Google Account and third-parties - What does the warning
[GSI_LOGGER]: Your client application uses one of the Google One Tap prompt UI status methods that may stop functioning when FedCM becomes mandatory. Refer to the migration guide to update your code accordingly and opt-in to FedCM to test your changes. Learn more: https://developers.google.com/identity/gsi/web/guides/fedcm-migration?s=dc#display_moment and https://developers.google.com/identity/gsi/web/guides/fedcm-migration?s=dc#skipped_momentmean?
--> The warning is triggered when thegoogle.accounts.id.promptmethod is used with a callback argument. The message says "may stop functioning". The documentation states that some status methods asisSkippedMoment(),isDismissedMoment()andgetDismissedReason()are still allowed.
For the web platform the one-tap or FedCM prompt may not be shown with no error returned. Therefore it is recommened to always also show the button. The button also allows the user to select an account with which she did not sign-in previously.
import { GoogleOneTapAuth, SignInResultOption } from 'capacitor-native-google-one-tap-signin';

void GoogleOneTapAuth.initialize({ clientId: clientId });

const onResultHandler = async (signInResultOption: SignInResultOption) => {
  if (signInResultOption.isSuccess) {
    // If the user signed-in with the button, the UI may still be shown. So close it.
    await GoogleOneTapAuth.cancelOneTapDialog();
    console.log(signInResultOption.success!);
  } else {
    console.log(signInResultOption.noSuccess!);
  }
}
// Trigger auto sign-in and if not successful try one-tap sign-in. Pass a callback.
await GoogleOneTapAuth.tryAutoOrOneTapSignInWithCallback(onResultHandler);

// Add a handler to the button shown below. Pass a callback.
await GoogleOneTapAuth.addSignInActionToExistingButtonWithCallback(
  'google-signin-existing-btn-parent', 'google-signin-existing-btn', onResultHandler);
<!-- To display a nice google button, see https://github.com/inouiw/ReactSignInWithGoogleButton -->
<div id='google-signin-existing-btn-parent'>
<button id='google-signin-existing-btn'>Custom Sign-in Button</button>
</div>On Android and iOS, the Google button flow, that allows the user sign-in with a different account, can be triggered via an API call. To display a nice google button, see https://github.com/inouiw/ReactSignInWithGoogleButton
import { GoogleOneTapAuth, SignInResultOption } from 'capacitor-native-google-one-tap-signin';

void GoogleOneTapAuth.initialize({ clientId: clientId });

// Trigger auto sign-in and if not successful try one-tap sign-in.
let signInResultOption = await GoogleOneTapAuth.tryAutoOrOneTapSignIn();

if (signInResultOption.isSuccess === false) {
  // Start the sign-in with button flow.
  signInResultOption = await GoogleOneTapAuth.signInWithGoogleButtonFlowForNativePlatform();
}
console.log(signInResultOption);
// See the demo folder for an example application.This repository contains a demo app in the demo/react folder. See the README there.
To test it using an emulator, you need to create an emulator with android play services and API version 24 or higher. See my stackoverflow answer. For older API levels like 24, you may need to update Chrome after creating the emulator because the plugin targets JavaScript es2017.
Android, iOS, Web.
See https://developers.google.com/identity/gsi/web/guides/features
See src/definitions.ts for a complete definition.
/**
 * Performs common or one-time initializations.
 * For the web platform, starts pre-loading the google one tap JavaScript library.
 * initialize must be called before any other method.
 * initialize remembers if it was called so it is safe to be called multiple times.
 * Other methods wait till initialize is finished so you must not await initialize.
 * If you await the result, it will throw on error.
 * @param options
 */
initialize(options: InitializeOptions): Promise<void>;

/**
 * Tries to first auto-sign-in the user and if not successful uses one tap/click sign-in.
 * @returns A Promise that resolves to a result option object.
 */
tryAutoOrOneTapSignIn()
  : Promise<SignInResultOption>;

/**
 * Tries to first auto-sign-in and if not successful sign-in the user with one tap/click.
 * @param onResult A callback that is passed the result option object.
 */
tryAutoOrOneTapSignInWithCallback(onResult: (value: SignInResultOption) => void)
: Promise<void>;

/**
 * Tries to auto-sign-in the user without any user interaction needed.
 * If there is a single google account and that account has previously signed into the app,
 * then that user is auto signed in. A short popover is displayed during sign-in.
 * For android, sets FilterByAuthorizedAccounts to true. See https://developer.android.com/identity/sign-in/credential-manager-siwg
 * @returns A Promise that resolves to a result option object.
 */
tryAutoSignIn()
  : Promise<SignInResultOption>;

/**
 * Tries to show the sign-in UI without trying to auto sign-in the user.
 * For android, sets FilterByAuthorizedAccounts to false. See https://developer.android.com/identity/sign-in/credential-manager-siwg
 * @returns A Promise that resolves to a result option object.
 */
tryOneTapSignIn()
  : Promise<SignInResultOption>;

/**
 * Triggers a Sign in with Google button flow for android and iOS.
 * For native platforms, it will trigger the same handler as when a button
 * with addSignInActionToExistingButtonWithCallback is clicked.
 * For android the displayed UI is different than when tryOneTapSignIn is called.
 * @returns A Promise that resolves to a result option object.
 */
signInWithGoogleButtonFlowForNativePlatform()
  : Promise<SignInResultOption>;

/**
 * @deprecated Use addSignInActionToExistingButtonWithCallback instead.
 *
 * Allows using a custom sign-in button.
 * The element to which buttonParentId refers must have the style position: 'relative'.
 * For the web platform, the implementation renders the google button invisible in front of
 * the passed button.
 * @param buttonParentId
 * @param buttonId
 * @param onResult A callback that is passed the result option object.
 * @returns A Promise with a success result, that resolves when the signIn is successful.
 */
addSignInActionToExistingButton(
  buttonParentId: string,
  buttonId: string)
  : Promise<SuccessSignInResult>;

/**
 * Allows using a custom sign-in button.
 * The element to which buttonParentId refers must have the style position: 'relative'.
 * For the web platform, the implementation renders the google button invisible in front of
 * the passed button.
 * @param buttonParentId
 * @param buttonId
 * @param onResult A callback that is passed the result option object.
 */
addSignInActionToExistingButtonWithCallback(
  buttonParentId: string,
  buttonId: string,
  onResult: (value: SignInResultOption) => void)
  : Promise<void>;

/**
 * @deprecated Use renderSignInButtonWithCallback instead.
 *
 * Renders the sign-in button.
 * The returned promise will only resolve if successful.
 * The returned promise is rejected for unrecoverable errors as 'unregistered_origin'
 * for the web platform.
 * @param parentElementId
 * @param options
 * @param gsiButtonConfiguration Not all button configuration options are supported on android.
 * @returns A Promise with a success result, that resolves when the signIn is successful.
 */
renderSignInButton(
  parentElementId: string,
  options: RenderSignInButtonOptions,
  gsiButtonConfiguration?: google.accounts.id.GsiButtonConfiguration)
  : Promise<SuccessSignInResult>;

/**
 * Renders a google style sign-in button.
 * @param parentElementId
 * @param options
 * @param gsiButtonConfiguration Not all button configuration options are supported on android.
 * @param onResult A callback that is passed the result option object.
 */
renderSignInButtonWithCallback(
  parentElementId: string,
  options: RenderSignInButtonOptions,
  gsiButtonConfiguration: google.accounts.id.GsiButtonConfiguration | undefined,
  onResult: (value: SignInResultOption) => void)
  : Promise<void>;

/**
 * Closes the One Tap prompt.
 */
cancelOneTapDialog(): void;

/**
 * Ends the credential session with google.
 */
signOut(): Promise<SignOutResult>;

/**
 * Revokes all OAuth 2.0 scopes previously granted.
 * Supported by iOS and web. Calls signOut for android.
 */
disconnect(): Promise<DisconnectResult>;

/**
 * Gets the last user defined or auto-created nonce.
 * Unfortunately not all google libraries support setting a nonce, so this is currently
 * not universally useful.
 */
getNonce(): string;API methods return an Option with a isSuccess property to specify if the operation could complete successfully. For some operations like tryAutoSignIn not successful can mean that the user is not currently logged into her google account. So not successful is not an exceptional case but an expected result.
To avoid that the caller needs to check isSuccess and handle exceptions, all methods will never throw an exception.
Instead of creating one signIn method with many parameters that are only used in some cases (=unclear dependencies), there are two methods with different parameters and different return types.
Parameters that are independent of a sign-in method as the clientId must be passed to initialize.
Welcome


