
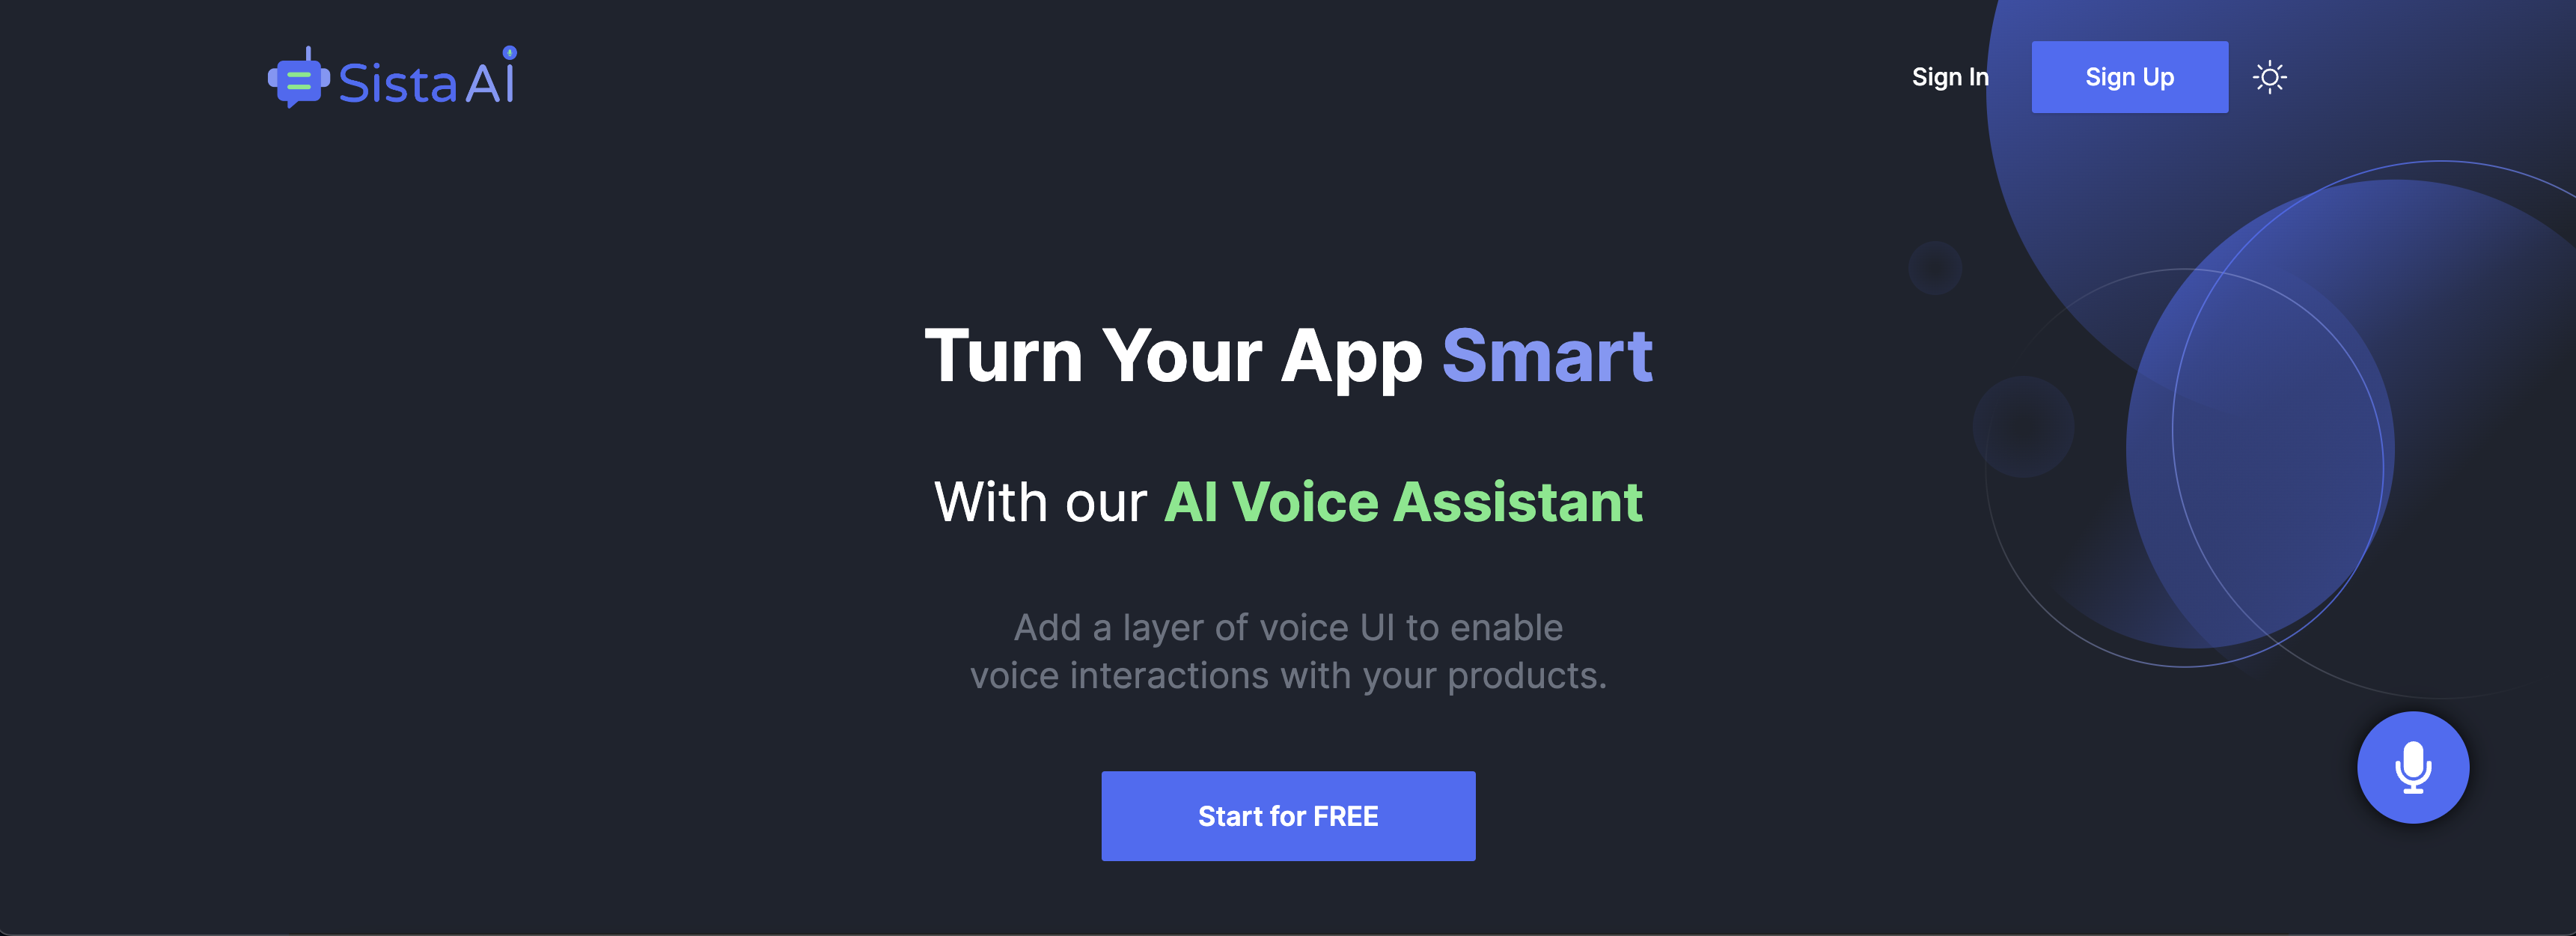
Turn your App smart with a conversational AI assistant and interactive voice UI in less than 10 minutes!
No Code Changes! No Intent Definitions! Just add our magic button <AiAssistantButton />.
![]()
Sista AI: 🤖 Your AI Integration Platform. ❤️
Features at a Glance:
- AI Assistant: Answers any question
- UI Controller: Performs any action
- Voice UI: Speaks any language
- Auto Scraper: Scrape any page
- Admin Panel: Customizes any detail
Visit our Demo click the button, and start talking... Say "Turn on the light"!
This package integrates with many React projects.
- NextJS
- Electron
- Gatsby
- Meteor
- React Native
- Remix
- RedwoodJS
- Parcel
- Expo
- BlitzJS
To use @sista/ai-assistant-react, install it in your React App.
npm install @sista/ai-assistant-reactyarn add @sista/ai-assistant-reactImport AiAssistantProvider and wrap your App at the root level.
// ...
import { AiAssistantProvider } from "@sista/ai-assistant-react";
ReactDOM.render(
<AiAssistantProvider apiKey="YOUR_API_KEY"> // << Wrap your app with this provider
<App />
</AiAssistantProvider>
// ...
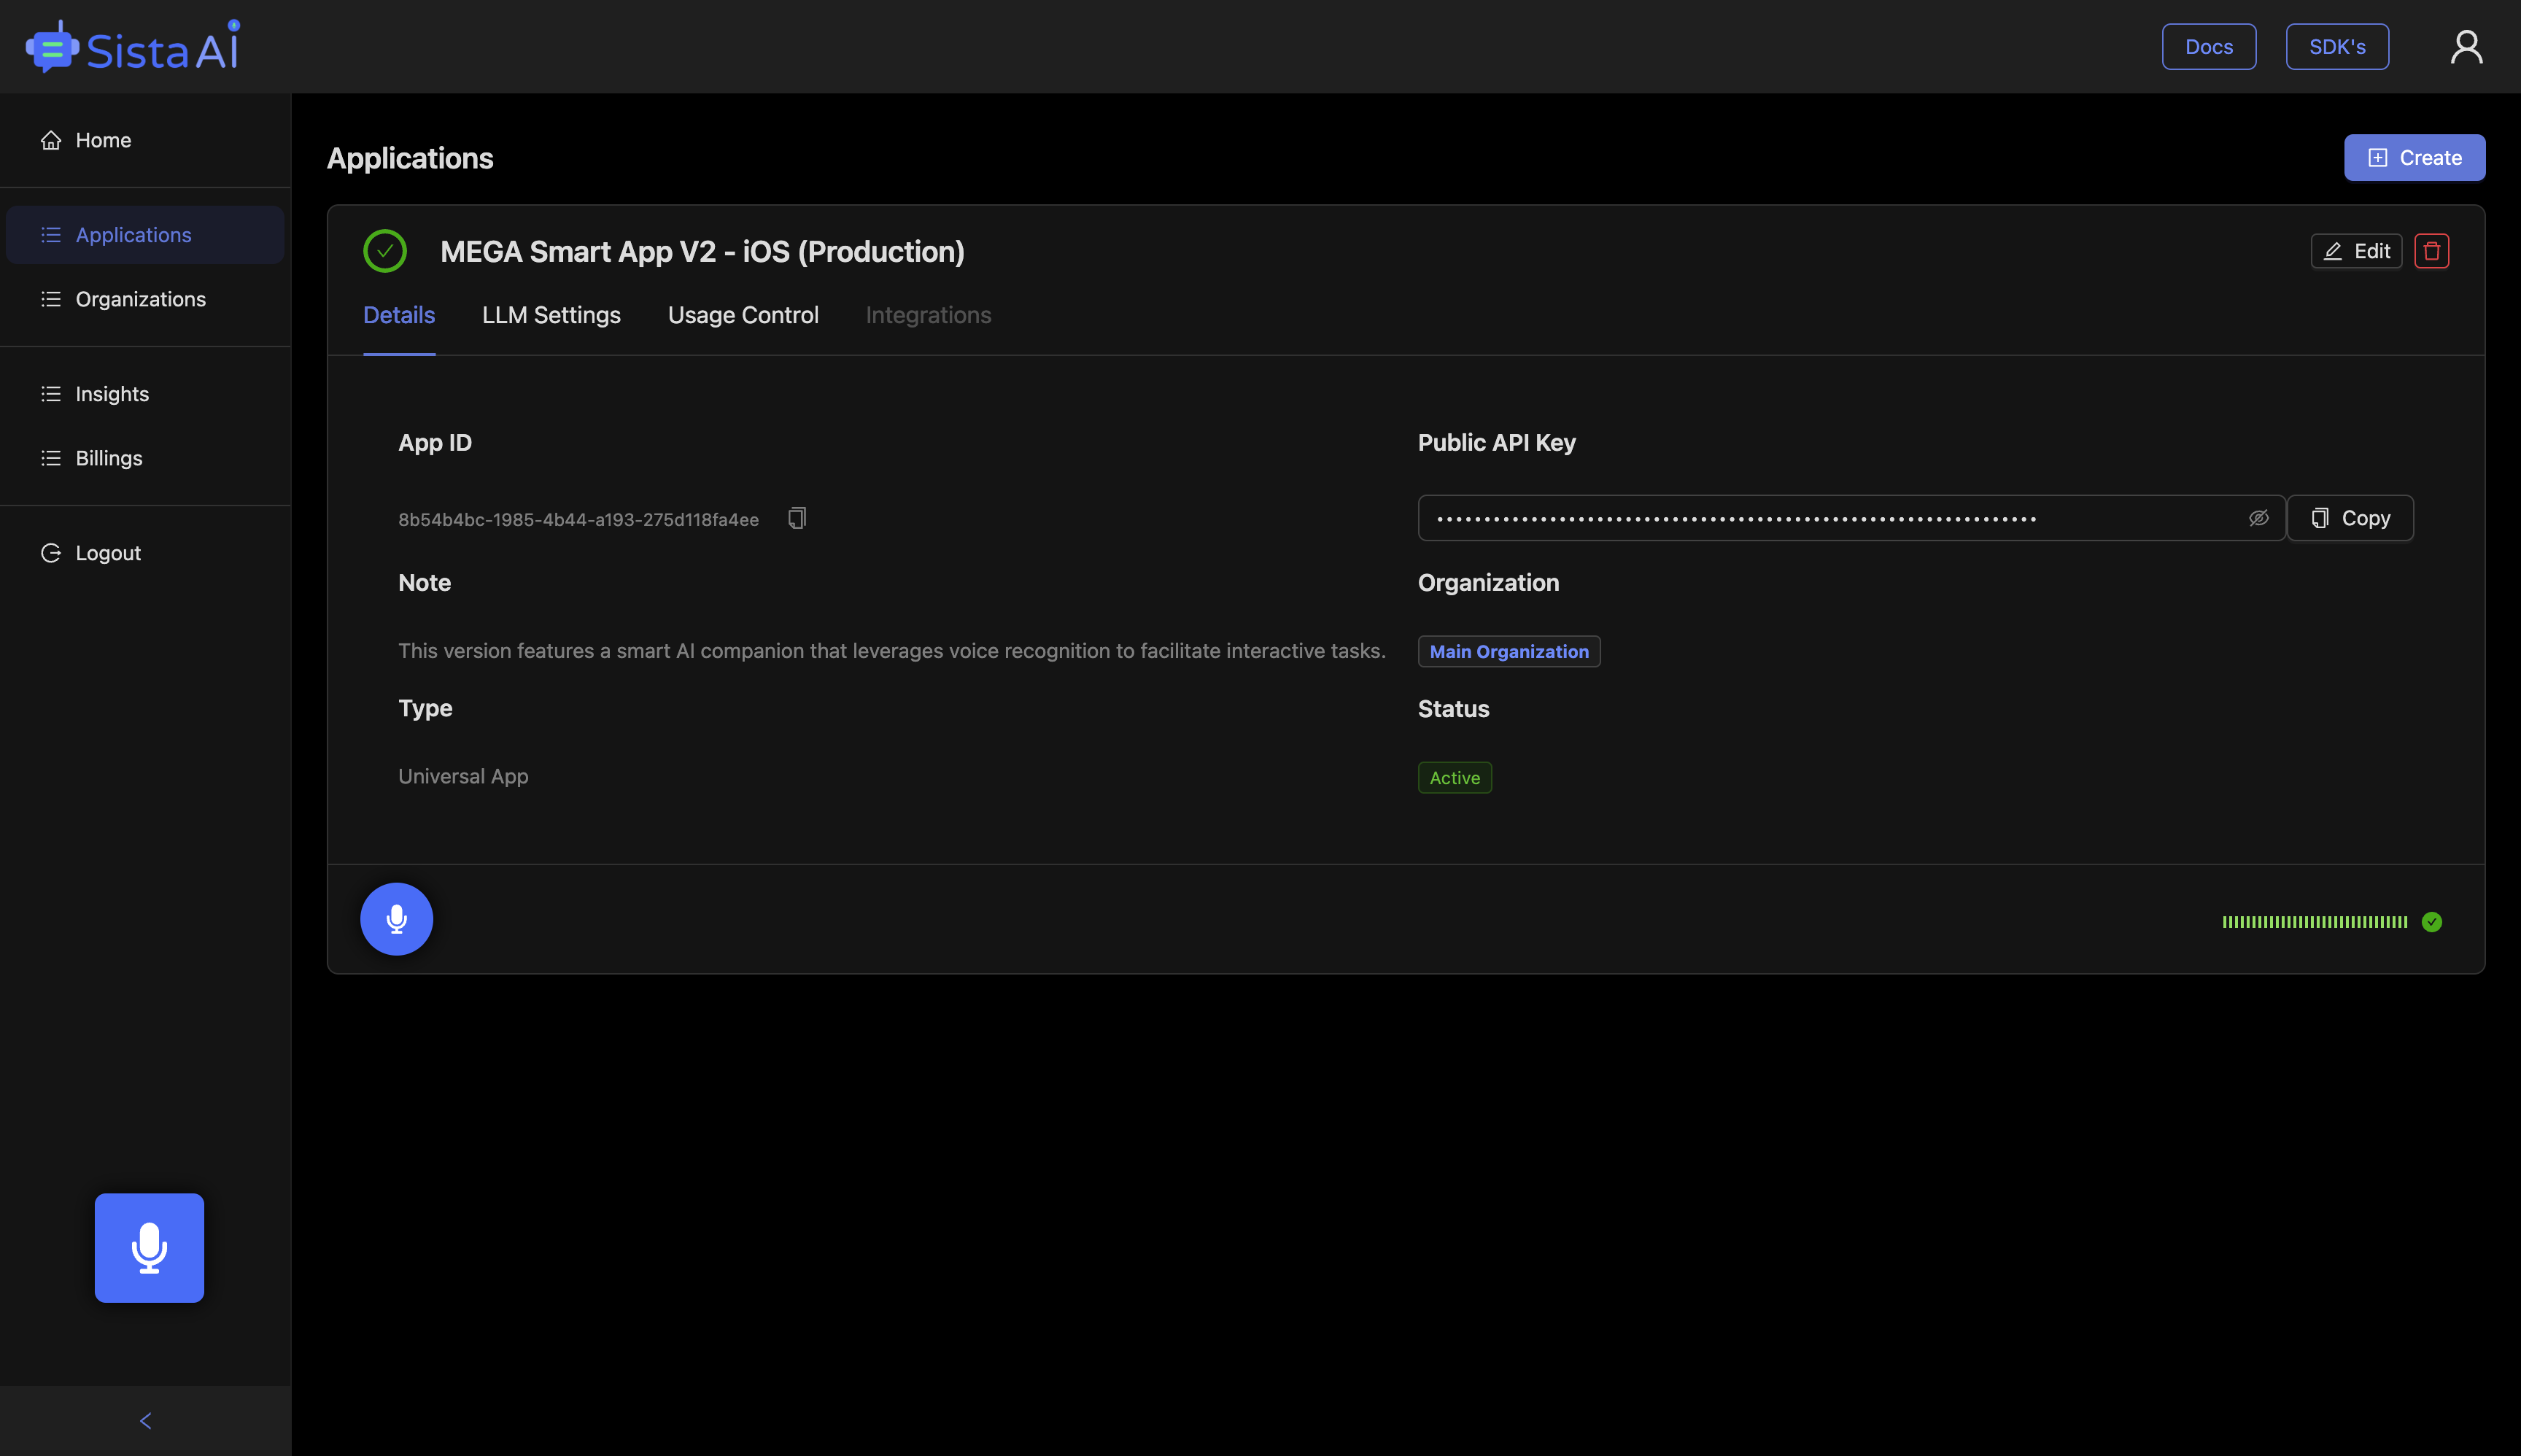
);Get your free API key from the Admin Panel and replace "YOUR_API_KEY".
Import AiAssistantButton and add it wherever you want.
// ...
import { AiAssistantButton } from "@sista/ai-assistant-react";

// ...
function MyComponent() {
    return (
        <div>
            // ...
            <AiAssistantButton />  // << Add the magic button anywhere
        </div>
    );
}
🎉 Congrats! Press the button, start talking, and enjoy!
To make your UI voice-interactive, simply register an array of function signatures to the Sista AI model.
const sayHelloWorld = () => {
    console.log('Hello, World!');
};

// Define the functions to be voice-controlled
const aiFunctions = [
    {
        function: {
            handler: sayHelloWorld, // (required) pass a refference to your function
            description: 'Greets the user with Hello World :)', // (required) its important to include clear description (our smart AI automatically handles different variations.)
        },
    },
    // ... register additional functions here
];
Register the functions using registerFunctions([...]); inside a useEffect hook.
const { registerFunctions } = useAiAssistant();

useEffect(() => {
    if (registerFunctions) {
      registerFunctions(aiFunctions);
    }

}, [registerFunctions]);
Just like that, your app is voice-interactive. Magic! ✨
For functions that accepts parameters: simply describe the parameters
const sayHello = (name) => {
    console.log(`Hello ${name}!`);
};

// Define the functions to be voice-controlled
const aiFunctions = [
    {
        function: {
            handler: sayHello,
            description: 'Greets the user with their name.',
            // In case your function accepts parameters:
            parameters: {
                type: 'object',
                properties: {
                    name: {
                        type: 'string', // set parameter type
                        description: "User's name.", // add parameter description
                    },
                },
                required: ['name'], // list required parameters
            },
        },
    },
];
To customize the AI personality or voice or provide extra information, beyound what's on the user screen, visit the Admin Panel.
For a voice-interactive todo app to add or remove tasks, the setup is:
import React, { useEffect } from 'react';
import { useAiAssistant, AiAssistantButton } from '@sista/ai-assistant-react';

function TodoApp() {
    const addTask = (task) => {
        console.log(`Task added: ${task}`);
    };

    const removeTask = (task) => {
        console.log(`Task removed: ${task}`);
    };

    // ...

    // Initialize the aiAssistant instance
    const { registerFunctions } = useAiAssistant();

    useEffect(() => {
        // Define the voice-controlled functions
        const aiFunctions = [
            {
                function: {
                    handler: addTask,
                    description: 'Adds a new task.',
                    parameters: {
                        type: 'object',
                        properties: {
                            task: {
                                type: 'string',
                                description: 'Description of the task.',
                            },
                        },
                        required: ['task'],
                    },
                },
            },
            {
                function: {
                    handler: removeTask,
                    description: 'Removes an existing task.',
                    parameters: {
                        type: 'object',
                        properties: {
                            task: {
                                type: 'string',
                                description: 'Description of the task.',
                            },
                        },
                        required: ['task'],
                    },
                },
            },
        ];

        // Register the AI controlled functions
        if (registerFunctions) {
            registerFunctions(aiFunctions);
        }
    }, [registerFunctions]);

    // ...

    return (
        <div>
            // ...
            <AiAssistantButton />
        </div>
    );
}

export default TodoApp;AiAssistantProvider accepts the following props:
<AiAssistantProvider
    apiKey="api-key"           // (required): Your API key.
    userId="user-id"           // (optional): Your end user ID (for analytics tracking).
    scrapeContent={true}       // (optional): Automatic page content scraping (Enabled by default).
    debug={false}              // (optional): Debug mode. (Disabled by default)
    apiUrl="api-url"           // (optional): For testing purposes.
>
  // ...
</AiAssistantProvider>
---

## Customization

### Button Color

Modify the colors of the `AiAssistantButton` at different states:

```js
const customStateColors = {
    STATE_IDLE: '#4a6cf6', // Bright Blue
    STATE_LISTENING_START: '#F64A7B', // Bright Pink
    STATE_THINKING_START: '#4ac2f6', // Sky Blue
    STATE_SPEAKING_START: '#4af67f', // Light Green
};

<AiAssistantButton stateColors={customStateColors} />;Pass a style object to adjust dimensions, position, and appearance:
const customStyle = {
    // Positioning and layout properties
    position: 'relative', // Positioning of the button, 'absolute' or 'relative' to its normal position
    bottom: 'auto', // Distance from the bottom of its container (use with 'position: absolute')
    right: 'auto', // Distance from the right of its container (use with 'position: absolute')
    zIndex: 999, // Z-index for layering controls

    // Dimension properties
    width: '100px', // Button width
    height: '100px', // Button height

    // Font and color properties
    fontSize: '50px', // Font size of the icon/text inside the button
    color: '#FFF', // Color of the text/icon inside the button

    // Border properties
    border: 'none', // Border properties
    borderRadius: '20%', // Border radius to control the curvature of the button corners

    // Box model properties
    boxShadow: '0px 4px 8px rgba(0, 0, 0, 0.5)', // Box shadow properties
    transition: 'background-color 0.3s ease-in-out', // Transition effect for hover or click events

    // Flexbox properties
    display: 'flex', // CSS display property
    justifyContent: 'center', // Aligns children (e.g., icon) horizontally
    alignItems: 'center', // Aligns children (e.g., icon) vertically
};

<AiAssistantButton style={customStyle} />;
For example: To override default positioning, set position: 'relative' and bottom/right: 'auto'. This allows custom placement within your container.
Apply CSS classes for complex styling:
.my-custom-button {
    padding: 10px 20px;
    transition: all 0.5s ease;

    /* Hover effect */
    &:hover {
        background-color: #365f8c;
        transform: scale(1.1);
    }

    /* Responsive adjustments */
    @media (max-width: 600px) {
        width: 100%;
        font-size: 14px;
    }
}

<AiAssistantButton className="my-custom-button" />
Use the style prop for inline adjustments or className for stylesheet-based customizations.
Customize AI assistant behavior via the Admin Panel by providing your custom prompt and training data as AI Instructions.
By default, AiAssistantProvider supplies the AI model with the current page's content. To disable, set scrapeContent to false. Scraped content supplements your custom prompts added from the admin panel.
Change AI assistant's voice via the Admin Panel by selecting your preferred voice in the application settings.
Unlock the Future with our advacned Voice AI Assistant: Embrace top-tier components:
- Conversational AI Agents
- Interactive Voice UI
- Automatic page content scraping
- Intelligent AI interface
- Natural Language Understanding Engine
- Text-to-Executable Translator (frontend & backend)
- Real-time data fetcher
- Audio-to-Text / Text-to-Audio Conversion
- Intent Recognition and Handling
- Contextual Response Generator
- Custom Prompt Configuration
- Analytics and Logging
- Privacy and Security
Install across all platforms for a unified experience.
 |
 |
 |
 |
 |
 |
 |
 |
 |
 |
 |
 |
 |
 |
 |
 |
 |
 |
Your contributions are warmly welcomed! Let's collaborate 🤝
Licensed under CC BY-NC-ND 3.0.
For issues, raise on Github or contact support@sista.ai.