Support ticketing for Sanjab
Installation
First, you should prepare Sanjab for custom compile.
Install the composer package.
composer require sanjabteam/ticketInstall the npm package.
npm i sanjab-ticket --save-devSubmit sanjab-ticket plugin for sanjab Vue instance in sanjab.js:
require('sanjab');

Vue.use(require('sanjab-ticket').default); // Add this line

if (document.querySelector('#sanjab_app')) {
    window.sanjabApp = new Vue({
        el: '#sanjab_app',
    });
}
Compile javascript:
npm run watchPublish config file:
php artisan vendor:publish --provider="SanjabTicket\SanjabTicketServiceProvider" --tag=configAdd ticket controllers to controllers in config/sanjab.php:
'controllers' => [
    ...
    SanjabTicket\Controllers\TicketController::class,
    SanjabTicket\Controllers\TicketSettingController::class,
],
and add provider to plugins/providers:
'plugins' => [
    /*
    |--------------------------------------------------------------------------
    | Plugin's service providers that should be booted before sanjab service provider.
    |--------------------------------------------------------------------------
    */
    'providers' => [
        \SanjabTicket\SanjabTicketServiceProvider::class // Add this
    ],
],
Migrate database:
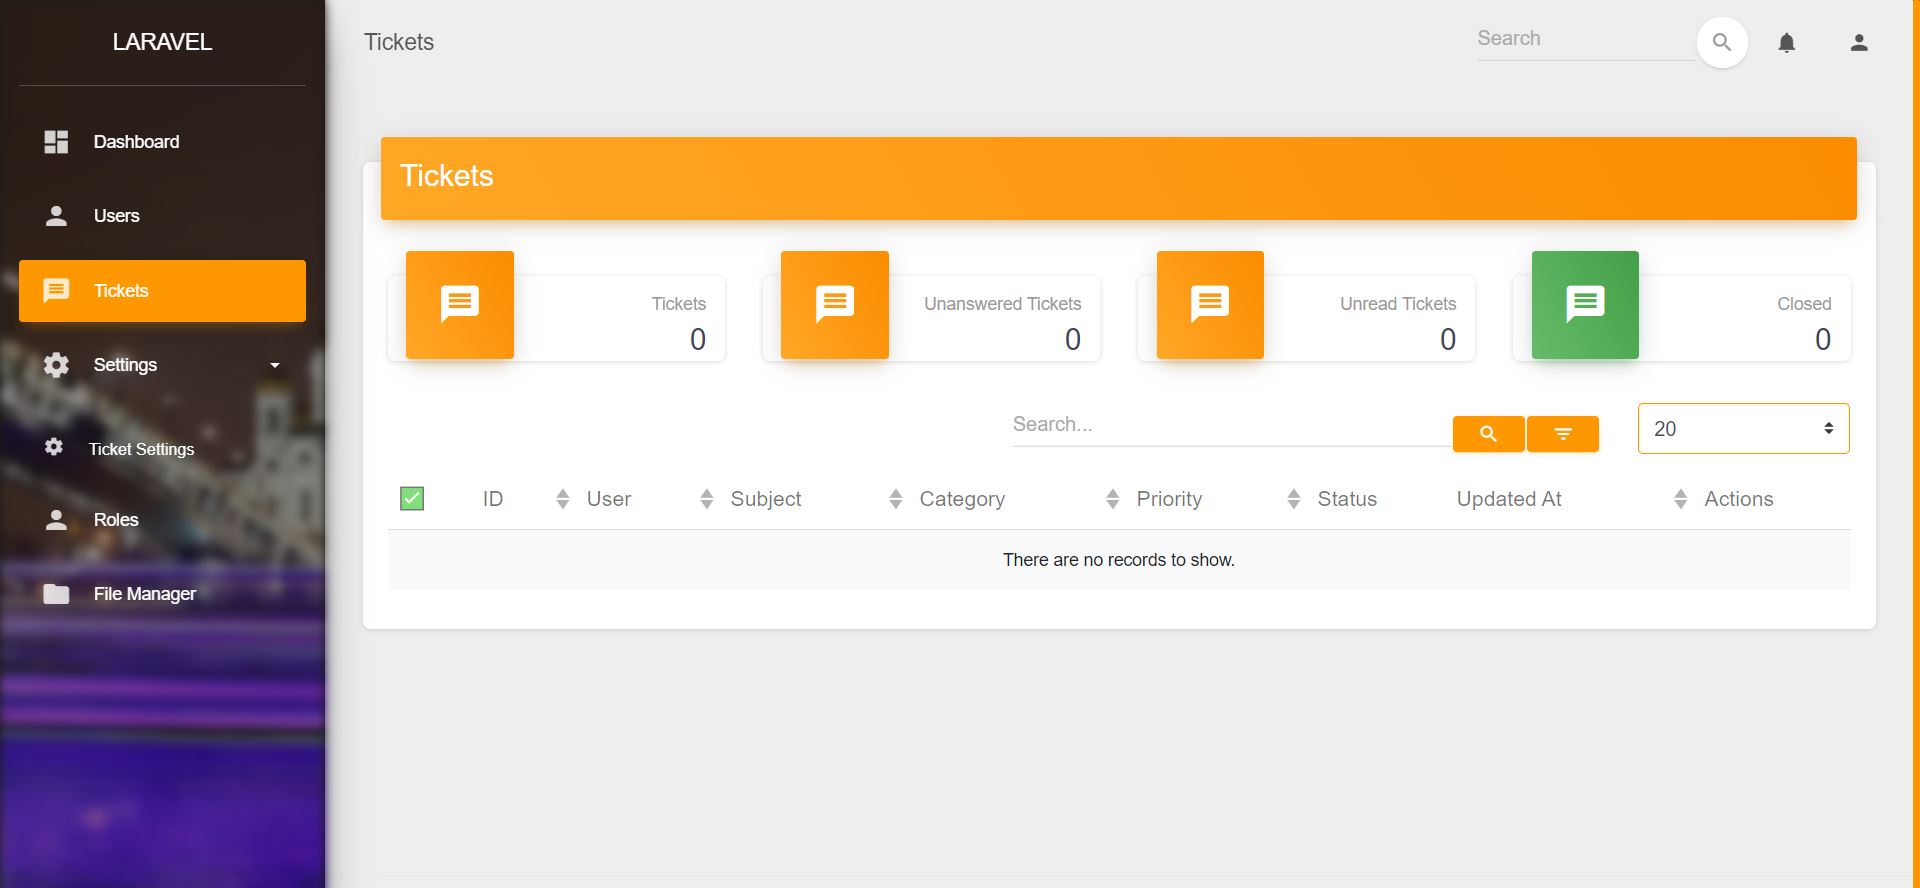
php artisan migrateGo to the admin panel and Tickets and Ticket Settings should be in the sidebar.
Getting started
Provide some ticket category/priority.
Make sure you wrote seeder for users before this seeder and make sure you have more than 1 user.
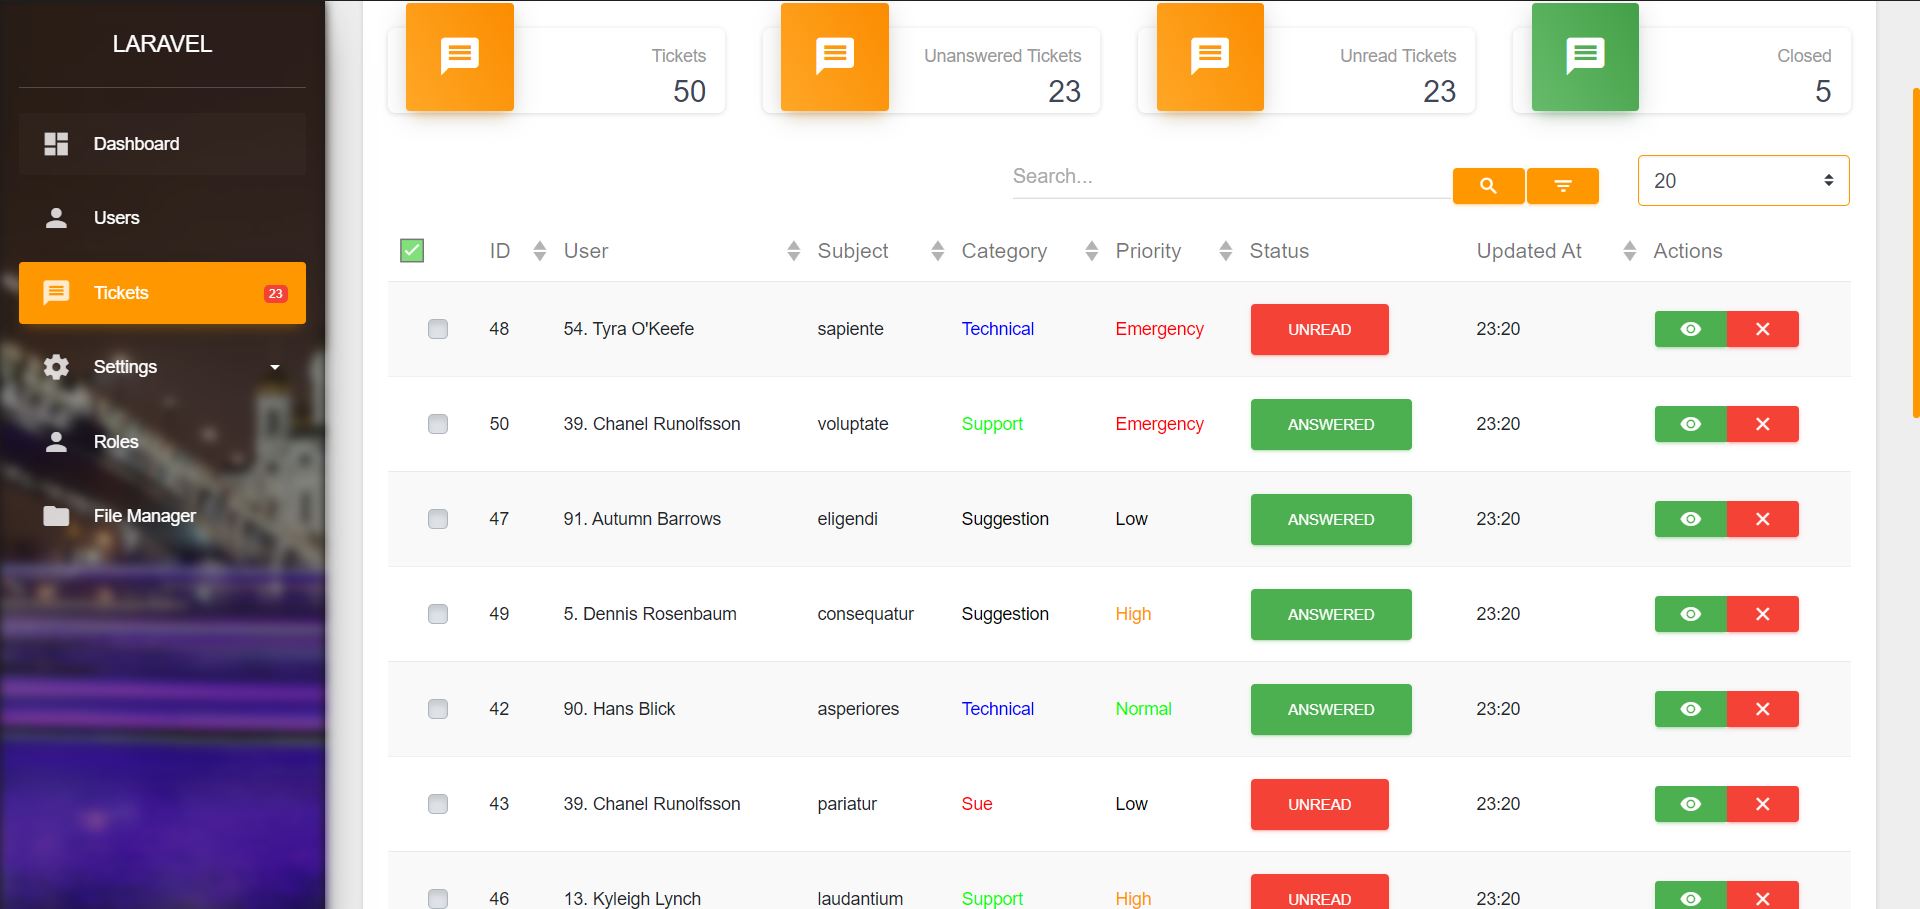
php artisan make:seeder TicketsTableSeederOpen TicketsTableSeeder and provide some data.
<?php

use Illuminate\Database\Seeder;
use SanjabTicket\Models\Ticket;
use SanjabTicket\Models\TicketCategory;
use SanjabTicket\Models\TicketPriority;

class TicketsTableSeeder extends Seeder
{
    /**
     * Run the database seeds.
     *
     * @return void
     */
    public function run()
    {
        TicketPriority::create(['name' => 'Low', 'color' => '#000000']);
        TicketPriority::create(['name' => 'Normal', 'color' => '#00ff00']);
        TicketPriority::create(['name' => 'High', 'color' => '#ff9800']);
        TicketPriority::create(['name' => 'Emergency', 'color' => '#ff0000']);

        TicketCategory::create(['name' => 'Support', 'color' => '#00ff00']);
        TicketCategory::create(['name' => 'Technical', 'color' => '#0000ff']);
        TicketCategory::create(['name' => 'Suggestion', 'color' => '#000000']);
        TicketCategory::create(['name' => 'Criticism', 'color' => '#ff9800']);
        TicketCategory::create(['name' => 'Sue', 'color' => '#ff0000']);

        factory(Ticket::class, 50)->create();
    }
}
And seed:
php artisan db:seed --class=TicketsTableSeederConfiguration
- database
- model: The user model class.
- format: Format of showing user name. (Example:
"%first_name %last_name") - fields: Extra user model fileds that should be shown in ticket messages page. (Example:
["email" => "E-Mail", "mobile" => "Mobile", "address" => "Address"])
- files
- disk: Disk to save ticket files.
- directory: Directory in the disk. You can use {TICKET_ID} to make directory per ticket. (Example:
tickets/{TICKET_ID})
- notifications
- new_ticket: When new ticket message submitted.
- admin: Notification class for all admins that has access to the tickets section
- client: Notification class for the client that submitted ticket when got an answer.
- new_ticket: When new ticket message submitted.
Notification
First, make sure you created the Notifications table.
php artisan notification:table
php artisan migrate
and also make sure you used Illuminate\Notifications\Notifiable trait in your user model class.
use Illuminate\Notifications\Notifiable;

class User extends Authenticatable
{
    use Notifiable, SanjabUser;
        ^^^^^^^^^^
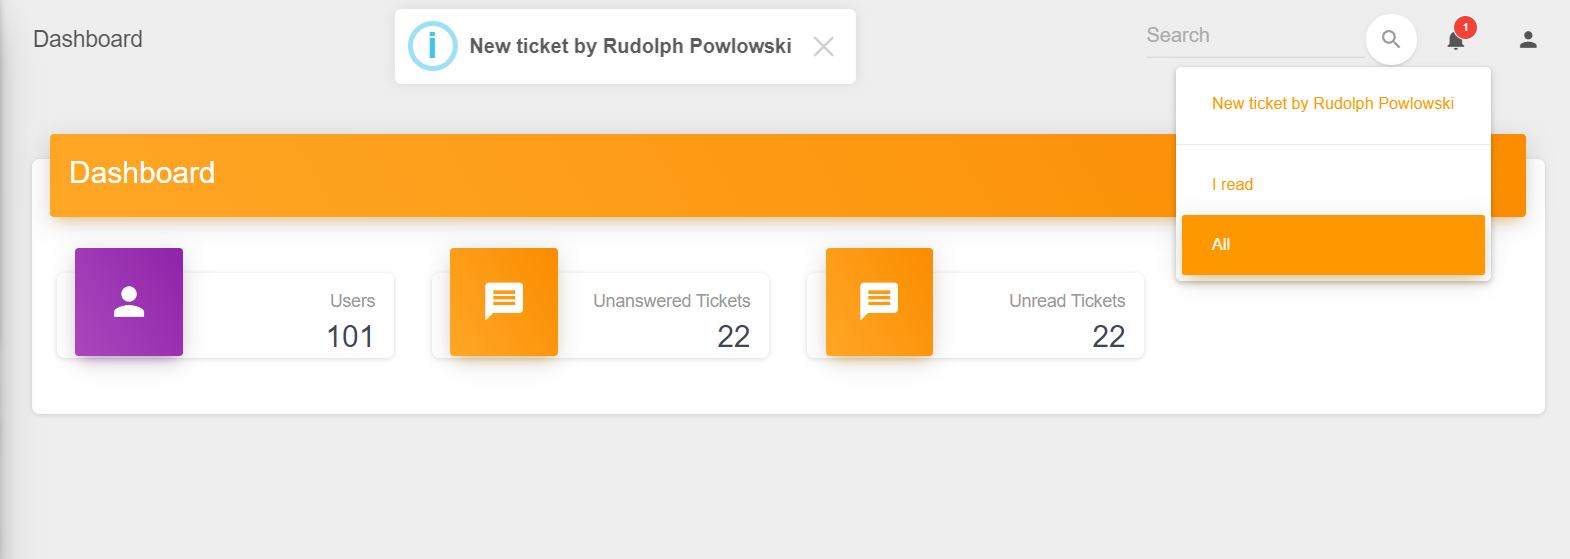
Then you should see a bell icon in the sanjab navbar at the top for notifications.
Create a notification class for admins.
php artisan make:notification NewTicketFor example, we only gonna use the database. Of course, you can send an email and/or SMS and/or any other method.
use SanjabTicket\Models\Ticket;

class NewTicket extends Notification
{
    use Queueable;

    /**
     * Ticket
     *
     * @var Ticket
     */
    protected $ticket;

    /**
     * Create a new notification instance.
     *
     * @return void
     */
    public function __construct(Ticket $ticket)
    {
        $this->ticket = $ticket;
    }

    /**
     * Get the notification's delivery channels.
     *
     * @param  mixed  $notifiable
     * @return array
     */
    public function via($notifiable)
    {
        return ['database'];
    }

    /**
     * Get the array representation of the notification.
     *
     * @param  mixed  $notifiable
     * @return array
     */
    public function toArray($notifiable)
    {
        return [
            'text' => 'New ticket by '.$this->ticket->user->name,
            'url' => route('sanjab.modules.tickets.show', ['id' => $this->ticket->id]), // Url to chat page
            'toast' => true, // Show a toast alert on top
            'sound' => true, // Play notification sound
        ];
    }
}
And then submit notification class in config/sanjab-ticket.php:
'notifications' => [
        // ...
        'new_ticket' => [
            //...
            'admin' => \App\Notifications\NewTicket::class,
        ]
]
And now make a new ticket.
php artisan tinker
Psy Shell v0.9.12 (PHP 7.2.12 — cli) by Justin Hileman
>>> factory(\SanjabTicket\Models\Ticket::class)->create()
Client-side
It's all up to you. You only need to work with these model classes.
- SanjabTicket\Models\Ticket
- SanjabTicket\Models\TicketMessage
- SanjabTicket\Models\TicketCategory
- SanjabTicket\Models\TicketPriority
License
The MIT License (MIT). Please see License File for more information.


