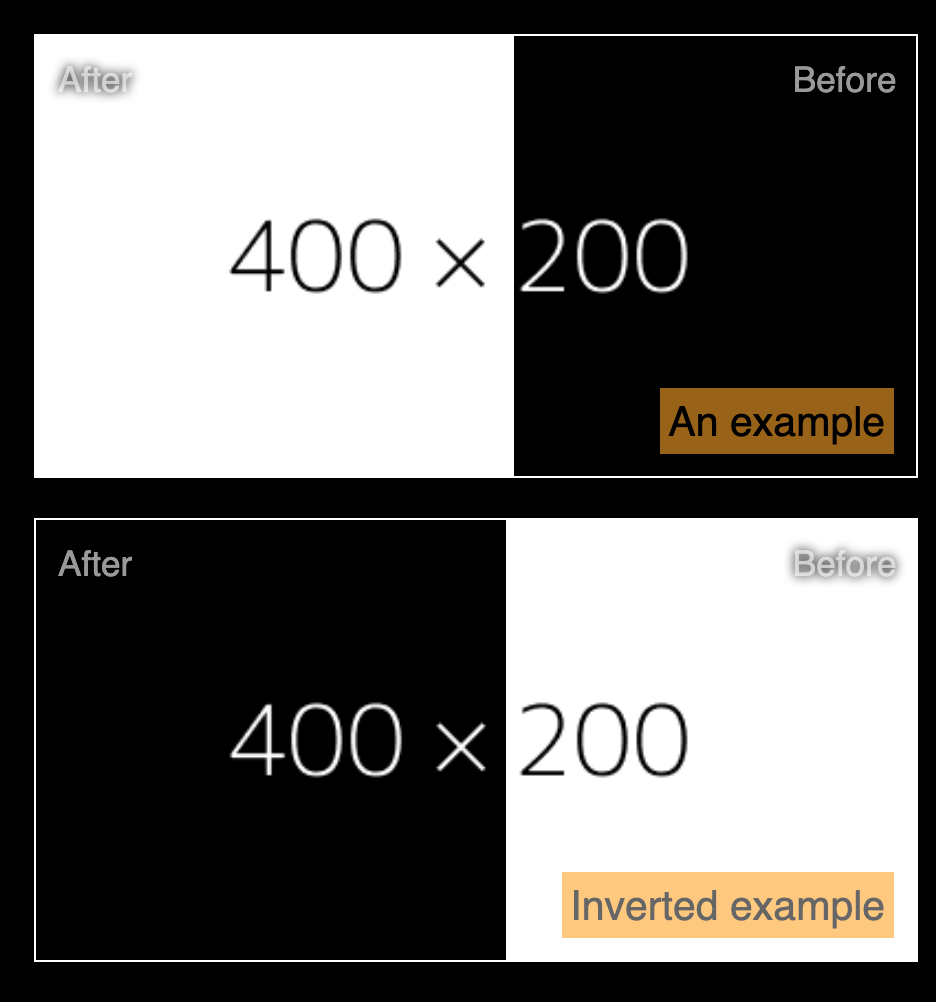
image-before-after
Sometimes you want to be able to compare two images, showing the before and after version of the image.
Say you have spend 30 minutes in Snapseed producing a beautifully manipulated version of the original raw image, you would like to show the world the result (after) image and the original (before image on top of each other, letting the visitor drag over the image and instantly see the difference.
Demo
You can try out the javascript class version at codepen.
Installation
Using NPM: npm install image-before-after
Documentation
There will be these versions of the component:
- Javacript Class based
- Webcomponent:
<image-before-after />
Using it can be seen here
Vanilla JS
To use it you should new the class ImageBeforeAfter with these parameters:
| Parameter | required | Type | Description |
|---|---|---|---|
| selector | yes | CSS selector string | A CSS selector to an element you want to add the functionallity to |
| before | no | string | URL to the before image |
| after | no | string | URL to the after image |
| text | no | string | A text to show on top of the images |
| width | no | valid css width or number | The width you want the compoment to be |
Simply import the component and inserting it into the html element with the class IBA:
HTML
<div class="IBA"></div>
Javascript
<script type="text/javascript">
const before = 'https://dummyimage.com/600x400/000/fff.png';
const after = 'https://dummyimage.com/600x400/ffffff/000.png';

const myIBA = new ImageBeforeAfter('.IBA', before, after, 'Inverted example');
</script>
Use webcomponent/CustomElement in a HTML page
The webcomponent or customElement <imgage-before-after /> can be easily used in any modern browser, simply by importing the code like this:
import imageBeforeAfter from "https://cdn.skypack.dev/image-before-after@1.0.26";
After this your browser knows about the new HTML element, or tag: image-before-after and you simply can use it as any other native HTML element.
You can see an example CustomEement image-before-after
Angular
See running demo on Stackblitz.com.
Add the package to your project:
npm install image-before-after
In the main.ts add a reference to the package:
import 'image-before-after';
This will allow you to use the customElement anywhere in your project.
In the 'app.module.ts':
Add the CUSTOM_ELEMENTS_SCHEMA from the @angular/core and add it to the scemas in the @NgModule
import { CUSTOM_ELEMENTS_SCHEMA, NgModule } from '@angular/core';

import { AppComponent } from './app.component';
import { BrowserModule } from '@angular/platform-browser';

@NgModule({
  declarations: [AppComponent],
  imports: [BrowserModule],
  providers: [],
  bootstrap: [AppComponent],
  schemas: [CUSTOM_ELEMENTS_SCHEMA],
})
export class AppModule {}
Contributing
You are welcome to report Issues and add feature request.
License
Image-before-after is ISC licenced
