Full documentation can be found here
A live demo can be found here
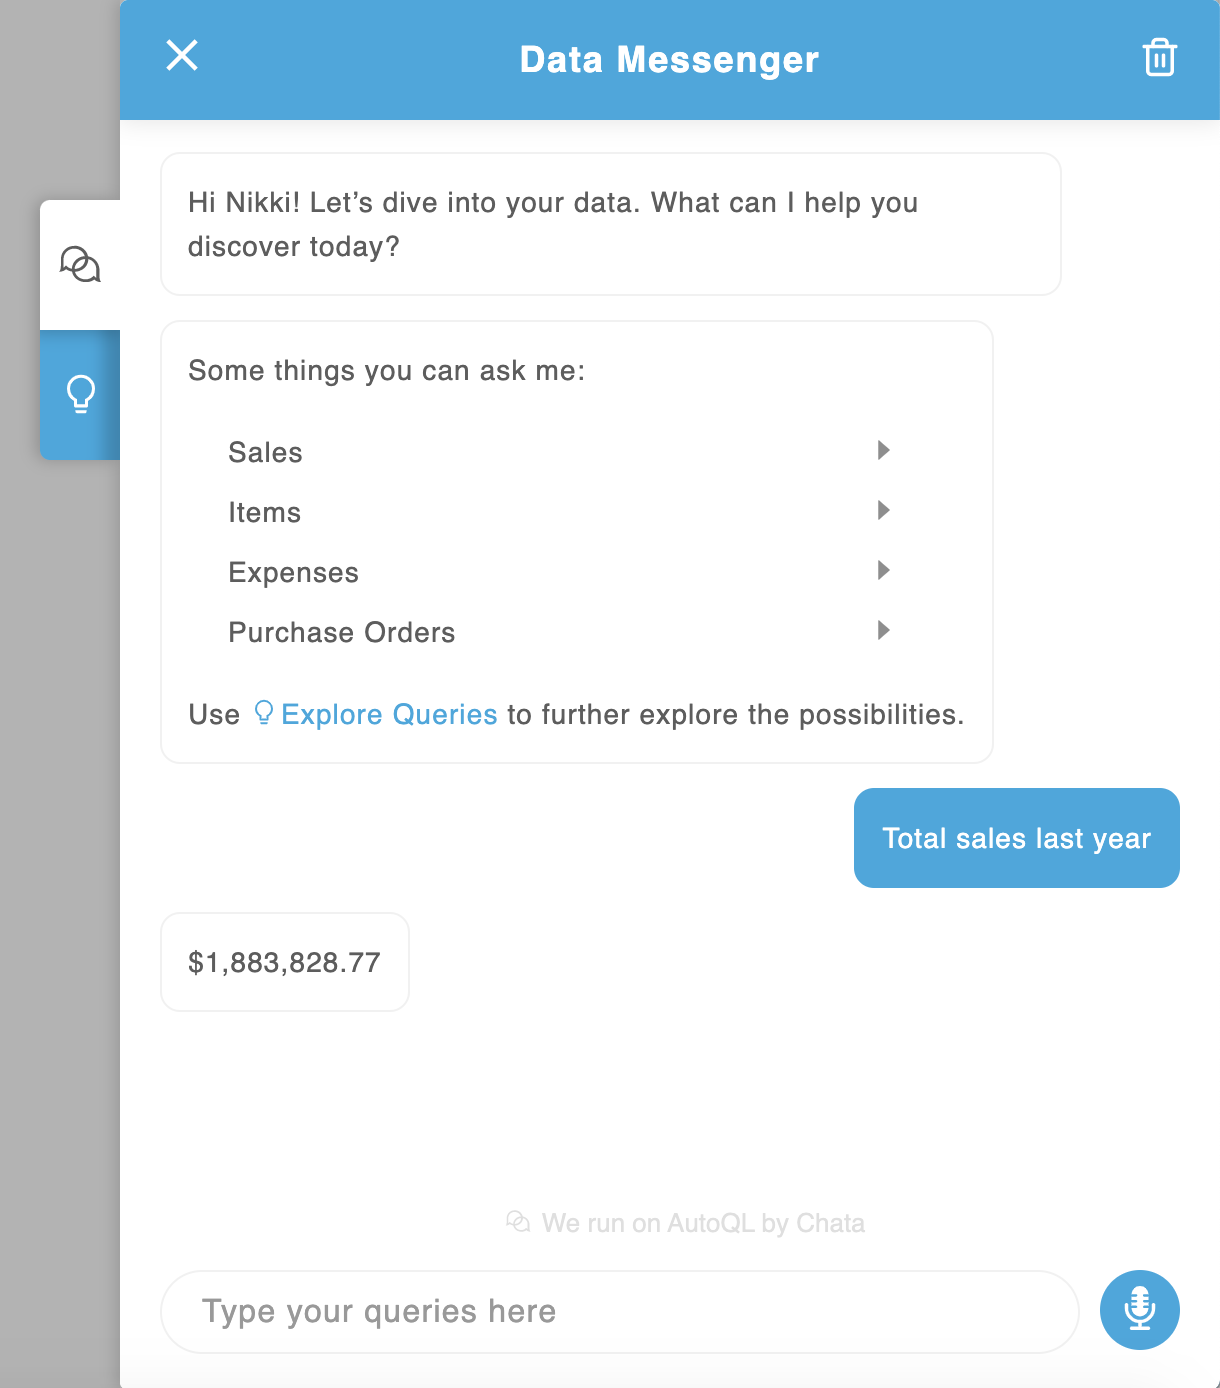
Deliver the power of AutoQL to your users through Data Messenger, a state-of-the-art conversational interface you can easily build into your existing application.
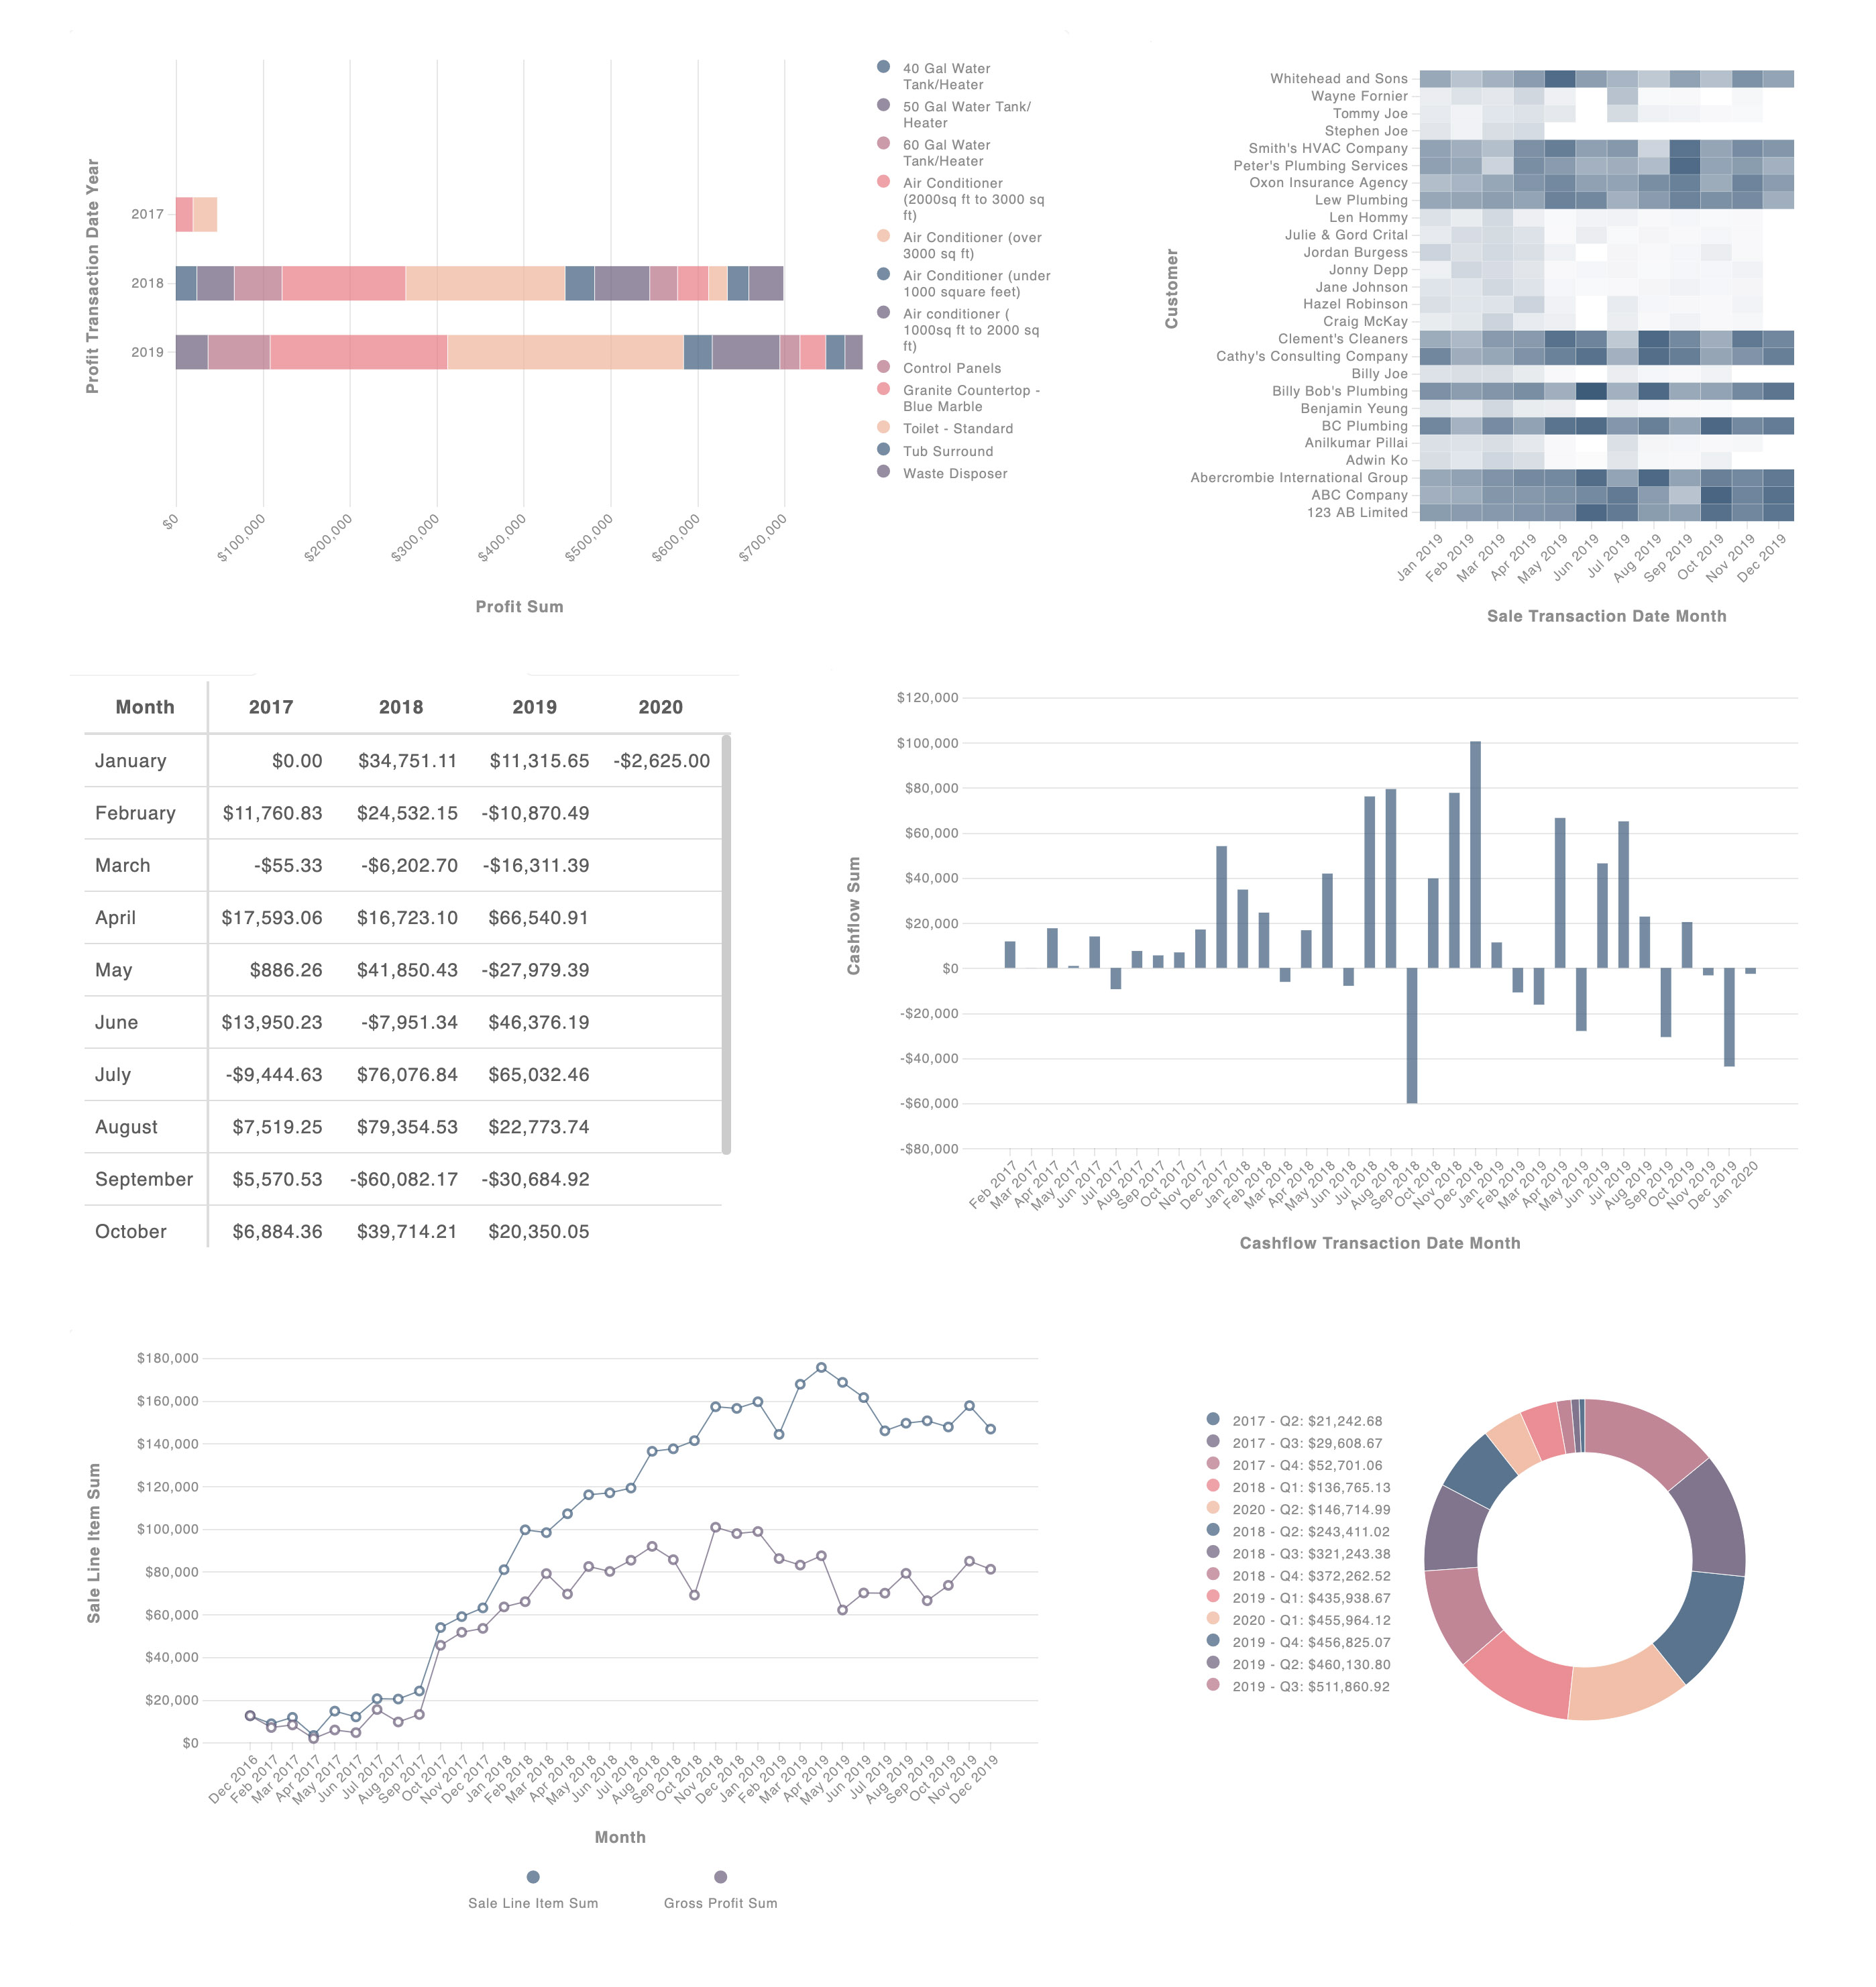
Democratize the data in your application and deliver extended reporting and analytics capabilities to all your users with Dashboards you can build and deploy in a snap.
Query Input is an input box component that can be placed anywhere in the DOM. The QueryInput component works together with the QueryOutput component to automatically handle certain interactions with the data.
Query Output is a data visualization widget that accepts the response from our API's query endpoint.
Using npm:
$ npm install autoql
Import the widget and styles
import { DataMessenger } from 'autoql';
import 'autoql/build/autoql.min.css';
Instance the widget
var datamessenger = new DataMessenger('#datamessenger', {
    authentication: {
        apiKey: "your-api-key",
        domain: "https://yourdomain.com",
        token: "yourToken"
    },
    autoQLConfig: {
        debug: true
    },
    onMaskClick: function(datamessenger){
        datamessenger.closeDrawer()
    },
    resizable: true,
    width: 550,
    enableDynamicCharting: true,
    placement: 'right'
})
Dashboard Example
import { Dashboard } from 'autoql';
import 'autoql/dist/autoql.min.css';
Mount Dashboard
var dashboard = new Dashboard('#dashboard', {
    authentication: {
        apiKey: "your-api-key",
        domain: "https://yourdomain.com",
        token: "yourToken"
    },
    autoQLConfig: {
        debug: true
    },
    tiles: arrayOfTiles
})


