
♨️ React UI Boilerplate
A React boilerplate with opinionated setup to help you quickly create your own React UI library.

The Setup
- React v18
- TypeScript
- UI development with Storybook
- Unit test with Testing-library
- Linting with Eslint and code formatting with Prettier
- Conventional commit messages with Commitlint
- Build the library with Rollup
- Automated release with changesets
Get Started
-
Use Boilertowns CLI.
# npm
npm create boilertowns -- -b react-ui-boilerplate

# yarn
yarn create boilertowns -b react-ui-boilerplate

# pnpm
pnpm create boilertowns -b react-ui-boilerplate

# bun
bun create boilertowns/react-ui-boilerplate [library-name]
-
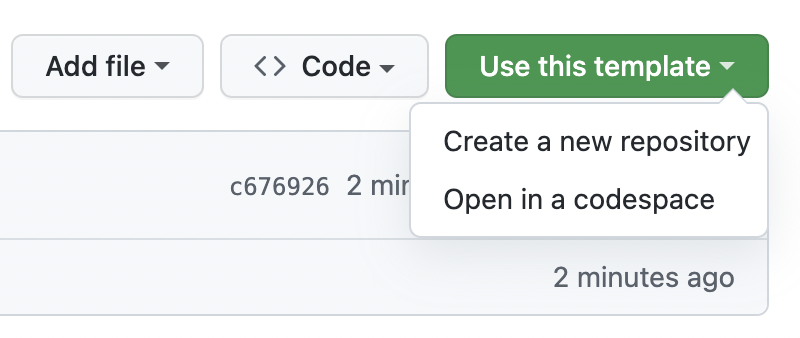
Click the green "Use this template" button to generate a new repository with the same structure and files.
Development
-
Build the library:
pnpm build
-
Run storybook:
pnpm storybook
-
Unit test component with:
pnpm test -
Create changeset:
pnpm changeset
Release & Publish package
This boilerplate uses changesets to automatically generate CHANGELOG, create releases and publish to NPM registry via GitHub Actions. You can see action details at release.yml.
To automating publish your library, follow these steps:
-
Create a
NPM_TOKEN. See this article for more details. Make sure the type of access token is Automation. -
Follow this instruction to add the created token to your GitHub Actions secrets. Name of the secret is
NPM_TOKEN. -
Install changeset bot.
P/S: Remember to check the Allow GitHub Actions to create and approve pull requests in your repo Settings > Actions > General & scroll to Workflow permissions.
Contributing
react-ui-boilerplate