
@state-less/react-server

@state-less/react-server is a powerful framework that allows you to build and manage server-rendered React applications with ease. It comes with built-in support for server-side state management, authentication, and more.
For detailed documentation and in-depth guides, please visit the official website at state-less.cloud.
The changelog can be found here: state-less.cloud/changes
React Server
React Server allows the creation of server-side React components using TSX, promoting a component-driven architecture for building robust and maintainable backend solutions. By using @state-less/clean-starter, developers can quickly get started with this innovative approach to full-stack development.
import { Scopes, useState, clientKey } from '@state-less/react-server';
import { ServerSideProps } from './ServerSideProps';

export const HelloWorldExample2 = (props, { key, context })  => {
  // The useState hook looks familiar?
  const [count, setState] = useState(0, {
    key: "count",
    scope: Scopes.Global,
  });

  // A simple function that can be executed from the client side.
  const increase = () => {
    setState(count + 1);
  };

  return (
    // Simply pass down props to the client side.
    <ServerSideProps
      key={clientKey(`${key}-props`, context)}
      count={count}
      increase={increase}
    />
  );
};
Use the familiar approach of React to build serverside applications in a declarative way. React has proven to be a successful framework for building large scale applications while keeping a clean state-management solution to provide reactive realtime enabled modern UIs. React favors a clean codebase due to its inherently modular structure and component driven approach. React allows you to cleanly abstract the complexity of modern applications using states, hooks and components.
React Server brings the same flexibility to the server side by giving you a Framework that handles TSX compilation, a small React engine that powers hooks, states and the lifecycle of components. It also abstracts data storage and data transportation into a common concept of states. Data is stored in Stores which can be accessed by components using hooks (useState). The useState hook provides reactivity and automatically re-renders the component when its value is updated using the setter. Data is transported by consuming server-side states / components on the clientside using the useComponent hook. We are using GraphQL as transportation layer to provide a robust foundation.
Developers familiar with React and JSX components <Component hello="world" /> are able to jump right into developing full-stack applications. It really works well and provides a seamless reactive experience on both the backend and the frontend. States are synchronized to all connected clients using PUB / SUB.
For detailed documentation and in-depth guides, please visit the official website at state-less.cloud.
Explore Examples
Dive into real-world examples, like the Lists App, showcasing the potential of React Server.
Key Features
- Server-Side React: Create server-side React components using TSX for efficient, component-driven backend development.
- @state-less/clean-starter: Jumpstart your project with essential backend components, utilities, and examples.
- Explore the Future: Harness the power of server-side real-time TSX components.
For comprehensive documentation and detailed guides, visit the official state-less.cloud website.
Getting Started
Backend
To get started on the backend, you can initialize a new project with the following commands:
git clone https://github.com/state-less/clean-starter.git -b react-server my-serverThis command will set up a new project with the necessary dependencies and configuration files. Navigate into the newly created directory and start the development server:
cd my-server
git remote remove origin
yarn install
yarn start
This will launch the development server, allowing you to access your GraphQl endpoint at http://localhost:4000/graphql.
Client
Get a Client running
Create a new vite project and choose React as framework and TypeScript as variant.
yarn create viteNow go to the newly created folder, install the dependencies and add @apollo/client and state-less/react-client to your project and start the server.
cd vite-project
yarn
yarn add @apollo/client state-less/react-client
yarn dev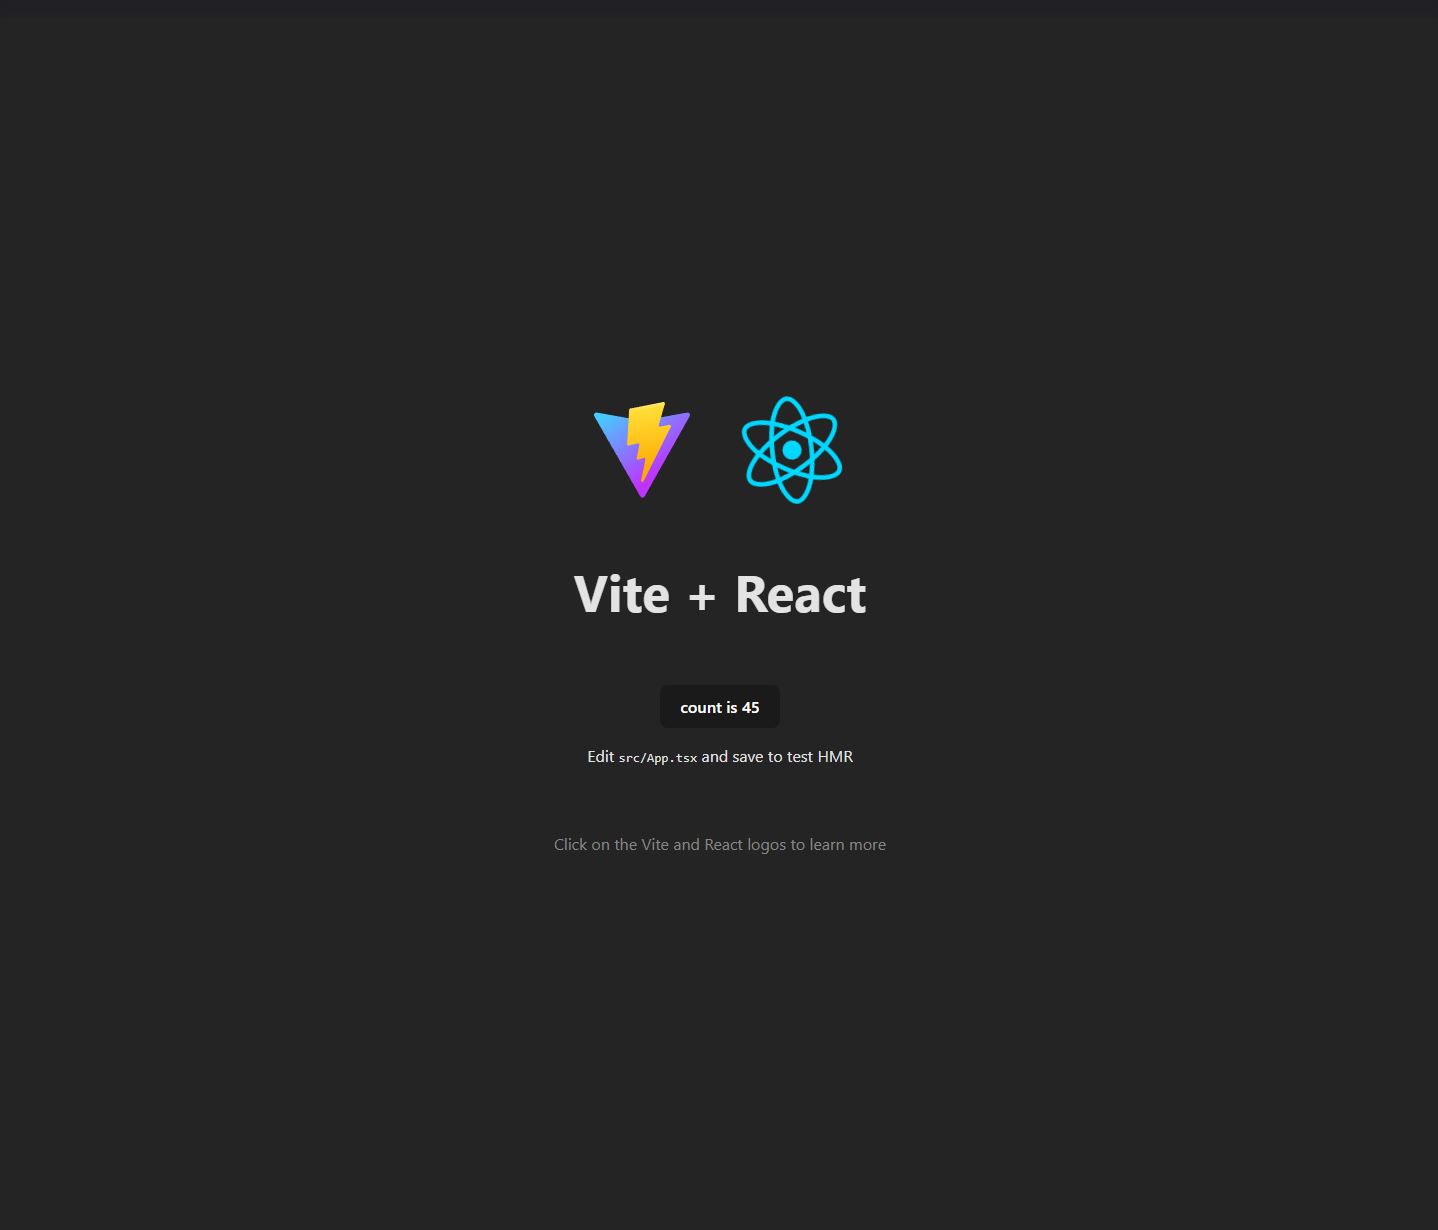
If you click the button, you will see the counter increase, but if you reload the page, the counter resets to 0. Let's connect the state to our backend to make it serverside and persist over page reloads.
Instantiate a GraphQl client
In order to connect to our backend, we need to create a GraphQl client. Create a new file under /src/lib/client.ts and paste the following content.
import { ApolloClient, InMemoryCache, split, HttpLink } from '@apollo/client';
import { WebSocketLink } from '@apollo/client/link/ws';
import { getMainDefinition } from '@apollo/client/utilities';

// Create an HTTP link
const localHttp = new HttpLink({
  uri: 'http://localhost:4000/graphql',
});

// Create a WebSocket link
const localWs = new WebSocketLink({
  uri: `ws://localhost:4000/graphql`,
  options: {
    reconnect: true,
  },
});

// Use the split function to direct traffic between the two links
const local = split(
  ({ query }) => {
    const definition = getMainDefinition(query);
    return (
      definition.kind === 'OperationDefinition' &&
      definition.operation === 'subscription'
    );
  },
  localWs,
  localHttp
);

// Create the Apollo Client instance
export const localClient = new ApolloClient({
  link: local,
  cache: new InMemoryCache(),
});

export default localClient;
This sets up a new GraphQl client with subscriptions which will be used by the React Server client. The subscriptions are needed in order to make your app reactive.
Note: For now you need to manually create this file, but it will later be created by an initializer or react-client will provide a way to bootstrap the graphql client by providing a url pointing to a react server. For now you need to manually create and provide a GraphQl client.
Edit src/App.tsx
It's been a long way, but all that's left to do is import the client and useServerState hook and find and replace the useState call with a useServerState call.
import { useServerState } from '@state-less/react-client';
import client from './lib/client';

// ...

const [count, setCount] = useServerState(0, {
  key: 'count',
  scope: 'global',
  client,
});
If you don't want to pass a client object to each query, you can wrap your application in an <Apolloprovider client={client} />. React Server will use the provided client.
Note: You can still override the provided client if you pass one in the options
That's it, your App is now powered by the same backend as the documentation under state-less.cloud.
Happy Hacking!