react-three
Create/control a three.js canvas using React.
To use React for drawing 2D using WebGL, try react-pixi.
If you want a high-performance 3D renderer or automatic managing of resources like geometry and materials then you should look at react-three-renderer. Look here for more details.
You can view an interactive demo (hopefully) at my github demo page. This demo is also available as a standalone project at r3test
Usage
An example render function from the examples:
{ var MainCameraElement = React; return React;}or if you want to use JSX,
{ var aspectratio = thispropswidth / thispropsheight; var cameraprops = fov : 75 aspect : aspectratio near : 1 far : 5000 position : 00600 lookat : 000; return <Renderer width=thispropswidth height=thispropsheight> <Scene width=thispropswidth height=thispropsheight camera="maincamera"> <PerspectiveCamera name="maincamera" ...cameraprops /> <Cupcake ...thispropscupcakedata /> </Scene> </Renderer>; }Install and Use with npm
The current version of react-three is 0.9 which uses React 15.
If you are building a project with a package.json file you can
npm install react --save
npm install react-dom --save
npm install three --save
npm install react-three --save
and then access the extensions via a require expression:
var React = require('react');
var ReactTHREE = require('react-three');
var THREE = require('three');
Building Standalone Files
You can build two versions of the library:
- The default with global libraries (
React,THREE, andReactTHREE) exposed, for easy inclusion using a<script>tag. - The
commonjsversion which is basically a commonjs module that you canrequirefrom.
Checkout the git repository. You will need node and npm.
git clone https://github.com/Izzimach/react-three.git
cd react-three
npm install
At this point, you can build and package the files. If you want a file you can just
include using a <script> tag make the default version:
npm run build
This will package up the react-three components along with React and put the result in build/react-three.js. If you include this into your webpage via a script tag:
<script src="react-three.js"></script>
Then the relevant parts will be accessed in the global namespace as React, ReactTHREE, and THREE.
For the commonjs version you must invoke the build-commonjs task:
npm run build-commonjs
This produces the file es5/react-three-commonjs.js which can be used as a normal commonjs library like the one published to npmjs.
Node Props
In general, you specify props with names and content that are the same as equivalent three.js nodes. For example, the three.js Mesh object has a position, geometry, and material. You would render a Mesh component as:
React.createElement(ReactTHREE.Mesh, {position:p, geometry:g, material:m}
where p,g, and m are the same values you would have set in a three.js Mesh object:
pis position, aTHREE.Vector3gis geometry data such asTHREE.BoxGeometrymis a material like aTHREE.MeshBasicMaterial
Extra Props
The THREERenderer component has a few extra props that aren't in the standard Renderer object:
enableRapidRender: if set totruewill re-render the scene every frame even if nothing was modified by React. This is for handling non-static THREE entities such as animated meshes and particle systems.background: is the background color specified as a number, usually hex (for example0x202020). This basically maps to the clear color.customRenderis a user-defined function that can be used to intercept and modify the render path. It takes arguments(renderer, scene, camera)for each scene. Normal behavior would be to callrenderer(scene, camera)but you can do what you want. Be sure to handle the case of multiple scenes!
Also, the THREEScene component has a few extra props that aren't in the standard Scene object:
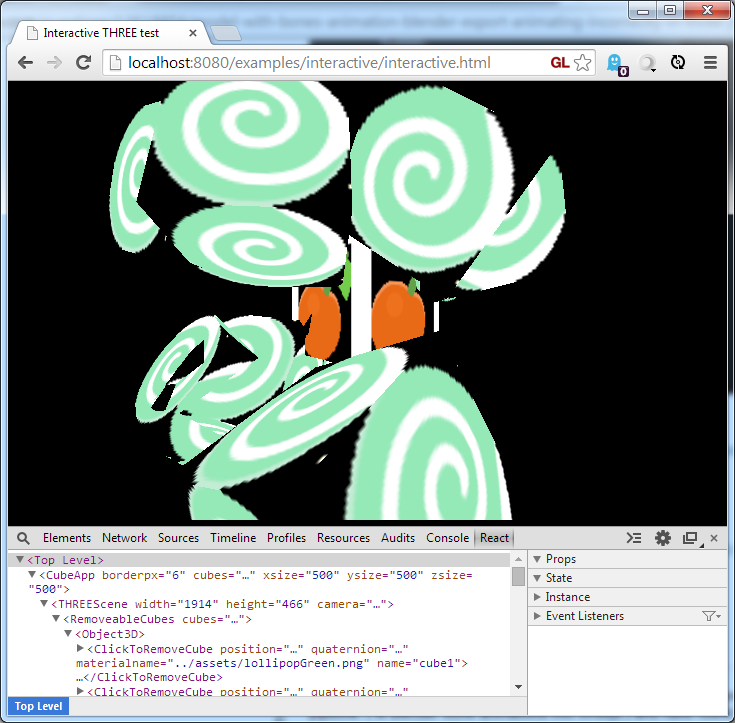
width,height: these are passed into the renderer but also need to be passed in each scene in order to configure the camera.camera: specifies the name of the camera to use when rendering. The default ismaincameraorbitControls: you can specify an orbit controller (typicallyTHREE.OrbitControls) for the scene. Note that this consumes mouse input so will not work well withpointerEvents. The 'orbitcontrols' example shows how to use this prop.pointerEvents: an array of strings containing the names of events that will be processed and forwarded to objects in the scene. The code uses ray casting to find which object gets the event. For example['onClick', 'onMouseMove']will send mouse clicks and move events to whatever object is under the mouse. To handle events, add handler functions as props to your component with3Dappended - so use theonClick3Dprop to handle mouse clicks on your object. See the 'interactive' example for more details.
Examples
Examples are set up in the examples/ directory. You can run
npm run examples
Then open the example index in your browser at http://localhost:8080/
Testing
The test runner requires Firefox to be installed. You can get Firefox from http://firefox.com.
Some tests require WebGL and cannot be run on the CI test server. Because of this, it is recommended that you run the tests locally before submitting a pull request.
You can run two sets of tests via npm: npm run test runs some basic javascript
tests while npm run rendertest will check actual rendered output
on a WebGL canvas.
npm run test
npm run rendertest
The render tests compare their render output to known correct reference images.
If for some reason you need to generate (or regenerate) the pixel reference images,
you can! Install slimerjs and run the pixelrefs npm task
npm install -g slimerjs
npm run pixelrefs