QuickNode

An easier way(Convention Routing) to create RESTful APIs for web applications with Node.js
Introduction
QuickNode is an open-source project separated from Qbite.
We(Qbyte LLC US) now use QuickNode as a back-end core framework for our projects. Our projects work well and stable on this framework but there may be still some unknown vulnerabilities or bugs that need to be found out and fixed. We are very happy to share this with all the developers and help you have a simple web framework to create various JSON or plain text APIs.
QuickNode is based on Node.js and expressJS to handle HTTP requests and responses.
QuickNode uses a better URL mode(Convention Routing) to handle the HTTP data exchange. So in QuickNode, you never config router any more. When you want to provide a new API for frontend, the only thing you need to do is creating a class file or add actions in a class file in Controller.
It looks like 'http://localhost:3000/Index/index'. It's easy to understand that first part is domain and port, the second part is the controller and after the controller is the action. This URL mode has already been used in many popular MVC frameworks such as ThinkPHP.
Quick Start
This framework is so easy to start with even when you have no experience in Node.js development before.
To use this framework, you need to install Node.js and npm first.
For any os platform, we recommend you to download Node from its official website. https://nodejs.org
After you install Node.js you need to do the following steps to start a project.
Use git clone to install
git clone https://github.com/devilyouwei/QuickNode.gitGo to the project directory
npm install node ./Or use npm to install
mkdir test && cd test npm install quicknode cp -r ./node_modules/quicknode/* ./ node ./Open your browser
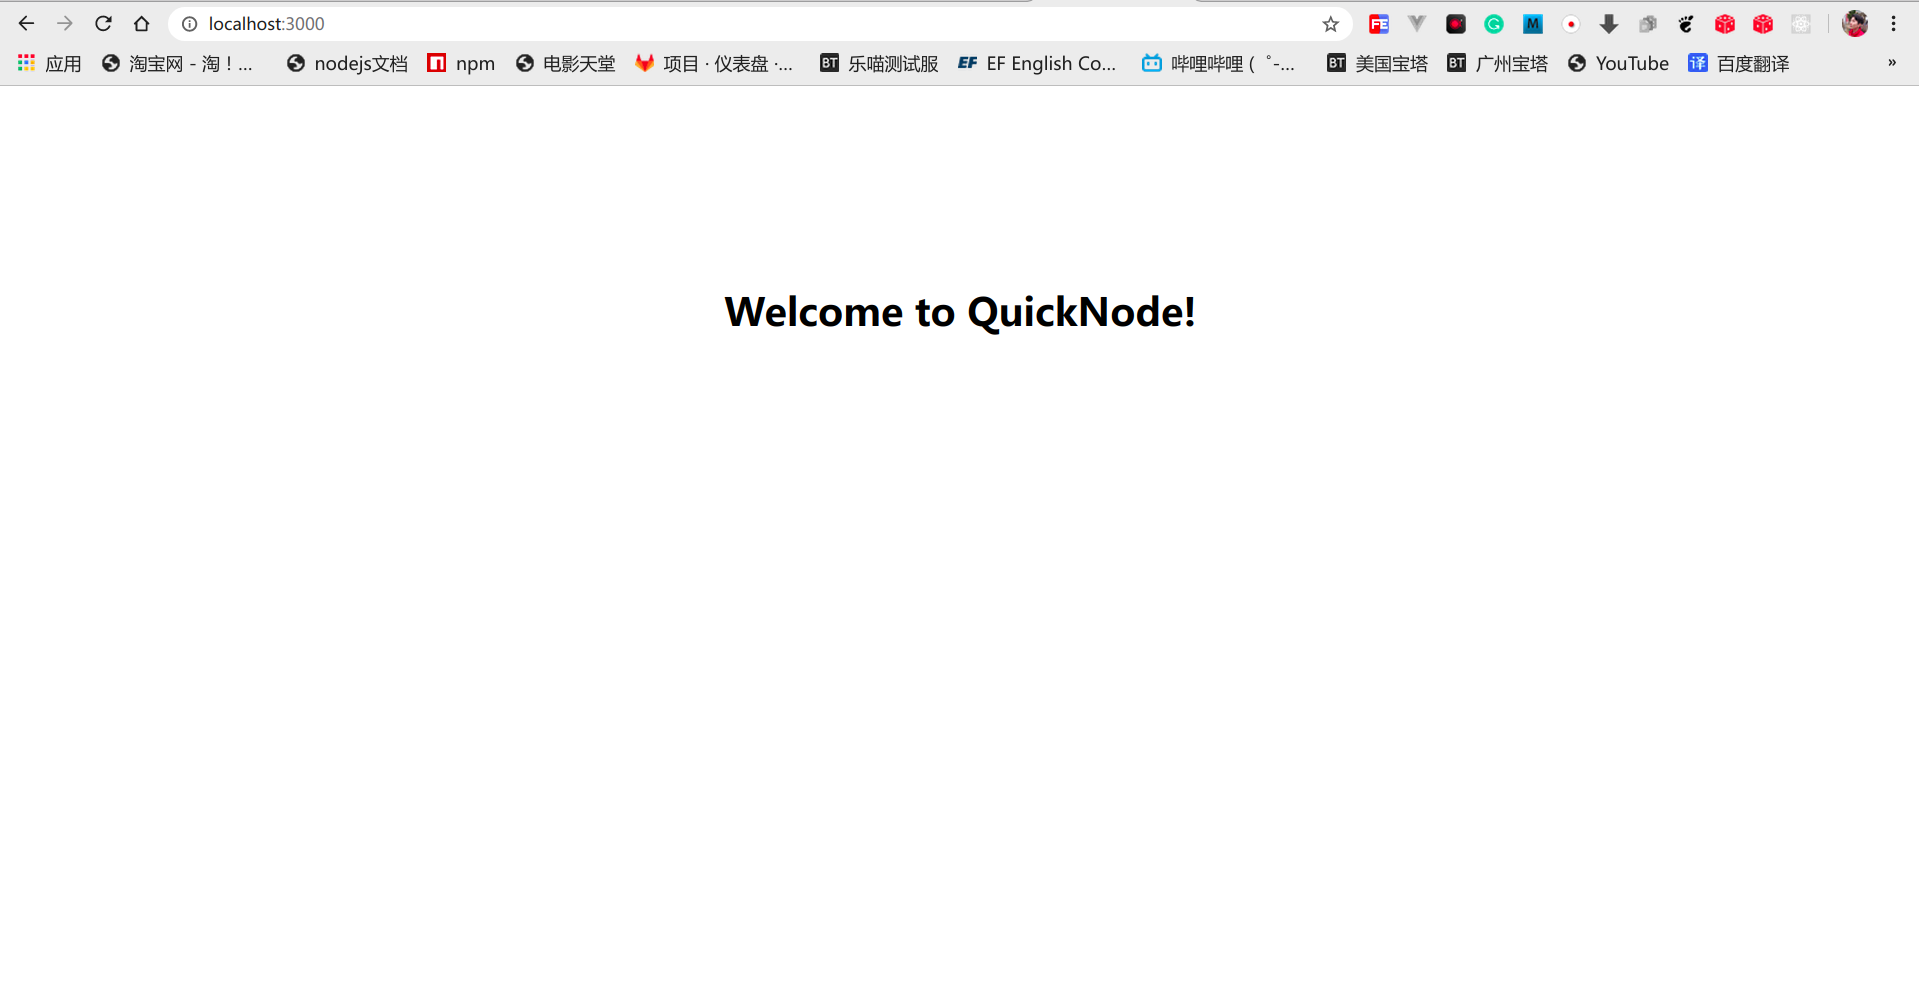
Input address: http://localhost:3000/Index/index
Index is Controller, index is Action
Example
Recommend to use supervisor
It's a better way to use supervisor instead of node.
npm install -g supervisor

supervisor ./
Supervisor will re-run the code dynamically and automatically after you make some changes.
How it works?
After you finish the quick start. You are ready to create APIs.
Look at the directory tree in QuickNode.
You will create new controllers and actions in the directory called 'Controller'
Each class file(controller) in the 'Controller' directory will map to a controller, and each function in the class file will map to an action.
In all, QuickNode will map the URL(http://localhost/controller/action) to the controller and the action in 'Controller directory'.
You don't need to config anything for the routings.
Example
For example, you create a file named 'Test.js', there is a class named 'Test' and a function named 'test' in it.
Also, you want to return a JSON data type.
static async { const id = reqbodyid return res }moduleexports = TestNow, you try to visit: http://localhost:3000/Test/test
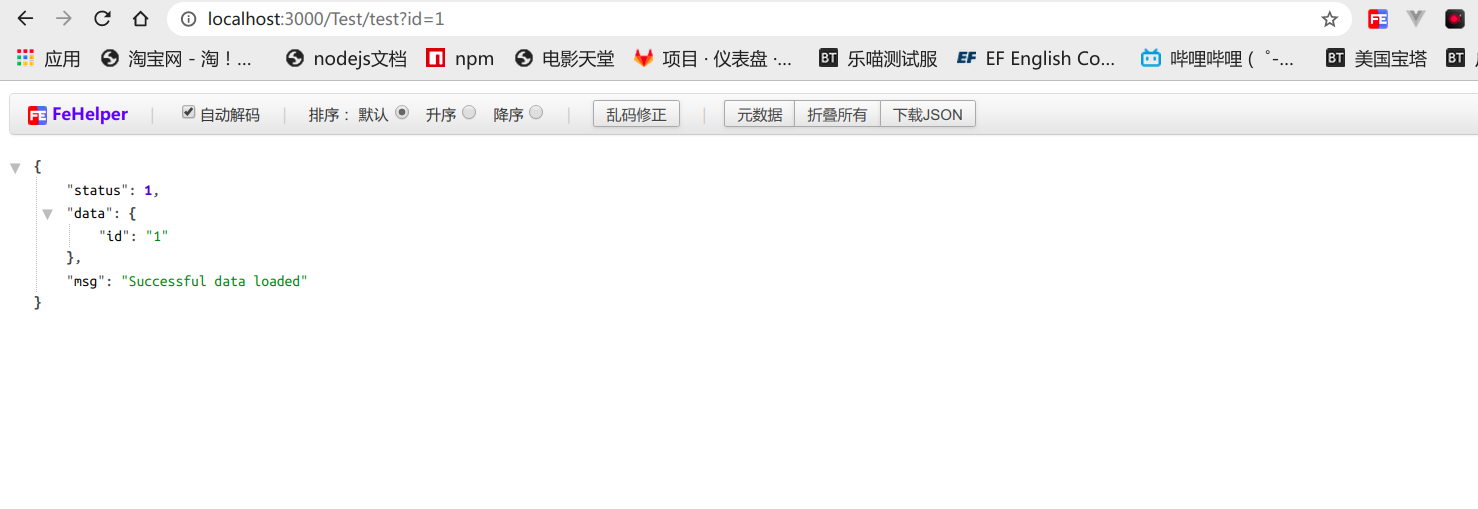
It works and you get JSON from this API!
Config
The directory 'Config' is used to store the configuration files for your project.
- web.json: the global configuration for your website.
- db.json: the configuration for your database connection.
- smtp.json: the configuration for your smtp server to send email.
- stripe.json: only if you are using stripe, not required.
- oss.json: only if you are using Ali-OSS server, not required.
QuickNode has already added some useful node packages in it. For more details, refer to package.json
If you are going to add some other third-party libs, add configuration files(json files) in 'Config' directory, and require them when necessary
We also recommend to use prettier lint rules for the project. However, if you don't like prettier, you can just remove it from the package.json
Login and Register Example
This is an example for user login and register APIs. It shows how to connect MySQL, send verify email, use md5 to encrypt
const md5 = const $ = const domain = domainBackconst db = const mail = static async { try const user = $ useris_effect = 0 const sql = `select id,email,is_effect from users where email=?` const data = await db if data0 && data0is_effect == 1 throw 'Email is taken' const randNum = const url = `/User/verify?v=` const html = `<p>Welcome To My Resource,Your Vertification URL is: </p> <br><a href="" target="_blank"></a>` const opt = to: useremail title: 'My Resource Sign Up' html: html await mail // 發送激活郵件 usercode = randNum usercreatetime = / 1000 userpassword = let id = 0 if data0 //user has registered const flag = await db if flag && flagchangedRows > 0 id = data0id else id = await db if id return res throw 'Fail to create the account' catch e return res } static async { try const verify = $ if !verify throw 'Invalid verify url' const sql = `update users set is_effect=1 where code=?` const flag = await db if flag && flagchangedRows > 0 return res throw 'Fail to verify your email' catch e return res } static async { try const user = reqbody userpassword = let data = await db if data0 if !data0is_effect throw 'Unverified email, please verify your email first' // generate token const token = data0token = token delete data0password delete data0createtime const flag = await db if flag && flagchangedRows > 0 return res throw 'Fail to update user login status' throw 'Fail to login, invalid email or password' catch e return res }moduleexports = UserStatic Files
Static files such as zips, images, css... that you will visit directly like: http://localhost/ex.png
Put them in directory 'static'
Thank you
We are going to make this open-source project better in the future.
Thank you for your supporting and using QuickNode.
Our Qbite
The Qbite backend is totally developed based on QuickNode, this is our example.

Scan the QRcode and order some food now!