NewsLynx App
The NewsLynx web interface
This project is a part of research project at the Tow Center for Digital Journalism at Columbia University by Michael Keller & Brian Abelson.
Read our full documentation for installing your own instance. The instructions below cover installing and developing the app as well as architectural documentation on how it works.
Since a lot of functionality is intertwined across different repositories, please post all issues to our project issue tracker.
Getting started
Install dependencies with npm install.
If you haven't run newslynx init by following the full install instructions, you can still test out the app by creating .newslynx folder in your home folder and creating a config.yaml file that looks like the following (change the secret key to something else or not if you're simply testing):
api_version: v1app_secret_key: chicken-burrito-grandehttps: falseapi_url: http://localhost:5000To recap, if you want to do a dry run to make sure the app runs locally but you haven't configured / ran the api yet, make a file that looks like the one above and put it in ~/.newslynx/config.yaml. Without having a server running locally, you won't get passed the login page, but at least you can make sure you get that far.
Running the server
To start the server, run
npm startThis compiles your CSS and JS and runs the server with Forever.
When you see the following, it's done and you can visit http://localhost:3000.
Note: If you are running this in production, you want to run it in behind https and tell the app you are doing so one of two ways:
- Run it with the environment variable
NEWSLYNX_ENV=https - Set
https: truein your~/.newslynx/config.yamlfile
This will make sure your cookies are set securely.
#####################################
# HTTP listening on 0.0.0.0:3000... #
#####################################
Other start up commands
Alternate commands are in package.json under scripts.
Developing locally
If you want to modify files and have the CSS and JS re-compiled automatically and the server restarted if necessary, do:
npm run dev
If you just want to watch the CSS and JS and re-compile when on change, do:
npm run watch-files
If you just want to watch the Express server and restart when its files change (templates, server js files), do:
npm run watch-server
These last two commands are best run in tandem in two separate shell windows. npm run dev does them both in one window for convenience.
The final command listed is npm test, which will run a simple test to make sure the server can launch.
Documentation
This documentation will explain the architecture and design patterns in use in the Express app and each section's Backbone app.
Overall architecture
The NewsLynx app has two main components:
- An ExpressJS server-side JavaScript application, which is concerned with authentication, sessioning and requesting data from the api. We'll refer to this as the "Express app" or the "Express side."
- A combination of multiple JavaScript Single-Page Applications. Each "page" in NewsLynx — currently Settings, Approval River, Articles and the Submit event page — are their own front-end JavaScript apps written using the Backbone framework. We'll refer to this as the "front-end."
The front-end code communicates with the Express side through Express routes as defined in lib/routes/. Probaby the most important route is the one that redirects any URL that starts with /api/ to the api endpoint and returns a JSON response.
Express App architecture
Running the app
The main Express app file is [lib/app.js]. This file glues all the Express middleware together such as sessioning, cookies, routes and determines some logic for which routes require authentication.
To run the app, you can start it from the command line through the file bin/www.js by providing the run argument like so:
./bin/www.js run
It defaults to port 3000 but that can be changed with a second argument
./bin/www.js run 3001
In production and development, however, we run the server with Forever and Nodemon, respectively. These tools have better support for keeping a NodeJS server alive for long periods of time. Nodemon is used in development since it can restart the server whenever files are modified.
Templates and loading CSS
Templates are written in Jade and found in [lib/views/]. They extend from lib/views/layout.jade which specifies "blocks" that subviews will insert themselves into. Here's what layout.jade looks like:
doctype htmlhtml head title NewsLynx | = info.title block css link(rel='stylesheet', href='/stylesheets/octicon/octicons.css') link(rel='stylesheet', href='/stylesheets/css/#{info.page}.css') body(data-section="#{info.page}") #main-wrapper block main-wrapper-contents #global-loading block bootstrap-data block templates block scriptsNote: If you open up layout.jade you'll see it has all of this ugly JavaScript describing menu items like Copy, Paste and Reload. This is to construct menu items for the Desktop application so we're skipping that here.
You can see two variables here, title and page. These are important, since, as you can see, that variable name determines what CSS file is loaded, which we'll explain more in the StyleSheets with Stylus section below. Generally, you can see that a page-specifi variable name will determine which CSS file we load. These variables match exactly the route name, for example, when you go to /settings, info.title is set to Settings in lib/routes/pages.js near line 103, which is then run through the sanitize function, which will put it in lowercase and replace spaces with dashes. We'll then fetch the file at /stylesheets/css/settings.css.
A page data attribute is also set on the body, which is used for loading page-specific JavaScript files and is discussed below in How page-specific JavaScript is loaded.
So, with this main layout.jade file, we then have page-specific jade files which insert blocks. Each of these inherit from lib/views/page.jade
Here's what that file looks like:
extends layout block main-wrapper-contents include includes/left-rail/index.jade #drawer(data-loading="true") block drawer #content(data-loading="true") block contentTake a look at lib/views/settings.jade for an example of a "Page" layout file, which inserts code into the drawer block, or the content block.
Authentication & interacting with the Core API
Every API call must include org and apikey query parameters. Read more in the Newslynx Core documentation for more specifics. As far as the App is concerned, all user login operations are handled by routes in lib/routes/organizations.js.
Logging in is done by sending a POST request to /login containing the following data:
The remember_me value is set via a checkbox, which will serialize to on if checked and falsey if not. That value will set the maxAge of the session cookie to the distant future so that a user does not need to enter their information until they logout.
You can see it's also doing a few things with this redirect_url business. The idea here is that if you have not authenticated, and you want to go to, says, /articles, you will be redirected to login. After you login, the expectation is that you will proceed to where you originally intended. To do that is both simple and complicated.
The simple part is that you can stash the incoming url on the req.session object, which is what we do initially in app.js near line 93. That url won't include anything in the hash, however, because the server never receives that information — it considers it below its station, it is the domain of the client and must not rise to such peaks.
For example, if we go to /articles#detail, Express only sees /articles as the page. This is better than nothing, though, so we save it as req.session.redirect_page. So how do we save the # stuff?
The complicated part is that we can save the hash client-side once we get to the login page by putting in some javascript that writes the hash to a hidden input field. When we submit our login form, we also submit the page where we intended to go. The jade template inserts that markup below the Remember me button:
.form-row label input(type='checkbox' name="remember_me") | Remember me //- Handle redirects by stashing the # portion of the url in a hidden field, which will then be picked up by our login POST endpoint script. var href = document.location.href if (href.indexOf('logout') === -1){ document.write('<input type="hidden" name="redirect_url" value="'+href+'"/>'); }Note How we don't stash this if we are on the logout page since we would be redirected to logging out.
So if we want to go to the /articles#detail page, the object we POST actually looks like this:
Notice how it thinks we want to go to the login page, plus our original hash, even though we requested /articles#detail. This is because the document.location.href is executing on the login page. So it preserves our hash but not the page!
Putting two and two together, Express was able to store the page, but not the hash. The client can store the hash, but not the original page. The rest of the code in our login POST endpoint replaces the /login with our previously saved page. Phew!
This request is then forwarded to the almighty auth.relay function, which handles communication with the Core API. It deserves a few words.
Talking to the Core API
All communication with the Core API is handled throgh lib/utils/auth.js. For logging in this, means setting data under auth. More generally, it adds our apikey and org id from the session to sign each request and adds the API url, as set in our config.yaml file, and always returns JSON. The file itself is heavily commented for what each part does specifically but as an overview, if the Express App wants to talk to the Core API, it goes through the relay.
Sessioning with LevelDB
The app keeps track of whether a user is logged in by setting a cookie on the person's browser with a Session ID.The Session ID stores the user's api key in a LevelDB database, which is written out to the lib/db/ folder.
This whole process is largely abstracted thanks to the use of two libraries:
- express-session handles communicating with the browser's cookies
- level-session-store handles putting our sessions in the database.
This process is configured in lib/app.js. We include a flag for storing the session securely if we are in an https production environment, which is set as explained above in Getting started.
var sessInfo = store: path secret: NEWSLYNX_CONFIGapp_secret_key resave: true saveUninitialized: true unset: 'destroy' cookie: secure: false; // If we are running in a secure environmentif app === 'https' || NEWSLYNX_CONFIGhttps === true app // Trust the first proxy sessInfocookiesecure = trueBootstrapping and transforming data
Currently, on initial load for any of your main Pages, the Express app will make a bunch of calls to the API and package up this data as a global data object called pageData. You can see how all this plays out in the lib/routes/pages.js file.
We currently have an open issue to change this pattern so that Backbone collections fetch their own data on load. The advantage with this change is that the user will see the page change more quickly than with the current setup. For example, from the Home screen, if you click "Approval River," that data is all fetched asynchronously by the Express app but then your browser loads it all in one big object, which is why you hang on that Loading gif of Merlynne making potions a few seconds.
We built it this way, essentially, because that's the way we first set it up. The benefit of doing it this way is we are also doing a number of transformations on the data and the fact that we serialize the JSON data (i.e. convert it to a string and then back out to JSON) lets us not worry about mutating data in unexpected ways (because objects are passed by reference, not duplicated in JavaScript, you can easily modify an object in one place and unexpectedly see those changes reflected in elsewhere as well).
For example, our articles come back from the server with a list of Subject tag ids. We then hydrate these ids with the full subject tag info. If we weren't careful, we would really only have one copy of this object instead of multiple. The consequence of that is if we delete a subject tag off of one article, it would be removed from every article.
This problem is not insurmountable, but I explain it here to point out some of the advantages of the current system and things to keep in mind for shifting to another system.
All of the transformations are stored in lib/utils/transform.js
Front-end architecture
Build process with Gulp
The front-end JavaScript is written in separate files that are meant to be concatenated together and minified. We use Gulp to do this and watch those files for changes. Gulp also transforms our Stylus files into normal CSS files. Checkout the Gulpfile, which orchestrates all the events.
The final concatenated JavaScript file is saved to lib/public/javascripts/main.bundled.js and that file is loaded in every page template. Let's look at the hierarchy of these javascript files, which are all in
This is the order in which the gulpfile concatenates them:
// ... js: './lib/public/javascripts/namespace.js' './lib/public/javascripts/helpers/*.js' './lib/public/javascripts/models/*.js' './lib/public/javascripts/collections/*.js' './lib/public/javascripts/views/*.js' './lib/public/javascripts/app/*.js' './lib/public/javascripts/routing/*.js' './lib/public/javascripts/init.js' // ...Because these files are concatenated in alphabetical order, views or other files that are meant to be extended are given the file name prefix AA_ to make sure they are loaded first.
Let's look at namespace.js in particular, since that's the first file and it will give us some sense of the structure the rest of the files are built around. This file creates our top-level objects we'll be using throughout the app:
'use strict';var helpers = {};var templates = {};var models = {};var collections = {};var app = {};var views = {};var routing = {};We'll look at these more in detail in the How page-specific JavaScript is loaded section. For now, just note how these main objects are what the rest of the files add functions and objects to.
For styles, gulp puts page-specific CSS files in the css/ folder. This is discussed more in detail in the next section, Stylesheets with Stylus.
Stylesheets with Stylus
The app uses a CSS preprocessor called Stylus, which is a NodeJS package. These files are in lib/public/stylesheets/. Each page has its own top level file such as articles.styl, home.style, approval-river.styl etc.
Styles are broken into smaller files so they can be more easily reused across views. These are all in lib/public/stylesheets/blueprint/. Even smaller stylus files that are reused across "blueprint" files are in the the modules subfolder. The nested folder structure helps show which files are meant to be used as shared assets.
During the build process, the top level files for each page are written into the css/ folder at lib/public/stylesheets/css/. To bring it full circle, these files, articles.css, home.css, approval-river.css are what layout.jade calls based on the info.page variable, as explained above.
link(rel='stylesheet', href='/stylesheets/css/#{info.page}.css')How page-specific JavaScript is loaded
As explained in the Build process with Gulp, the JavaScript is baked out into one file main.bundled.js unlike the CSS files, which are page-specific. Which JavaScript functions get executed, however, is determined through the same info.page variable.
In the main layout.jade file, the HTML <body> element gets a page-specific data-attribute like so:
body(data-section="#{info.page}")When the JavaScript file are loaded, they call corresponding functions and the page-specific code gets executed. In the build process section, we discussed the order in which these files were concatenated,the last element in that list is the first file we look to to run our app, init.js.
If you look at this file, you'll see that each of the objects in our namespace.js has an init object, that contain page-specific functions. When we load a page, we grab that data-attribute off of <body> and that dictates which function groups to execute off of these objects.
In this way, the app's models, collections and views are instantiated by the main init object at the bottom of this file, which looks like this:
var init = { // Call the page specific functions var section = ; // Their `this` should be the root object so you can still say `this.` even though you're nested in the object templatesinitsection; modelsinitsection; collectionsinitsection; appinitsection; routinginitgo; } init;The main view for each page is the app.instance object.
Form serialization
The app uses the library jquery.serializeJSON to turn all form elements into JSON objects. Check out the getSettings function in AA_BaseForm.js near line 541 for the details of that implementation.
Settings
Change detection
Modal windows
Approval River
Form construction
Form validation
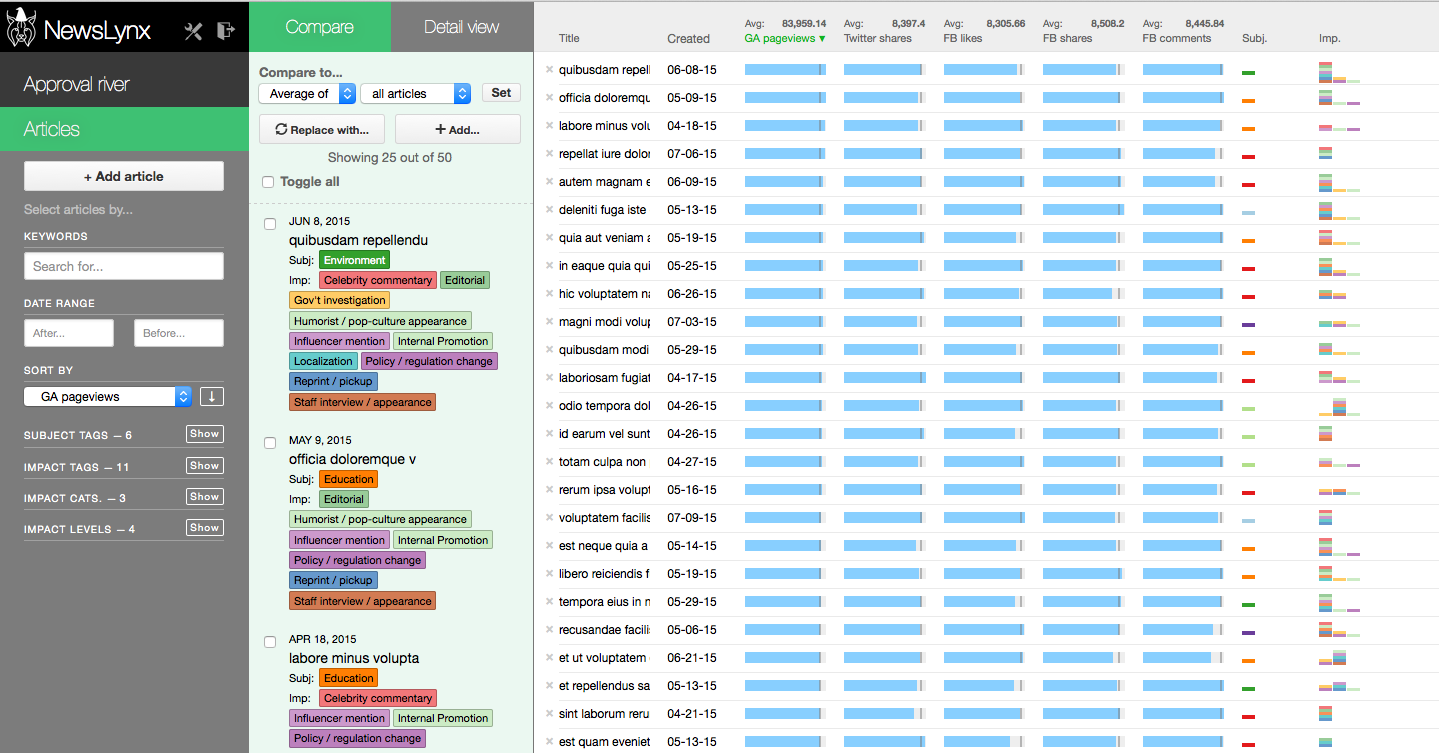
Articles
Comparison view
Isotope
Detail view
License

This work is licensed under a Creative Commons Attribution-NonCommercial-ShareAlike 4.0 International License.