
█▓▒░⡷⠂μGL⠐⢾░▒▓█
mugl - WebGPU and WebGL Micro 3D Graphics Library for JavaScript and WebAssembly


Overview
mugl is a minimal, modern 3D graphics abstraction layer that provides a simplified WebGPU-style low-level graphics API for JavaScript. It supports both WebGPU and WebGL 2.0, runs on any modern web browser (WebGL/WebGPU), React Native mobile app (WebGL), and on WebAssembly (WASM) with AssemblyScript binding (WebGL/WebGPU).
Why mugl?
mugl is for you if you want to:
- render graphics from AssemblyScript / WASM using WebGPU or WebGL
- use WebGL2 through a minimal modern graphics API that removes the verbosity and state management aspect of WebGL
- use WebGPU today with fallback to WebGL2
Documentation
- Latest JavaScript / AssemblyScript API: Typedoc
- Raw WebAssembly API spec: API.wit, AssemblyScript imports
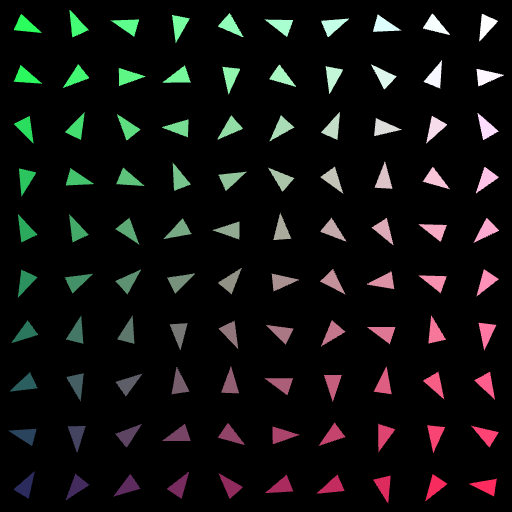
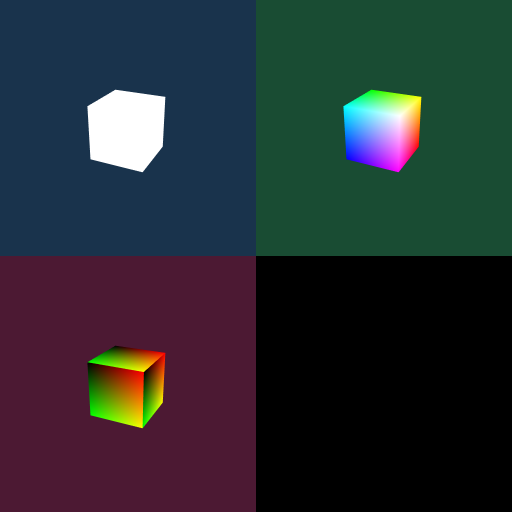
Showcase
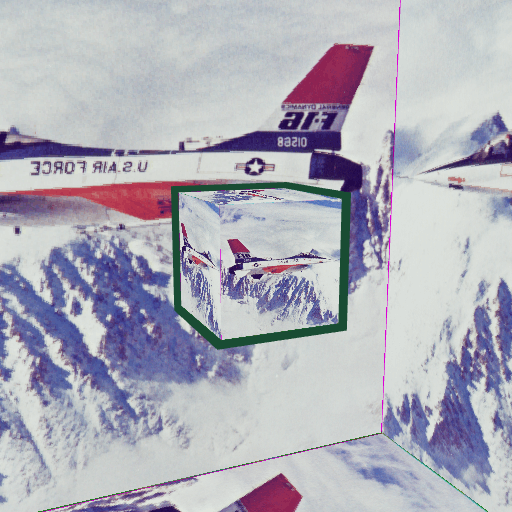
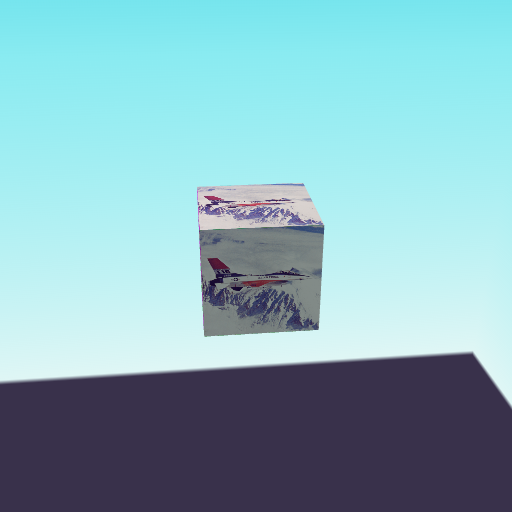
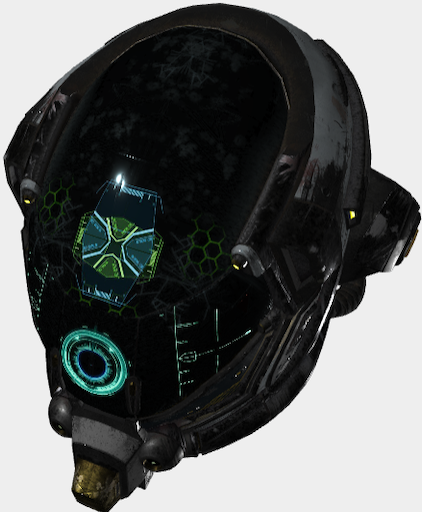
Live Examples
Check out the live examples here.
The source code of all examples can be found here. All examples run on both WebGL and WebGPU, for both JavaScript and WebAssembly, using the same code base! Click the toggles in the examples menu to seamlessly switch between JS/WASM and WebGL/WebGPU.
 |
 |
 |
 |
 |
 |
glTF 2.0 Model Viewer
A small but full-featured glTF model viewer built on mugl is available as an example usage of this library here.
The source code can be found here.
Any model from glTF-Sample-Models can be loaded using the model and variant URL parameter,
e.g.: ?model=Buggy&variant=glTF-Binary to load the Buggy model.
You can also use the url URL parameter to load a model from any source (example).
Usage
0. Install
npm install --save mugl1. Basic Rendering
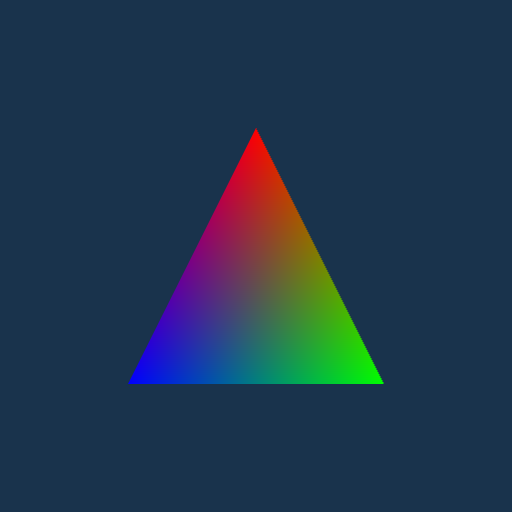
Below is the minimal mugl program to draw a triangle (See this example live here):
import { ShaderStage, VertexFormat, vertexBufferLayouts, WebGL } from 'mugl';

// 0. Prepare triangle vertex positions and colors data
const triangle = new Float32Array([
  // position  color
  +0.0, +0.5,  1.0, 0.0, 0.0, 1.0, // vertex 0
  +0.5, -0.5,  0.0, 1.0, 0.0, 1.0, // vertex 1
  -0.5, -0.5,  0.0, 0.0, 1.0, 1.0, // vertex 2
]);

// 1. Create WebGL rendering device from an existing canvas
const device = WebGL.requestWebGL2Device(canvas);
if (!device) throw new Error('WebGL 2.0 is unsupported');

// Import `WebGPU` instead of `WebGL` to use WebGPU backend instead:
// const device = await WebGPU.requestWebGPUDevice(canvas);

// 2. Create GPU buffer and upload the triangle data
const buffer = WebGL.createBuffer(device, { usage, size: triangle.byteLength });
WebGL.writeBuffer(device, buffer, triangle);

// 3. Compile the vertex and fragment shaders. (for WebGPU, WGSL shader code should be used)
const vertex = WebGL.createShader(device, {
  usage: ShaderStage.Vertex,
  code: `#version 300 es
    layout (location=0) in vec2 position;
    layout (location=1) in vec4 color;
    out vec4 vColor;
    void main () {
      gl_Position = vec4(position, 0., 1.);
      vColor = color;
    }`
});
const fragment = WebGL.createShader(device, {
  usage: ShaderStage.Fragment,
  code: `#version 300 es
    precision mediump float;
    in vec4 vColor;
    out vec4 outColor;
    void main () {
      outColor = vColor;
    }`
});

// 4. Create the pipeline object
const pipeline = WebGL.createRenderPipeline(device, {
  vertex, fragment,
  // vertexBufferLayouts(...) auto-calculates the stride and offsets of vertex attributes for you
  // Attribute indices / ordering must match the attribute locations specified in vertex shader
  buffers: vertexBufferLayouts([
    { attributes: [/* position */ VertexFormat.F32x2, /* color */ VertexFormat.F32x4] }
  ]),
});

// 5. Submit draw call in a render pass
WebGL.beginRenderPass(device);
  WebGL.setRenderPipeline(device, pipeline);
  WebGL.setVertex(device, 0, buffer);
  WebGL.draw(device, 3); // 3 vertices to draw
WebGL.submitRenderPass(device);

// 6. Free up GPU resources
vertex.destroy();
fragment.destroy();
pipeline.destroy();
buffer.destroy();
device.destroy();
2. Running on React Native Mobile Apps via expo-gl
mugl is compatible with expo-gl for 3D rendering on Expo / React Native mobile apps. Below is the setup required to use mugl with expo-gl (source code of the full example can be found here):
import React from 'react';
import { Asset } from 'expo-asset';
import { GLView } from 'expo-gl';
import { WebGL } from 'mugl';

export default function App() {
  return (<GLView style={{ width: 300, height: 300 }} onContextCreate={onContextCreate} />);
}

async function onContextCreate(gl) {
  // 1. Create device by passing a canvas-like object that wraps the gl context
  const canvas = { getContext() { return gl; }, width: 300, height: 300 };
  const device = WebGL.requestWebGL2Device(canvas);

  // 2. Use expo-asset to load an image to GPU texture
  const image = (await Asset.loadAsync(require('./image.png')))[0];
  const size = [512, 512, 1];
  const texture = WebGL.createTexture(device, { size });
  WebGL.copyExternalImageToTexture(device, { src: image }, { texture }, size);

  // 3. Setup other resources
  const pipeline = WebGL.createRenderPipeline(device, { ... });
  const buffer = WebGL.createBuffer(device, { ... });
  WebGL.writeBuffer(device, buffer, ...);
  const bindgroup = WebGL.createBindGroup(device, { layout, entries: [{ texture }] });

  // 4. Render as usual
  WebGL.beginRenderPass(device);
    WebGL.setRenderPipeline(device, pipeline);
    WebGL.setVertex(device, 0, buffer);
    WebGL.setBindGroup(device, 0, bindgroup);
    WebGL.draw(device, ...);
  WebGL.submitRenderPass(device);

  // 5. Call the expo-gl 'swap buffers' API at the end of each frame
  // See: https://docs.expo.dev/versions/latest/sdk/gl-view/#webgl-api
  gl.endFrameEXP();
}
As expo-gl does not fully support all WebGL2 APIs, you may find some advanced features of mugl not working as expected. Notably missing is pixelStorei API support for defining texture image source offsets.
3. Running on WebAssembly
Import mugl/wasm to your WASM module:
// 1. Import mugl/wasm
import * as muglWasm from 'mugl/wasm';

// 2. Import your WASM module as ESM (require Webpack with experiments.asyncWebAssembly = true):
import * as exports from './your_module.wasm';

// 2b. Alternatively, using the WASM API, add mugl/wasm to your module imports
const imports = { 'mugl/wasm': muglWasm, ... };
const exports = (await WebAssembly.instantiateStreaming(
  fetch('your_module.wasm'), imports
)).instance.exports;

// 3. Expose WASM module memory to mugl. This must be done before your WASM module calls any mugl method.
const CONTEXT_ID = 123; // Define a unique numeric ID for your WASM module
muglWasm.set_context_memory(CONTEXT_ID, exports.memory);
In the AssemblyScript WASM module, you can then use getCanvasById to get a canvas handle for creating a device:
import { getCanvasById, WebGL } from 'mugl';
const CONTEXT_ID = 123; // This must be the same ID as above
const device = WebGL.requestWebGL2Device(getCanvasById(CONTEXT_ID, 'canvasId'));
See the examples source code on how to build an AssemblyScript mugl app.
License
This repository and the code inside it is licensed under the MIT License. Read LICENSE for more information.