
Gulp Letters


![]()
* Read this in other languages: English, Русский.
The library for page making and testing of letters using Gulp, Pug, Sass и BrowserSync.

What is Gulp Letters
The main point of gulp-letters is to tie all the letter's page making to work with two basic files: .pug (layout) and .sass (styles). Live Preview in browser, emails sending, files conversion to html and css, styles insertion to layout file and complete letter building — all these can be done automatically by gulp-letters.
Outcome: maximum simplicity of letters development and support + ability of quick testing and building of ready templates.
Features
Working with files by name
Filename is central identifier in work with gulp-letters.
To do smt with letter, you must call it by name.Create the new file via command
gulp new -n <filename>and then use in every operation: sending email, opening in browser, making build, deleting → all by gulp command simply pointing this filename.
It allows to develop several letters at once calling them by filename.
Input: gulp <command> -n <filename> to point the gulp file you need to apply a command.
For example, you created a letter named code. By entering gulp serve -n code → gulp opens the letter "code" in browser and starts to track changes in code.pug and code.sass. After you save code.pug and code.sass – gulp will automatically update a tab with opened code letter in browser.
Creation of basic .pug and .sass
To start page making of a letter you need to create basic .pug file and .sass styles file. This is done by command:
gulp new -n <filename>.
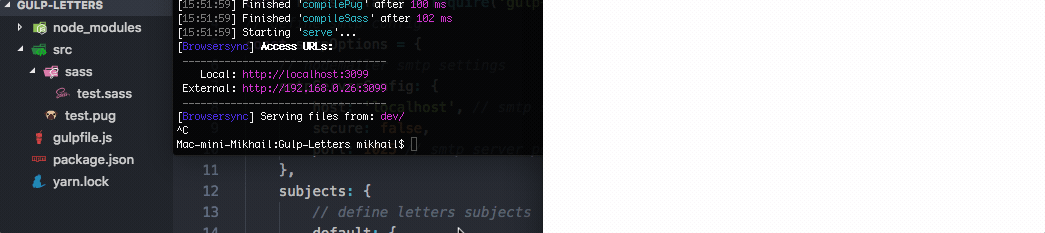
Live Preview in browser while saving changes in .pug or .sass
To begin reviewing page made letter in browser you need to run command gulp serve -n <имя файла>. Live preview in browser implemented via BrowserSync library.
Conversion of .pug and .sass to html and css
Upon entering the command gulp serve -n <filename> gulp-letters automatically creates dev/ folder & puts converted from .pug and .sass to .html and .css files there.
Sending emails
Any letter created in gulp-letters can be sent via command gulp send -n test .
Mail Config
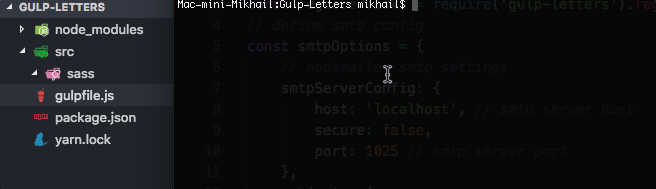
SMTP server settings must be specified in gulpfile.js:
smtpServerConfig: {
    host: 'localhost', // smtp server host
    secure: false,
    port: 1025 // smtp server port
},
In gulpfile.js you need specify data for "subjects" block that has a container with sender's email, recipient's email and letter's subject:
subjects: {
    default: {
  		from: '"Mail new message ✉️ " <no-replay@localhost>',
        to: 'test@user.com',
        subject: 'This is new message ✉️'
    }
},
You can create container for every letter. Calling containers is done in the same way as for files - by name via send command.
Example: gulp send -n test → gulp initiates sending of letter titled "test" using data set in "test" container.
If there is no container named "test", then gulp will send a letter using data set in default container.
Letter building
Building of a letter is made via command gulp build -n <filename>.
Building process
- Gulp applies page making from corresponding .html, applies styles from corresponding css → defines them inline;
- Converts outcome file in .js and gives it a name set in p. Creation of basic .pug and .sass;
- Creates dist/ folder & puts generated .js file there.
Clean / remove
gulp clean – to clean "dist" folder
gulp remove -n test – to delete all the files named "test" from every folder having gulp-letters installed.
Installation
- Create project folder with the structure
src/
↳ sass/
run commandmkdir -p your-letters-project/src/sass && cd your-letters-project - Go to folder's root and run command
npm init, if you use yarn, thenyarn init; - In folder's root run command
touch gulpfile.js; - Open gulpfile.js and put:
const gulp = require('gulp');
// include default tasks registrator
const registerTasks = require('gulp-letters').registerTasks;
// define smtp config
const smtpOptions = {
  // nodemailer smtp settings
  smtpServerConfig: {
    host: 'localhost', // smtp server host
    secure: false,
    port: 1025 // smtp server port
  },
  subjects: {
    // define letters subjects
    default: {
      from: '"Mail new message ✉️ " <no-replay@localhost>',
      to: 'test@user.com',
      subject: 'This is new message ✉️'
    }
  },
  params: {} // define letters params
};

// register default tasks
registerTasks({ smtpOptions }, [
  'new',
  'serve',
  'build',
  'send',
  'clean',
  'remove'
]);
// define default gulp task
gulp.task('default', gulp.series(['build']));
- Run command
npm install --save-dev gulp-letters, if you use yarn, thenyarn add --save-dev gulp-letters
Gulp-letters library is ready. To perform functionality check run command gulp new -n test and then gulp serve -n test → result: test letter with text ::Hello letter test:: will open in browser.
Commands
Using an example file named "test".
new
gulp new -n test or gulp new -n "test1","test2" — automatically creates test.pug and test.sass; "test" can be changed to another name at will.
serve
gulp serve -n test — converts test.pug to test.html, test.sass to test.css; converted files will be put in "dev" folder – these files will be caught by BrowserSync that opens them in browser using localhost.
build
gulp build -n test – converts test.pug and test.sass to the single JS file defining styles inline. Created test.js can be placed in project.
send
gulp send -n test – sends a letter named "test" on email set in mail-config.json.
clean / remove
gulp clean – cleans "dist" folder
gulp remove -n test – deletes all the files named "test" from every folder having gulp-letters installed.
Requirements
Folders structure for project
src – development
↳ sass
dev - files for page making check on local server (html + css)
↳ css
dist – converted files for subsequent use (JS — styles inline)
Node.js 8.0.0
Node.js 8.0.0 (or later) required for gulp-letters to work.
Gulp 4.0
Gulp 4.0.0 (or later) required for gulp-letters to work.
ROADMAP
- migrate to mjml
- using pug