generator-upendodnn


Scaffolds DNN extensions, including Modules (Webforms, SPA, and MVC), Persona Bar, Skin Object, Library, Scheduler, and Hotcakes Commerce projects (based on generator-dnn built by Matt Rutledge).
The video below will walk you through everything you need to know. (right-click and open in a new tab)
Sponsors == (typeOf superHuman) Awesome;
Yes, it's not real code. It's just supposed to be fun. :P
This solution is created and maintained by Upendo Ventures for the DNN CMS Community. Please consider sponsoring us for this and the many other open-source efforts we do. It's a lot. :)
- Sponsor Us (we're grateful at any level)
UpendoDNN Generator
Table of Contents
- Installation
- Using UpendoDNN Generator
- Upgrading
- Video Overview
- Additional Features
- More Documentation
- Original Project
- License
Installation
1. Manual Software Installation
This generator is dependent on the following popular frameworks, and needs them to be installed for you to use this generator. You probabably already have them installed.
First, install/upgrade Node.js and npm to the most current version.
- Use a Node Version Manager to Install Node.js & npm
Warning: You may need to add the user path to your Environmental Variables. Here is an example from Windows 10 (you'd replace
yourUsername, obviously):
C:\Users\yourUsername\AppData\Roaming\npm
2. Dependency: MSBuild (optional step?)
You also need to install the latest version of MSBuild if you don't already have it installed.
Note: Visual Studio 2019 (and newer) should have installed MSBuild for you.
Do You Need to Install MSBuild Manually?
MSBuild Download Locations
-
Latest Build Tools for Visual Studio
- Scroll down to find "Tools for Visual Studio" and expand it.
- You'll see a download button for "Build Tools for Visual Studio 2022".
- Build tools for Visual Studio 2017
- Build tools for Visual Studio 2015
- Build tools for Visual Studio 2013
3. Finish Installing by Command Line
The commands below will install the final bits.
- Install Yeoman:
npm install -g yo - Install Yarn:
npm install -g yarn - Install the generator:
npm install -g generator-upendodnn Using UpendoDNN Generator
Now, you're ready to sprint through your DNN projects!
Here are the steps to generate your new project... 4 easy steps!
- Create a folder for it:
mkdir my-project-name - Go into that folder.
cd my-project-name - Choose the project to install.
yo upendodnn - Open the solution in Visual Studio, and have fun writing code!
IMPORTANT!
You need to first create the Solution Structure if you haven't yet done so in this directory. Then, create any extension you want.
More verbose instructions on how to use this.
First-Timers: How to Use (verbose)
First, install the generator using the steps above.
- Create and navigate to a folder where you wish to begin your new DNN-based solution. (command line example is above)
- Run
yo upendodnnin CMD or Powershell in that folder. - For the first time, you'll want to always first choose the
Solution Structurescaffold and step through the wizard. - Once the solution scaffold is created, run
yo upendodnnagain to add your other desired DNN projects. - Re-open the solution in Visual Studio, and begin writing code. The project is ready and waiting for you!
That's it! Now you can begin building your awesome DNN extension(s) as you see fit. Everything is now under one easy-to-open, -run, -code, -build, and -commit to source control solution.
Say hi to Will at DNN Summit and DNN-Connect. :)
Awesome Sponsors Accepted Here
Upgrading
In many cases, you may be able to simply re-execute the following command to upgrade upendodnn generator.
npm install -g generator-upendodnn However, upgrading your existing projects may or may not be more involved. If you want to take advantage of the build process updates, you will at least need to update the build files.
The steps below will help you upgrade the build process in your development environment successfully.
- In a new (empty) folder, run
yo upendodnn. - Choose the
Solution Structure. - Copy the files from both the
BuildandReferencesfolders. - Paste the files into their respective matching folders in your project. Overwrite all.
- In any release, if there were any updates to the project file(s) and/or
.buildfile(s), you'll want to return to the new "copy/paste" folder you just created. - Use the upendodnn generator to install each respective extension.
- Use a compare/diff tool, like WinMerge, to compare the files and determine which updates you want to merge into your existing development environment.
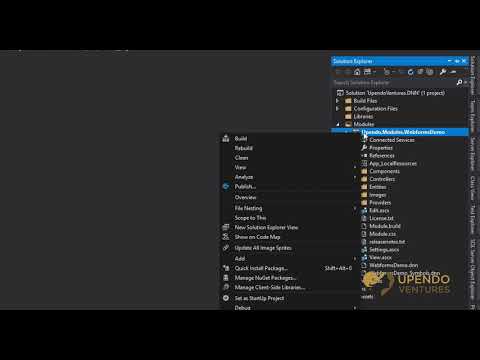
Video Overview
Additional Features
Additional features for end-users will continue to be added in this project's wiki.
More Documentation
Want to learn more or how to build the generator code locally? Please see our wiki for additional documentation.
Original Project
Original Project Documentation
License
MIT © 2018 Matt Rutledge
MIT © 2019-2023 Upendo Ventures, LLC