eleventy-plugin-social-img
An Eleventy plugin for generating social share images at build-time. It uses capture-website behind the scenes to capture a screenshot of the given input and save it to a given output file path. The URL for that generated image will be returned by the shortcode to be used in <meta> tags for Twitter and Open Graph. This plugin can be paired with eleventy-plugin-metagen for complete social share functionality.
The default viewport size for taking a screenshot is 600px by 315px. To use a custom width and height, utilize the width and height arguments. If you want a higher resolution display, set highRes equal to true for a 1200px by 630px image size (double the default dimensions).
Installation
In your Eleventy project, install the plugin from npm:
npm install eleventy-plugin-social-img
Then add it to your Eleventy Config file:
const socialImg = require('eleventy-plugin-social-img');

module.exports = (eleventyConfig) => {
    eleventyConfig.addPlugin(socialImg);
};
What does it do?
The plugin turns 11ty shortcodes like this:
{% set imgUrl %}
    {% socialImg
        theme=2,
        title="Some Interesting Blog Post Title Text",
        inputDir="./src",
        fileName="my-img",
        outputPath="/social-share/",
        themeColor="#7968c6",
        fontColor="#000215"
    %}
{% endset %}
into images like this:
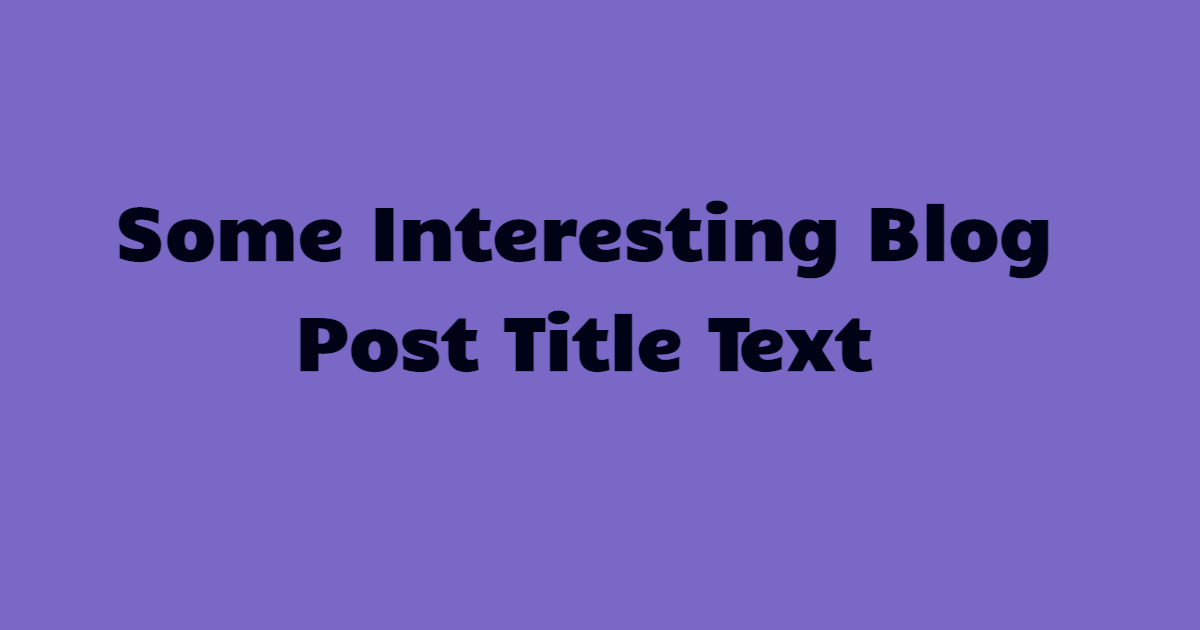
The shortcode returns a URL for the generated image which can be used in document metadata for og:image and twitter:image meta tags. I recommend storing the output of socialImg in a template variable like demonstrated with {% set imgUrl %}.
<!-- Twitter and Open Graph -->
<meta name="og:image" content="{{ imgUrl | trim }}">
<meta name="twitter:image" content="{{ imgUrl | trim }}">
The inputDir argument is required. If the path created from inputDir concatenated with outputPath doesn't exist, the paths in will be created. The image will be generated and placed at the end of ${inputDir}${outputPath} with the extension in type (default 'png'). If the given filepath and image already exists, the shortcode will generate a new image and overwrite the old one.
Handling URLs
With the process.env.URL environment variable provided by Netlify, the image URL generated by the socialImg shortcode can be prefixed with the live sites URL. The return statement of your Eleventy config file will determine which directory of templates get transformed to HTML (e.g. input) and the directory to output the static files (output). The input directory in your Eleventy config file should be the same value you pass the inputDir argument.
Specify an outputPath that is relative to the inputDir directory.
{% socialImg
    input="<h1>Hello, 11ty!</h1>",
    inputType="html",
    fileName="my-file",
    inputDir="./src",
    outputPath="/social-share/",
    styles=["h1 { color: #f06; }"]
%}
Make sure to use addPassthroughCopy() to include the directory of social share images in your build output. This will ensure that the directory of generated images are included in the sites static output (ie _site) when built and deployed with Netlify.
For the image URLs to be acessed by social card validators, don't forget to tell Eleventy to copy the directory of generated image files specified in inputDir + outputPath into the site output with addPassthroughCopy(). This will make sure that URLs generated by the shortcode like https://some-site.netlify.app/outputPath/fileName work as expected since the static assets will be available at the expected URL.
module.exports = (eleventyConfig) => {

    // Include the directory of generated images from `outputPath` in site output
    eleventyConfig.addPassthroughCopy("./src/social-share/");

    return {
        dir: {
            input: "src",
            output: "_site"
        }
    }
}
If you have the above dir object as shown above, the following shortcode:
{% set imgUrl %}
    {% socialImg
        input="<h1>Hello World!</h1>",
        inputType="html",
        fileName="my-file",
        inputDir="./src",
        outputPath="/social-share/some-dir/",
        styles=[
            "body { background: lightblue; }",
            "h1 { color: #f06 }"
        ]
    %}
{% endset %}

<meta name="og:image" content="{{ imgUrl | trim }}">
<meta name="twitter:image" content="{{ imgUrl | trim }}">
will create the directories /social-share/some-dir/ if they don't already exist, generate the image and return a URL:
https://site-name.netlify.app/social-share/some-dir/my-file.png
If you have a custom domain name through Netlify, then process.env.URL will replace "site-name.netlify.app" with your custom domain.
Usage Options
For a single input (ie a URL or HTML), the shortcode will generate only one image to the specified inputDir + outputPath.
When multiple screenshots are being taken at once with captureWebsite, chrome processes are being launched in parellel and every instance adds a listener to each processes "exit" event to cleanup. The default maximum number of listeners is 10 which can be verified by process.getMaxListeners().
If you have a layout with more than 10 templates feeding into it, then normally with Puppeteer an error would be thrown MaxListenersExceededWarning. I've circumvented this issue by setting a generous MaxListeners ceiling, but a future fix would be to concurrently handle promises returned from the captureWebsite utility. It returns Promise<void>, therefore for 'X' values passed to input or for 'X' pages built using shortcode, the same number of promises will be returned.
When running the project locally, use overwrite=false to make sure captureWebsite isn't running in the background as its performance intensive if you have many socialImg invocations. When building, overwrite=true is safe.
Below are a few options of shortcode usage:
Create an inline object by passing the name=value pair arguments to shortcode:
{% socialImg
    theme=1,
    title="Some Interesting Blog Post Title",
    img="https://tannerdolby.com/images/headshot3.png",
    initials="TD",
    fileName="my-image",
    inputDir="./src",
    outputPath="/images/",
    themeColor="#102647",
    fontColor="#edefbd"
%}
Define template variables in front matter and pass them to the shortcode:
---
title: Some post about cool stuff
input: "<h1>Hello, world</h1>"
inputType: html
fileName: image-three
inputDir: ./src
outputPath: /share/
styles:
 - "body { background: #f06; }"
 - "h1 { color: #fff; }"
---

 {% socialImg
    input=input,
    inputType=inputType,
    fileName=fileName,
    inputDir=inputDir,
    outputPath=outputPath,
    styles=styles
%}
Pass a single object to the shortcode for a one liner:
---
data:
  theme: 2
  title: Some Post Title
  inputDir: ./src
  outputPath: /share/
---

{% socialImg data %}
To use your own custom templates and styles, have a look at using custom templates. This provides room for creativity because you have a blank canvas and can provide it with any custom content or styles that you want.
Shortcode Options
If a fileName is not present and title is, then the generated image filename will be the value of title slugified. If the outputPath is not present but a fileName or title is, then the default output directory will be ./social-images/. The fileName has higher precendence in the shortcode arguments so if you use both a fileName and title (which is common) then the fileName will be the generated image filename.
Note: the order of shortcode arguments doesn't matter.
| Argument | Type | Desc |
|---|---|---|
| inputDir | string |
The input directory in your .eleventy.js config file. (Default: ".") |
| input | string |
The URL, file URL, data URL, local file path to the website, or HTML. (Default: 'url') |
| inputType | string |
Type of input location for capture-website. Can be a URL or HTML. (Default: 'url') |
| outputPath | string |
The output file path for generated screenshots. Relative to the value provided in inputDir. |
| fileName | string |
Name of the generated social share image. |
| styles | string[] |
The styling for input. Accepts an array of inline code, absolute URLs, and local file paths (must have a .css extension). |
| title | string |
The page title for images using a theme. |
| width | number |
Page width. |
| height | number |
Page height. |
| img | string |
The URL, file URL, or local file path to a headshot image for theme 1. |
| initials | string |
The site authors initials. |
| highRes | boolean |
Sets page width and height to 1200px by 630px. |
| theme | number |
A number indicating which theme to use (1 or 2). |
| themeColor | string |
The background color for theme. Any valid CSS background values. |
| fontColor | string |
The font color for text in themes. |
| debugOutput | boolean |
Logs the config object to console. |
See capture-website for more details on available arguments. Many config options exist in capture-website and all of them are supported for usage with socialImg.
Using Themes
Two social share image themes exist in this plugin. They use predefined HTML and styles, but the styles can be manipulated with optional arguments and/or the styles argument. When using a theme, make sure to include theme and assign it a value. Do not use input with predefined themes, it will throw an error as the input source (eg HTML) is already supplied to captureWebsite for taking the screenshot.
You can view the predefined themes to preview what generated social share images will look like.
Theme one
Specify a theme, title, img, initials, fileName, inputDir, and outputPath.
{% set imageUrl %}
    {% socialImg
        theme=1,
        title="Some Interesting Blog Post Title Text",
        img="https://tannerdolby.com/images/headshot3.png",
        initials="TD",
        fileName="theme-one",
        inputDir="./src",
        outputPath="/social-share/"
    %}
{% endset %}
Theme two
Specify a theme, title, fileName, inputDir, and outputPath.
{% set imageUrl %}
    {% socialImg
        theme=2,
        title="Some Interesting Blog Post Title Text",
        fileName="theme-two",
        inputDir="./src",
        outputPath="/social-share/"
    %}
{% endset %}
If you want to change the backgrund for a theme, provide a themeColor argument. You can also change the font color with fontColor. The styles argument is another way to style the predefined themes but specificity usually will require extremely specific selectors or !important usage (This is because the predefined themes have their own HTML and CSS which are first in the styles array).
Note: If you create a custom template of your own and pass that HTML into the input argument of socialImg, the styles you provide to styles will be the only styling (unless inline styles or internal CSS are present in the HTML) and therefore have the highest specificity.
Custom HTML templates
Using your own custom template is encouraged. Design it however you like and simply pass in that HTML and CSS to the shortcode with input and styles. The plugin will do the work of creating directories and generating images. You can pass HTML straight into the shortcode using the input argument. Provide some CSS inline with HTML or to styles along with the other required arguments to begin generating images from your custom template. If your HTML doesn't rely upon any template variables then simply pass it directly to the shortcode in the input argument like this:
{% socialImg
    input="<h1>Hello World!</h1>",
    inputType="html",
    styles=[
        "h1 {
            color: blue
        }"
    ],
    fileName="my-html",
    inputDir="./src",
    outputPath="/images/"
%}
If you plan to use template variables in your markup for the custom template, you can pull in HTML however you would like and then pass it into the shortcode. I recommend using {% set %} to capture HTML contents into a variable using block assignments like this:
---
title: Some Post Title
date: 2021-05-07
inputDir: ./src
fileName: my-image
outputPath: /social-share/
styles:
  - "h1 { color: #f06; }"
---

{% set html %}
    <h1>{{ title }}</h1>
    <p>Posted on {{ date }}</p>
{% endset %}

{% set imgUrl %}
    {% socialImg
        input=html,
        inputType="html",
        fileName=fileName,
        inputDir=inputDir,
        outputPath=outputPath,
        styles=styles
    %}
{% endset %}
Check out randoma11y for some great palettes to help with designing a custom theme.
Related
- capture-website - Capture screenshots of websites or HTML, using Puppeteer under the hood.
- eleventy-plugin-social-share-card-generator - An eleventy plugin for generating social share card using Cloudinary.
- eleventy-plugin-social-images - An eleventy plugin for dynamically generated social media images. (Inspiration from @5t3ph's plugin)