Canvas Designer / API Referencee
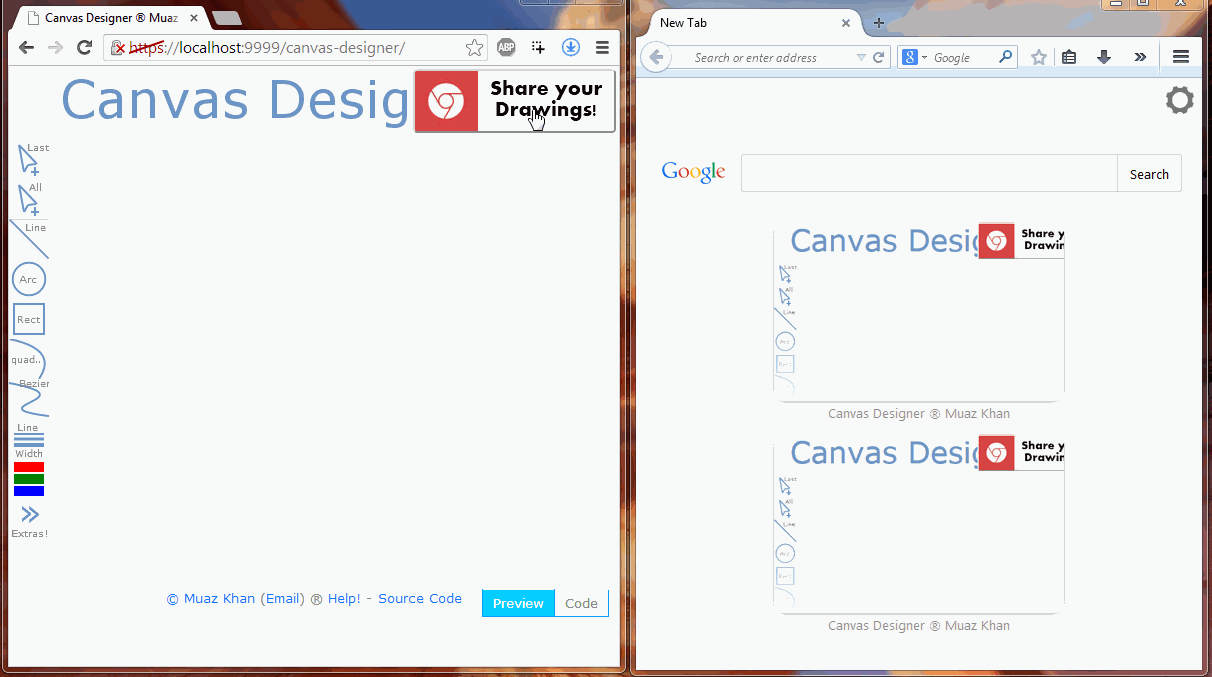
Demo: https://www.webrtc-experiment.com/Canvas-Designer/
Advance Demo: demos/dashboard/
Multiple designers demo: https://www.webrtc-experiment.com/Canvas-Designer/multiple.html
YouTube video:


"Collaborative" Canvas Designer i.e. Canvas-Drawing tool allows you draw bezier/quadratic curves, rectangles, circles and lines. You can also set strokes, back/forth colors and much more. You can draw using pencils, erase drawing, type texts etc. You can easily add your own tools.
You can check all releases here:
The specialty of this drawing-tool is that, it generates Canvas2D code for you; so simply draw and get the code! That code can be used in any javascript Canvas2D application.
You can submit issues here:
Also, you can collaborate your drawing with up to 15 users; and everything is synced from all users. So, if you draw a line and your friend-A draws quadratic curve and friend-B draws rectangle then everything will be synced among all users!
Youtube Videos
Gif images:

Built-in tools
You can use designer.setSelected or designer.setTools for below tools.
line--- to draw straight linespencil--- to write/draw shapesdragSingle--- to drag/ove and especially resize last selected shapedragMultiple--- to drag/move all shapeseraser--- to erase/clear specific portion of shapesrectangle--- to draw rectanglesarc--- to draw circlesbezier--- to draw bezier curvesquadratic--- to draw quadratic curvestext--- to write texts on single or multiple lines, select font families/sizes and moreimage--- add external imagesarrow--- draw arrow linesmarker--- draw markerslineWidth--- set line widthcolorsPicker--- background and foreground colors pickerextraOptions--- extra options eg. lineCap, lineJoin, globalAlpha, globalCompositeOperation etc.pdf--- to import PDFcode--- to enable/disable code viewundo--- undo recent shapes
The correct name for dragSingle should be: drag-move-resize last-selected-shape.
The correct name for dragMultiple should be: drag-move all-shapes.
Upcoming tools
- Allow users to add video-streams or screen-streams or existing-webm-mp4-videos
- Resize all shapes at once (currently you can resize last selected shape only)
Features
-
Draw single or multiple shapes of any kind (according to toolbox)
-
Drag/resize/adjust all the shapes in any possible direction
-
Rectangles and images can be resized in 4-directions
Red transparent small circles helps you understand how to resize.
-
Undo drawings using
ctrl+zkeys (undo all shapes, undo last 10 or specific shapes, undo range of shapes or undo last shape) -
Drag/move single or all the shapes without affecting any single coordinate
More importantly, you can use unlimited designers on a single page. Each will have its own surface and its own tools.
Chinese, Arabic, other languages
You can install following chrome extension for multi-language input tools:
Now type your own language text in any <input> box or anywhere, and simply copy that text.
Now click T tool icon from the tool-box and press ctrl+v to paste your own language's text.
To repeat it:
- Type your own language texts anywhere and make sure to copy to clipboard using
ctrl+v - Then click
Ticon, and then pressctrl+vto paste your copied text
You can paste any text: English, Arabic, Chinese etc.
How to Use
-
Download/link
canvas-designer-widget.jsfrom this github repository. -
Set
designer.widgetHtmlURLanddesigner.widgetJsURLin your HTML file. -
Use this command to append widget in your HTML page:
var designer = new CanvasDesigner();designer.appendTo(document.body);
<!-- 1st step --> <!-- 2nd step --> <!-- 3rd i.e. last step -->You can even download TAR:
mkdir Canvas-Designer && cd Canvas-Designer
wget http://dl.webrtc-experiment.com/canvas-designer.tar.gz
tar -zxvf canvas-designer.tar.gz
ls -a
- For windows, use 7Zip or WinRAR to extract this: canvas-designer.tar.gz
Complete Usage
var designer = ; websocket { designer;}; designer; designer; designer; designer;It is having designer.destroy() method as well.
Use WebRTC!
webrtc { designer;}; designer;Use Socket.io
socket; designer;API Reference
widgetHtmlURL
You can place widget.html file anywhere on your site.
designerwidgetHtmlURL = '/html-files/widget.html';By default widget.html is placed in the same directory of index.html.
// here is default valuedesignerwidgetHtmlURL = 'widget.html';Remember, widget.html is loaded using <iframe>.
widgetJsURL
Note: This file is internally used by
widget.html.
You can place widget.html file anywhere on your site.
designerwidgetJsURL = '/js-files/widget.min.js';By default widget.min.js is placed in the same directory of index.html.
// here is default valuedesignerwidgetJsURL = 'widget.min.js';Remember, widget.js is loaded using <iframe>.
syncData
Pass array-of-points that are shared by remote users using socket.io or websockets or XMPP or WebRTC.
designer;clearCanvas
Remove and clear all drawings from the canvas:
designer;renderStream
Call this method internally to fix video rendering issues.
designer;addSyncListener
This callback is invoked as soon as something new is drawn. An array-of-points is passed over this function. That array MUST be shared with remote users for collaboration.
designer;setSelected
This method allows you select specific tools.
- See list of all tools
designer;setTools
This method allows you choose between tools that should be displayed in the tools-panel.
- See list of all tools
designer;icons
You can force/set your own tool-icons:
designericons = line: '/icons/line.png' arrow: '/icons/arrow.png' pencil: '/icons/pencil.png' dragSingle: '/icons/dragSingle.png' dragMultiple: '/icons/dragMultiple.png' eraser: '/icons/eraser.png' rectangle: '/icons/rectangle.png' arc: '/icons/arc.png' bezier: '/icons/bezier.png' quadratic: '/icons/quadratic.png' text: '/icons/text.png' image: '/icons/image.png' pdf: '/icons/pdf.png' pdf_next: '/icons/pdf-next.png' pdf_prev: '/icons/pdf-prev.png' marker: '/icons/marker.png' zoom: '/icons/zoom.png' lineWidth: '/icons/lineWidth.png' colorsPicker: '/icons/colorsPicker.png' extraOptions: '/icons/extraOptions.png' code: '/icons/code.png';You can set like this as well:
designericonsline = '/icons/line.png';Default values are NULL to force icons from /dev/data-dris.js.
appendTo
CanvasDesigner is a widget; that widget should be appended to a DOM object. This method allows you pass <body> or any other HTMLDOMElement.
designer; // ordesigner;The correct name for appendTo is: append-iframe to target HTML-DOM-element
destroy
If you want to remove the widget from your HTMLDOMElement.
designer;iframe
You can access designer iframe as following:
designeriframestyleborder = '5px solid red'; window;designer.iframe will be null/undefined until you call appendTo. So always use this code-block:
if!designeriframe designer;designeriframestyleborder = '5px solid red';toDataURL
Get data-URL of your drawings!
designer;sync
You can manually sync drawings by invoking designer.sync method:
designer;Here is a real usecase:
webrtcDataChannel { ifdesignerpointsLength > 0 // you seems having data to be synced with new user! designer; };captureStream
Get MediaStream object and share in realtime using RTCPeerConnection.addStream API.
pointsLength
Each shape is considered as a point. This value allows you check number of shapes that are already drawn on the canvas-designer.
{ documentinenrHTML = designerpointsLength; ;};Or a real usage:
websocket { ifdesignerpointsLength > 0 // you seems having data to be synced with existing users! designer; };undo
You can either undo drawings by pressing ctrl+z on windows and command+z on Mac; however you can undo using designer.undo method as well:
designer; // undo last shapedesigner; // undo last shape // undo shape from specific indexdesigner; // undo all shapesdesigner; // undo last 10 shapesdesignerdesigner.pointsLength shows number of shapes; and designer.undo accepts shape-index as well.
Add New Tools
First Step
Open widget.html and add your new tool-icon HTML.
<!-- search for this div; and include your HTML inside this div --> <!-- here is your icon-HTML -->Second Step
Open decorator.js and decorate your new HTML icon.
var tools = yourNewToolIcon: true // add this line to make sure index.html can use it;Search for decorateLine method, and append following snippet quickly after that method:
{ var context = ; contextfillStyle = 'Gray'; contextfont = '9px Verdana'; context; ;} if toolsyourNewToolIcon === true ; else documentstyledisplay = 'none';Third Step
Open common.js and add selection-states for your new tool-icon (i.e. whether your new tool icon is selected or not):
var is = isYourNewToolIconSelected: false // add this line { var cache = this; cacheisYourNewToolIconSelected = false; // add this line as well. // ..... don't modify anything else cache'is' + shape = true; };You merely need to set isYourNewToolIconSelected:true also cache.isYourNewToolIconSelected=false.
Fourth Step
Create new file in the dev directory. Name this file as yourNewToolIcon-handler.js.
This file MUST look like this:
var yourNewToolIconHandler = ismousedown: false { thisismousedown = true; } { thisismousedown = false; } { ifthisismousedown ... };You can check other *-handler.js from dev directory to get the idea how exactly it works.
Now open Gruntfile.js#L43 and add link to your new file: dev/events-handler.js.
Now compile all your changes using grunt.
Fifth Step
Open events-handler.js and make sure that your above yourNewToolIconHandler object is called for mouse up/down/move events.
; ; ;First of all, we are checking whether your tool-icon is selected or not: is.isYourNewToolIconSelected
Then we are calling yourNewToolIconHandler dot mousedown/mouseup/mousemove events respectively.
Sixth Step
Open draw-helper.js. Make sure that your new tool-icon can be drawn on the <canvas> surface.
{ context; context; context; this;}Usually point[0] is x coordinates; point[1] is y coordinates; point[2] is width and point[3] is height.
Different shapes can handle these points differently.
There is NO-limit for point[index]. You can add as many points as you want.
Complex shapes can add 10 or 20 points.
Seventh Step
Open drag-helper.js and make sure that your new shape can be dragged/resized/move.
Search for p[0] === 'line' and add similar code-blocks for your shape (new-tool-icon) as well.
Eighth Step
Open common.js and make sure that your new shape (tool-icon) is printed on the <textarea> as well.
This allows end-users to copy your shape's code and use anywhere on their own web-pages.
Open common.js file; there is a function updateTextArea inside the "common" object – which is aimed to output into textarea element.
You don't have to change updateTextArea. For simplicity purpose, code is separated in different functions/properties that you've to edit:
Search for p[0] === 'line' and add similar code-blocks for your shape (new-tool-icon) as well.
For more information
Shortcut Keys
ctrl+t (to display text-fonts box)
ctrl+z (to undo last-single shape)
ctrl+a (to select all shapes)
ctrl+c (copy last-selected shape)
ctrl+v (paste last-copied shape)
ctrl+mousedown allows you quickly copy/paste all shapes. (i.e. ctrl button + mouse down)
Signaling Server
You need only these two files:
You also need to manually install socket.io:
wget https://raw.githubusercontent.com/muaz-khan/RTCMultiConnection/master/server.jswget https://raw.githubusercontent.com/muaz-khan/RTCMultiConnection/master/Signaling-Server.jsnpm install socket.io --save-devnode server --port=9002 --ssl --ssl_key=/home/ssl/ssl.key --ssl_cert=/home/ssl/ssl.crtFor more info:
Contributors
Please make pull-request to update this list.
License
Canvas Designer is released under MIT licence . Copyright (c) Muaz Khan.