Synaps | verify.js
Synaps is an all-in-one compliance platform. It offers a simple, fast and secure way to meet compliance requirements at scale.
Visit Synaps.io | Read the Synaps documentation
Installation
npm install @synaps-io/verify.js
Import
Import SynapsClient from '@synaps-io/verify.js'
Add Synaps element
There is two integration methods : modal or embed
modal : place a button and open the verification flow when user click on the button
embed : integrate directly the verification flow into your interface
Modal integration (verify with Synaps button)
Add the following element to your page to add the button.
<button id="synaps-btn">Verify with Synaps</button>
Note that you can also use it as a link
<a id="synaps-btn">Verify with Synaps</a>
Embed integration
Add the following element to add the verification flow to your page
<div id="synaps-embed"></div>
Init SDK
To init the Synaps SDK, simply write down the following line in your JS.
session_service must be replaced either by individual or corporate
-
individual - for know your customer
-
corporate - for know your business
const Synaps = new SynapsClient('session_id', 'session_service'); Synaps.init();
Get a session_id
To get a session_id you need to create an app on Synaps Manager. Once you selected your service type, you will have to go in your "integration" tab and copy your Api-Key.
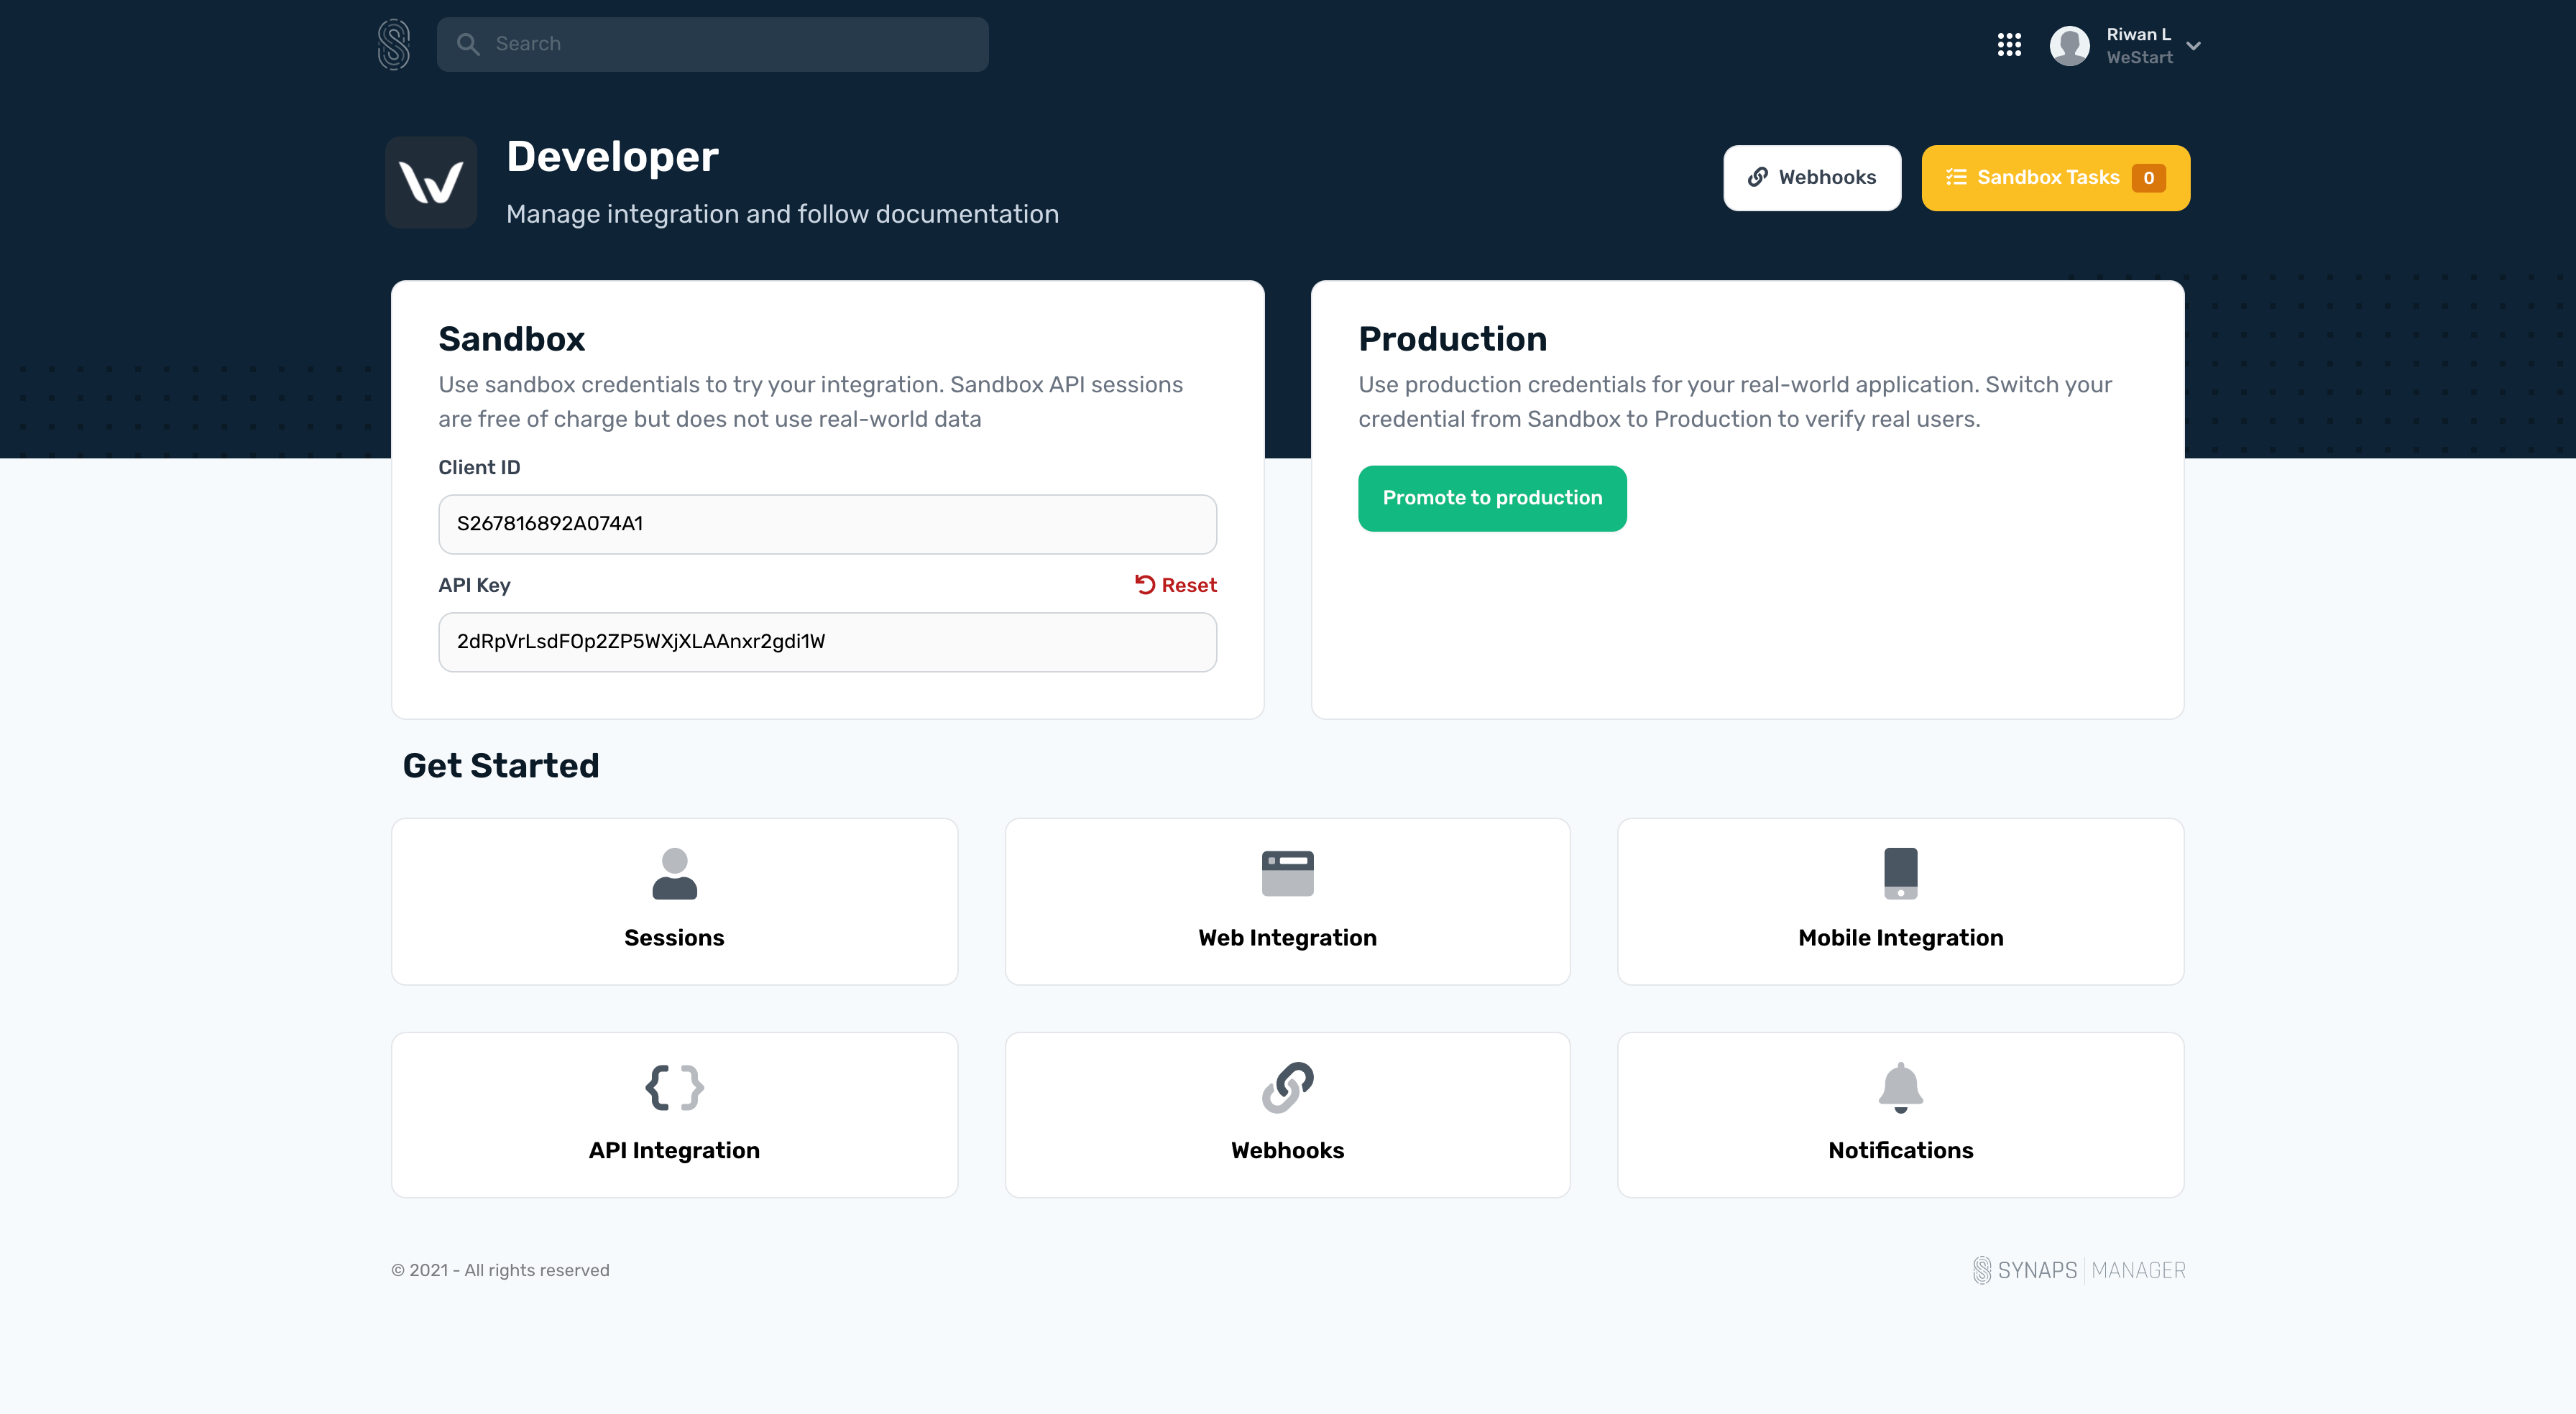
The Api-Key MUST NOT be stored in your frontend. You have to store it on your server and never on the client side. The only thing that should be exposed to the user is the session_id.
To create a session_id, you have to call the API related to the service you chose. For instance, if you chose Identity service, go to Identity > Sessions in the documentation.
Know Your Customer - Session Creation
Know Your Business - Session Creation
Once you initliazed your session_id, you will have to init the SDK with your session_id and a session_service.
session_service must be replaced either by workflow or corporate
-
workflow - for know your customer
-
corporate - for know your business
By default, the SDK type is set to modal which means that need to implement the Verify with Synaps button to your page to make it work. However, you can set the type to embed, simply by passing it as an option while you declare the SynapsClient.
const Synaps =  new  SynapsClient('session_id',  'session_service');
Synaps.init({
	type: "embed",
})
Events
Synaps Web SDK lets you know when the user has finished the workflow.
On completed onboarding, Synaps will trigger a callback.
Synaps.on('finish', () =>  {
	// Do something
});
With Finish Button If your SDK is type "embed" you need to add a Finish Button to let user trigger the event 'finish':
const Synaps =  new  SynapsClient('session_id',  'session_service');
Synaps.init({
    type:  "embed",
    withFinishButton: true
}
Customization
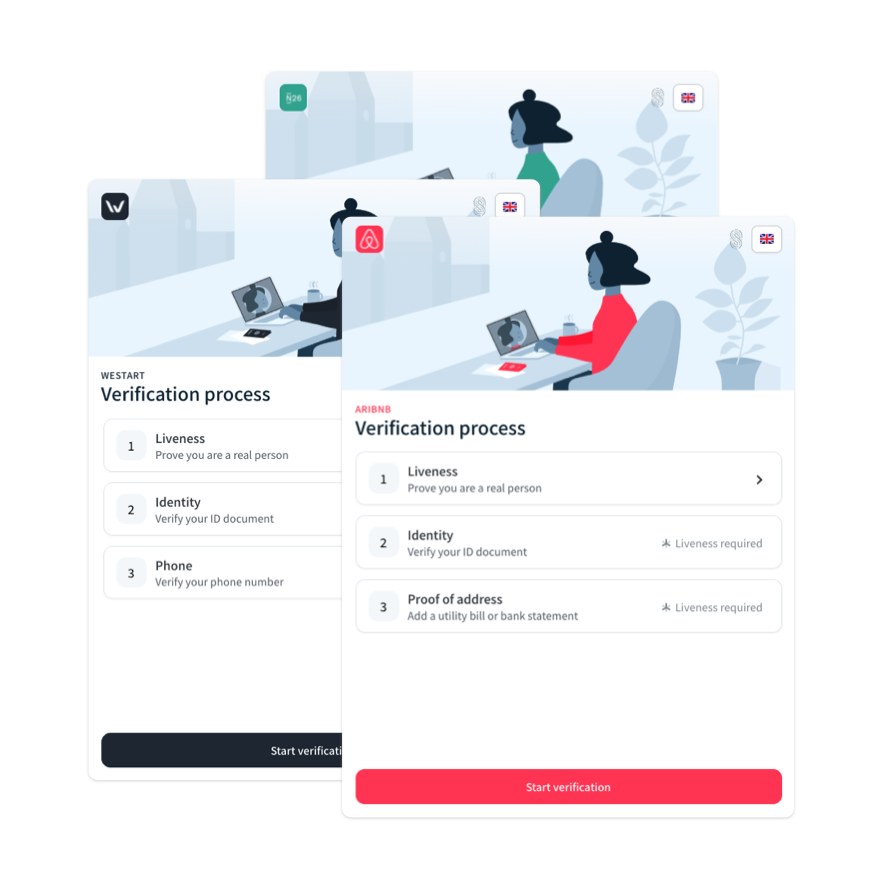
We give you the possibility to customize your workflow with your colors. You can set a primary color and a secondary color, it will create a verification flow tailored to your compliance needs and your brand.
To add primary and secondary colors, simply add colors with primary and secondary inside without the hashtag '#'.
const Synaps =  new  SynapsClient('session_id',  'session_service');
	Synaps.init({
		type:  "embed",
		colors:  {
		primary:  "212b39",
		secondary:  "ffffff",
		}
})
If for some reason you need to bind our workflow on other element ID, you can.
Simply add, element_id as an option and it will automatically bind it.
const Synaps =  new  SynapsClient('session_id',  'session_service');

Synaps.init({
	type:  "modal",
	element_id:  "synaps-identity-btn"
})
With the code above, you will be able to execute the following easily. It will see synaps-identity-btn as the element to bind and once you will click on the button, it will shows the modal.
<button id="synaps-identity-btn">
	Verify with Synaps
</button>
As explained before in the documentation, tiers is a simply way to divide your workflow into small pieces. It is very useful when you offer different features based on the verification level of your customer.

To create your own tier, check out the step-by-step guide
Follow step-by-step tier guide
Once created, you will have your tier_id , You will have to pass it in the options objects while initialising the SDK.
Synaps.init({
	type:  "modal",
	tier:  "2349823482"
})