Nacelle PushOwl Nuxt Module 

Requirements
- A Nacelle project set up locally. See https://docs.getnacelle.com for getting started.
- IMPORTANT: Only Shopify store backend is supported currently.
- PushOwl app installed on your Shopify store.
PushOwl features available through this plugin
- Show prompts to collect subscribers
✅ - Automation: Welcome Notification
✅ - Automation: Shipping Notifications
✅ - Automation: Abandoned Cart Recovery
✅ - Automation: Browse Abandonment
✅ - Automation: Price Drop
✅ - Automation: Back in Stock
✅
Setup
1. Install module
Once you have Nacelle and PushOwl set up you can install this module in your project from Github Packages through npm (or yarn):
Install the package:
npm i @pushowl/nacelle-nuxt-module
2. Add module to app
After the package has installed, open nuxt.config.js. Under modules add @pushowl/nacelle-nuxt-module to the array. It should look something like this:
modules: [
  '@nuxtjs/pwa',
  '@nuxtjs/dotenv',
  '@nacelle/nacelle-nuxt-module',
  '@nuxtjs/sitemap',
  '@pushowl/nacelle-nuxt-module'
],
Next you will have to add the PushOwl configuration options to nuxt.config.js in the nacelle config object. You will need your Shopify store's subdomain.
nacelle: {
  spaceID: process.env.NACELLE_SPACE_ID,
  token: process.env.NACELLE_GRAPHQL_TOKEN,
  gaID: process.env.NACELLE_GA_ID,
  fbID: process.env.NACELLE_FB_ID,
  pushowl: {
    subdomain: 'XXXX'
  }
},
3. Copy service worker file into the app
You need to copy a service worker file from this module's directory (node_modules/@pushowl/nacelle-nuxt-module/lib/templates/service-worker.js) into your app's static dir such that it is available on the path /static/pushowl/service-worker.js.
You can run the following set of commands from your root directory to copy the service worker file:
mkdir -p static/pushowl
cp node_modules/@pushowl/nacelle-nuxt-module/lib/templates/service-worker.js static/pushowl/
4. Initialize PushOwl
In default.vue, inside the created function, add the following code to initialize PushOwl:
created() {
  // Existing code ...

  // Initialize PushOwl
  if (typeof window !== "undefined") {
    window.pushowl.init({
      subdomain: "kushagra-store"
    });
  }
},
Now you are all set to use the API functions and trigger the prompts to ask for push notification permission. Note: The SDK itself doesn't trigger any prompt. It's upto you to trigger it whenever you want.
5. Abandoned Cart Recovery automation (Optional, if enabled)
Abandoned Cart, if available on your PushOwl plan, works out of the box through this module for most parts. There is just configuration change required on PushOwl Side. Abandoned Cart push notifications open the cart page of your store. For stores with custom frontends, it becomes difficult to figure out the cart URL automatically. Hence, you need to explicitly enter your cart URL from PushOwl dashboard.
If you have implemented a custom cart page in your store, use that page's URL as cart URL. Otherwise, you can use the following URL as your cart page: https://<website_domain>?showCart=true
Here is how to update your cart URL in PushOwl dashboard:
- Login to PushOwl dashboard -> https://dashboard.pushowl.com/shopify-login
- Go to Abandoned Cart settings though Automations > Abandoned Carts or directly visit https://dashboard.pushowl.com/automation/abandoned-cart-recovery
- Edit each of the active notification you see and change all instances of cart URLs in them to your actual cart URL (as discussed above).
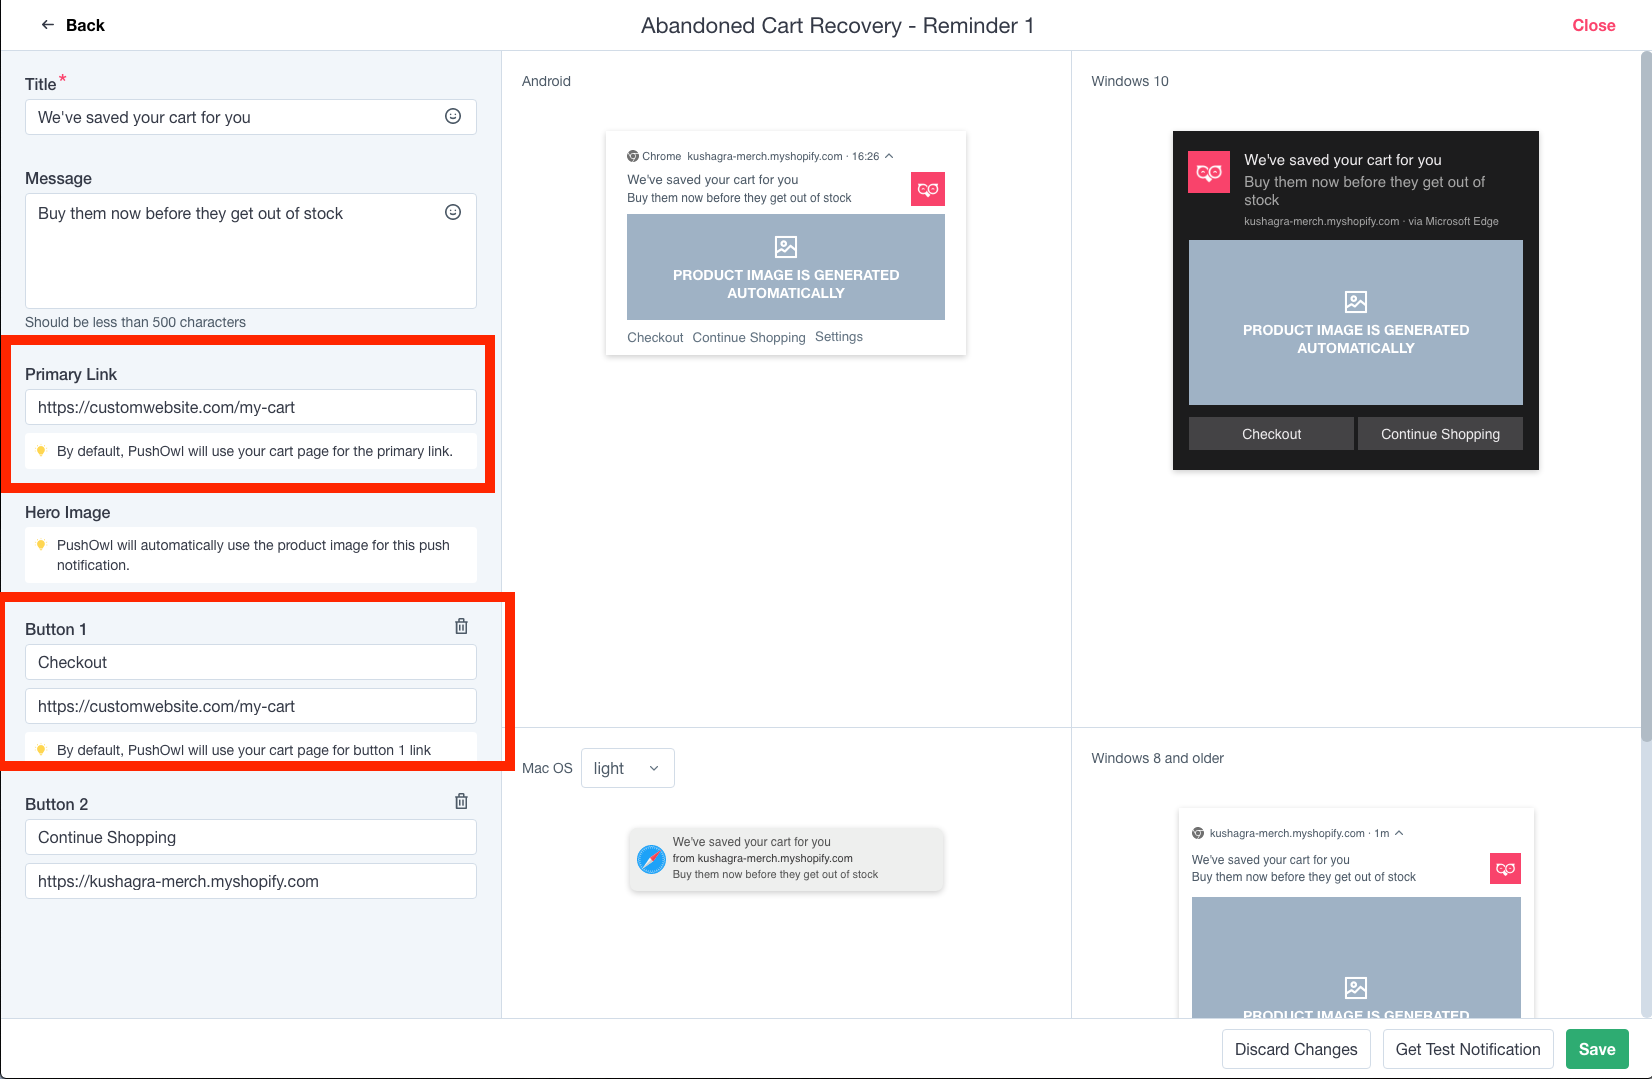
- Save and you are done!

6. Browse Abandonment, Price Drop, Back in Stock automations (Optional, if enabled)
Browse abandonment, Price drop, Back in stock, if available on your PushOwl plan, work out of the box through this module. There are two requirements though:
- You should be using version 2.x or above of the Nacelle Nuxt Starter for your store.
- Your product URLs defined in the Shopify admin should still work (as it is or with redirection). This is because on clicking Browse Abandonment notifications, users are taken to the product URL defined in the Shopify admin.

If the store URL you see above is not the right store URL where products are available, then the automation settings need to be adjusted for that. Currently, this can only be adjusted through us. So if this is the case, please let us know on support@pushowl.com and we'll adjust the URLs.
API
- There is a global object available called
pushowlwhich can be accessed throughwindow.pushowl. - The API works by triggering appropriate "actions". An action can be triggered like so:
window.pushowl.trigger(<action_name>, <options>). Eg. An action named "X" can be triggered throughwindow.pushowl.trigger("X") - Widgets for price drop and back in stock are displayed automatically
Available API actions:
showWidget
Options available
-
type: Type of widget to show.browserPrompt|customPrompt
For customPrompt, following extra options are available:
-
title: Title for the prompt -
description: Description for the prompt -
yesButton: "yes" button refers to the positive/allow button in the prompt. This is an object withlabelproperty. -
noButton: "no" button refers to the negative/deny button in the prompt. This is an object withlabelproperty. -
logo(optional): URL of the image to show as logo. Defaults to a bell if nothing is passed. -
position(optional): Needs to be specified for desktop and mobile separately like soposition: {default: 'top-left', mobile: 'top'}. Available options for desktop(default):top-left,top-center,top-right,bottom-left,bottom-center,bottom-right. Available options for mobile:top,bottom. Default is{ default: 'top-center', mobile: 'top' } -
overlay(optional): Controls the overlay that shows with the native permission prompt. Only accepts one property for now:enabled: true|false. Eg.overlay: { enabled: false } -
theme(optional): Allows changing various colors in the prompt. Currently supported properties are:theme: { yesButtonBgColor: '#f00', yesButtonColor: '#fff' }
syncCart
Cart syncing is auto-enabled in this module. This API gets called automatically whenever the cart is updated.
Recipes
To show a native browser prompt
window.pushowl.trigger('getCurrentPermission').then(permission => {
  if (permission === "default") {
    window.pushowl
      .trigger("showWidget", {
        type: "browserPrompt",
      })
      .then((res) => {
        // Do anything you want to after showing prompt
      });
  }
});
Note, always check the current permission value before showing the prompt. default value means user has neither allowed nor denied.
To show a Custom Prompt
window.pushowl.trigger('getCurrentPermission').then(permission => {
  if (permission === "default") {
    window.pushowl
      .trigger("showWidget", {
        type: "customPrompt",
        title: "Lets get you offers!",
        description: "Subscribe to get amazing offers",
        yesButton: { label: "Subscribe" },
        noButton: { label: "Later" },
        logo: "image url here",
        position: { default: "top-left", mobile: "bottom" },
        overlay: { enabled: false },
      })
      .then((res) => {
        // Do anything you want to after showing prompt
      });
  }
});
Typically you can run the above code inside the router onReady event hook, so that the prompt shows when the app is ready. Refer next recipe.
Show a custom prompt when app router is ready
You can put the following code in a new/exisiting plugin in your Nuxt app:
ctx.app.router.onReady(() => {
  window.pushowl.trigger('getCurrentPermission').then(permission => {
    if (permission === "default") {
      window.pushowl
        .trigger("showWidget", {
          type: "customPrompt",
          title: "Lets get you offers!",
          description: "Subscribe to get amazing offers",
          yesButton: { label: "Subscribe" },
          noButton: { label: "Later" },
          position: { default: "top-left", mobile: "bottom" },
          overlay: { enabled: false },
        })
        .then((res) => {
          console.log("PushOwl prompt shown", res);
        });
    }
  });
});
Show prompt with a timeout/delay
Let's say you want the native browser prompt 5 seconds after the app is open:
setTimeout(() => {
  window.pushowl.trigger('getCurrentPermission').then(permission => {
    if (permission === "default") {
      window.pushowl
        .trigger("showWidget", {
          type: "browserPrompt",
        })
    }
  });
}, 5000)
Roadmap
- Give dashboard config as a global object to use while calling the API functions
- Support Price drop & Back-in-stock automations
✅
Changelog
0.7.1
- Handle console errors in service worker file
- Prevent options call in service worker file
- Please update your service worker file again by following the instructions above in step 3
0.7.0
- Price drop and Back in stock automation support added. Just upgrading this package is enough to start using this. Refer the automations section above to ensure everything is in place.
0.6.0
- Browse abandonment support added. This feature works with 2.x and above version of Nacelle Nuxt Starter. Just upgrading this package is enough to start using this. Refer the automations section above to ensure everything is in place.
0.5.0
- Move script injection from module to plugin file.
0.4.3
- Fix issue where checkout sync call wasn't going
0.4.2
- Fix 400 calls
0.4.1
- Prevent
window.pushowlfrom re-initializing again and again. Instead it will reuse the exisitingwindow.pushowlobject, if available.
0.4.0
- Abandoned Cart Recovery is now enabled. Refer ACR section above to see how it works.
0.3.2
- Disable Abandoned Cart Recovery (ACR) due to a bug
0.3.1
- Prevent escaping of Pushowl script content
0.3.0
- ACR support added
0.2.0
- Moved from Github packages to npm