
This module provide and usefull helper to use mongoose library.
See official documentation here.
Compatibility
The minimum supported version of Node.js is v8.
How to use it
To use the library you just need to follow the following steps
Install the library with npm
npm i -S mongoose@">=6.11.4 <8.0.0"
// or
npm i -S mongoose@6.11.4
// and
npm i -S @condor-labs/mongodb
Import the library:
const mongodb = require('@condor-labs/mongodb')(settings);
settings array of object properties
those are the properties for each connection object
| Property | Default | Description |
|---|---|---|
| connectionName (String) | It is a unique value that will indentify the connection you are using | |
| host (String) | 127.0.0.1 |
The host name of the database you are connecting to. In case you want to connect to mongo Atlas via cluster. A) You must check the connection metrics of your cluster. B) Copy the hosts of your metrics and concatenate them in the host property of your connection configuration to mongo example: in its connection parameters. host: 'cluster0-shard-00-00.ksccs.mongodbnet'cluster0-shard-00-01.ksccs.mongodb.net,cluster0-shard-00-02.ksccs.mongodb.net' keep in mind which host property receives one or multiple hosts. |
| port (Number) | 27017 |
The port number to connect to. |
| user (String) | The username for authentication. This option is mongoose-specific, they are equivalent to the MongoDB driver's auth.username options. | |
| password (String) | The password for authentication. This option is mongoose-specific, they are equivalent to the MongoDB driver's auth.password options. | |
| database (String) | Specifies which database to connect to and overrides any database specified in the connection string. | |
| replicaSet (String) | To connect to a single node replica set, specify the replicaSet option, see Replica Set Host Names | |
| ssl (Boolean) | false |
Flag to indicate the connection will use SSL |
| authSource (String) | See Replica Set Connections | |
|
|
30000 |
If you're connected to a single server or mongos proxy (as opposed to a replica set), the MongoDB driver will try to reconnect every reconnectInterval milliseconds for reconnectTries times, and give up afterward. When the driver gives up, the mongoose connection emits a reconnectFailed event. This option does nothing for replica set connections. |
|
|
1000 |
See reconnectTries
|
| readPreference (String) | secondaryPreferred |
Read preference describes how MongoDB clients route read operations to the members of a replica set. Possibles values: primary, primaryPreferred, secondary, secondaryPreferred, nearest.Docs: https://docs.mongodb.com/manual/core/read-preference/ |
ReadPreference Options
| Property | Description |
|---|---|
| primary | All operations read from the current replica set primary. |
| primaryPreferred | In most situations, operations read from the primary but if it is unavailable, operations read from secondary members. |
| secondary | All operations read from the secondary members of the replica set. |
| secondaryPreferred | In most situations, operations read from secondary members but if no secondary members are available, operations read from the primary. |
| nearest | Operations read from member of the replica set with the least network latency, irrespective of the member’s type. |
In case you want to connect to mongo Atlas via cluster,
-
You should check the connection metrics of your cluster.You must verify that this is your ip

-
Copy the hosts of your metrics and concatenate them in the host property of your connection configuration to mongo example: in its connection parameters. Only the url of this section should be included, separated by commas.
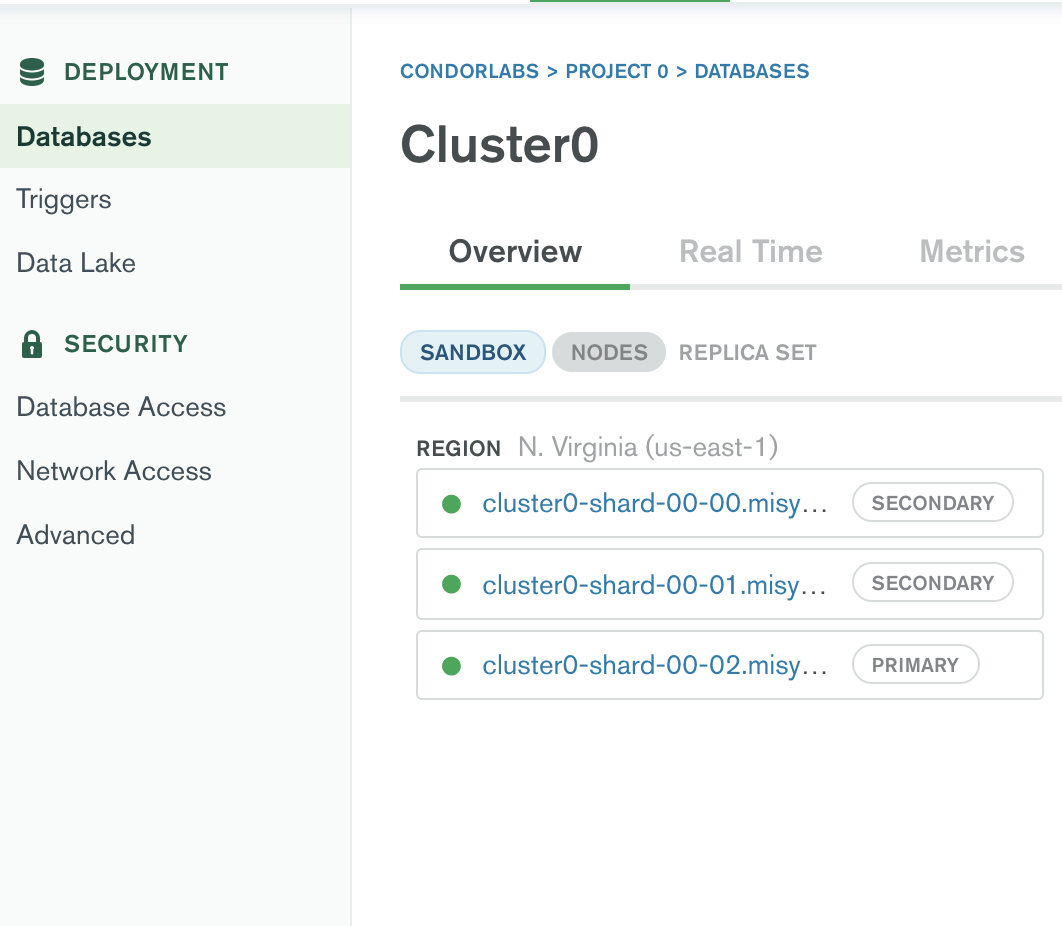
host: 'cluster0-shard-00-00.ksccs.mongodb.net,cluster0-shard-00-01.ksccs.mongodb.net,cluster0-shard-00-02.ksccs.mongodb.net'
- You may have an authentication error, you must verify that your user has read and write permissions.

this error may also be due to not adding the authSource attribute in the configuration json.
There are two ways to connect the MongoDB with @condor-labs/mongodb, one is a single connection and the other is multi-connection
1. Connect using a single connection and Replica Set
This session provides a help to connect to mongodb using a single connection and Replica Sets.
How to use it
To use this connection you need the following
A. Define the configuration variables in an object in the constants.js file for the connection, which are the following
module.exports.mongoDbSettings = {
  Settings: {
    host: 'exapmle-shard-00-00-8burs.mongodb.net,exapmle-shard-00-01-8burs.mongodb.net,exapmle-shard-00-02-8burs.mongodb.net',
    port: 27017,
    database: 'dev',
    user: 'my-user',
    password: 'superSecretPass',
    replicaSet: 'compliance-support-shard-0',
    ssl: true,
    authSource: 'admin'
  }
};
B. Import the @condor-labs/mongodb library and the configuration variables in the connectionMongoDb.js file as follows
const mongo = require('./constants');
const mongodb = require('@condor-labs/mongodb')(mongo.settings);
C. To establish the connection with MongoDB the instance is created in the connectionMongoDb.js file
const mongodb = require("@condor-labs/mongodb")(mongo.settings);
async function connect()=> {
  // connect to Mongo
  await mongodb.getClient();
  console.log(`isConnected(after):${mongodb._isConnected()}`);
};
module.exports = connect;
D. Import the connect function in the main index.js of the application
const connect = require('./connectionMongoDb');
async () => {
  await connect();
};
2. How to create models using a single connection and Replica Sets
To create models using a single connection, in a models.js file you create the database schemas and import the @condor-labs/mongodb library.
const mongodb = require('@condor-labs/mongodb')();

const schemaOne = mongodb.mongoose.Schema({
  attributeOne: {
    type: String,
    required: true
  },
  attributeTwo: {
    type: String,
    required: true
  }
});
const modelOne = mongodb.mongoose.model('name-model', schemaOne);

module.exports = modelOne;
3. How to connect using a single connection with locally installed mongodb
To use locally installed mongodb using a single connection, change the constants.js file with the following configuration variables.
module.exports.mongoDbSettings = {
  Settings: {
    host: 'localhost',
    port: 27017,
    database: 'development',
    user: 'local-user',
    password: 'superSecretPass',
    ssl: false
  }
};
4. How to connect using a single connection and mongodb-srv (connection string)
Nowaday, the library does not support SRV connections. You must split your connection string into the necessary configs required.
5. How to connect using a single connection when running in Docker
To create this connection it is necessary to have the files docker-compose.yml and dockerfile.
In the dockerfile the environment is built and the application is installed in the following way
FROM node:version node
WORKDIR /usr/app
COPY package*.json ./
RUN npm install pm2 -g
RUN npm install --production
COPY . .
EXPOSE 3000
CMD ["pm2-runtime","pm2.proccess.json"]
In the docker-compose.yml the images that will be run in the docker container are created and it is built as follows
version: '3.1'
services:
 nameApp:
   container_name: "name-container"
   depends_on:
     - mongo
   restart: always
   build: .
   ports:
     - "3000:3000"
   networks:
     - app
   volumes:
     - .:/usr/app
 mongo:
   image: mongo
   container_name: mongodb
   restart: always
   environment:
     MONGO_INITDB_ROOT_USERNAME: root
     MONGO_INITDB_ROOT_PASSWORD: "pass-root"
     MONGO_INITDB_DATABASE: "name-database"
   ports:
     - 27017:27017
   networks:
     - app
   volumes:
     - ~/mongo/data:/data/db
networks:
 app:
   driver: "bridge"
The previous files describe the construction of the application images and the database, the network connection between the two images is created.
To perform the connection in the constants.js file, the configuration variables are created to the database
module.exports.mongo = {
  settings: {
    host: 'mongo', //database image name
    port: 27017,
    database: 'name-databases',
    user: 'root',
    password: 'pass-root',
    ssl: false,
    authSource: 'admin'
  }
};
The commands to build and start the images in docker are the following
docker-compose up -d --buildThis command builds and initializes the images exposed in the docker-compose file.
docker logs -f name-appWith this command you can see the logs of the image where the application is running.
Connect using a multi-connection
this is an example for multiple connections:
First we are going to create an array of connections
const mongoDbSettings = [
  {
    connectionName: 'connection_mongo_1',
    host: 'localhost',
    port: 27017,
    database: 'development',
    user: 'local-user',
    password: 'superSecretPass',
    ssl: false
  },
  {
    connectionName: 'connection_mongo_2',
    host: 'exapmle-shard-00-00-8burs.mongodb.net,exapmle-shard-00-01-8burs.mongodb.net,exapmle-shard-00-02-8burs.mongodb.net',
    port: 27017,
    database: 'dev',
    user: 'my-user-2',
    password: 'superSecretPass',
    replicaSet: 'compliance-support-shard-0',
    ssl: true,
    authSource: 'admin'
  }
];
We are going to create a helper (mongoHelper.js) that will included the following logic
'use strict';

const mongo = require('@condor-labs/mongodb')(mongoDbSettings);

const helper = {
  clients: {}, // In clients we will save our connections that the library send us
  isConnected: (connectionName) => {
    return mongo._isConnected(connectionName);
  },
  connect: async () => {
    // It will connect every connection on the array "mongoDbSettings"
    for (const item of mongoDbSettings) {
      let client = await mongo.getClient(item.connectionName);
      helper.clients[item.connectionName] = client;
    }
  }
};

module.exports = helper;
now we are going to create our models
model1.js
const mongodb = require('@condor-labs/mongodb')();
const helperMongo = require('./mongoHelper');

let userSchema = new mongodb.mongoose.Schema({
  user: String,
  token: String,
  password: String
});

const dbConnection = helperMongo.clients['connection_mongo_1']; // I got the name of the connection from mongoDbSettings
let userModel = dbConnection.model('User', userSchema); // then I am able to create a my model based on the connection object that I got using my helper

module.exports = userModel;
my sencond model will be similar to the previeus one but instead of using connection_mongo_1 connection I will use connection_mongo_2
model2.js
const mongodb = require('@condor-labs/mongodb')();
const helperMongo = require('./mongoHelper');

let userSchema = new mongodb.mongoose.Schema({
  user: String,
  token: String,
  password: String
});

const dbConnection = helperMongo.clients['connection_mongo_2']; // I got the name of the connection from mongoDbSettings
let userModel = dbConnection.model('User', userSchema); // then I am able to create a my model based on the connection object that I got using my helper

module.exports = userModel;
Finallly, after all those configuration we are going to test our connection on our server.js file that includes the following code.
server.js
mongoDbHelper.connect().then(async () => {
  // Load helpers
  const userModelDB1 = require("./model1");
  const userModelDB2 = require("./model2");

  userModelDB1.findOne({}),
  userModelDB2.findOne({}),

})
Note
If you get the following message: [MONGOOSE] DeprecationWarning: Mongoose: the strictQuery option will be switched back to false by default in Mongoose 7. Use mongoose.set('strictQuery', false); if you want to prepare for this change. Or use mongoose.set('strictQuery', true); to suppress this warning.
This is a warning message from Mongoose indicating that the strictQuery option will be switched to false by default in Mongoose 7. This option controls whether database queries should strictly apply the schema definition.
To prepare for this change, you can add the following code to your Mongoose configuration file:
mongoose.set('strictQuery', false);This will globally set strictQuery to false in your application.
If for some reason you wish to continue using strictQuery in Mongoose 7, you can set the option to true with:
mongoose.set('strictQuery', true);It's important to note that this warning only applies to the strictQuery option, and has no effect on the behavior of your application. It's simply a notification that the default value of this option will change in future versions of Mongoose.
Contributors
The original author and current lead maintainer of this module is the
More about Condorlabs Here.